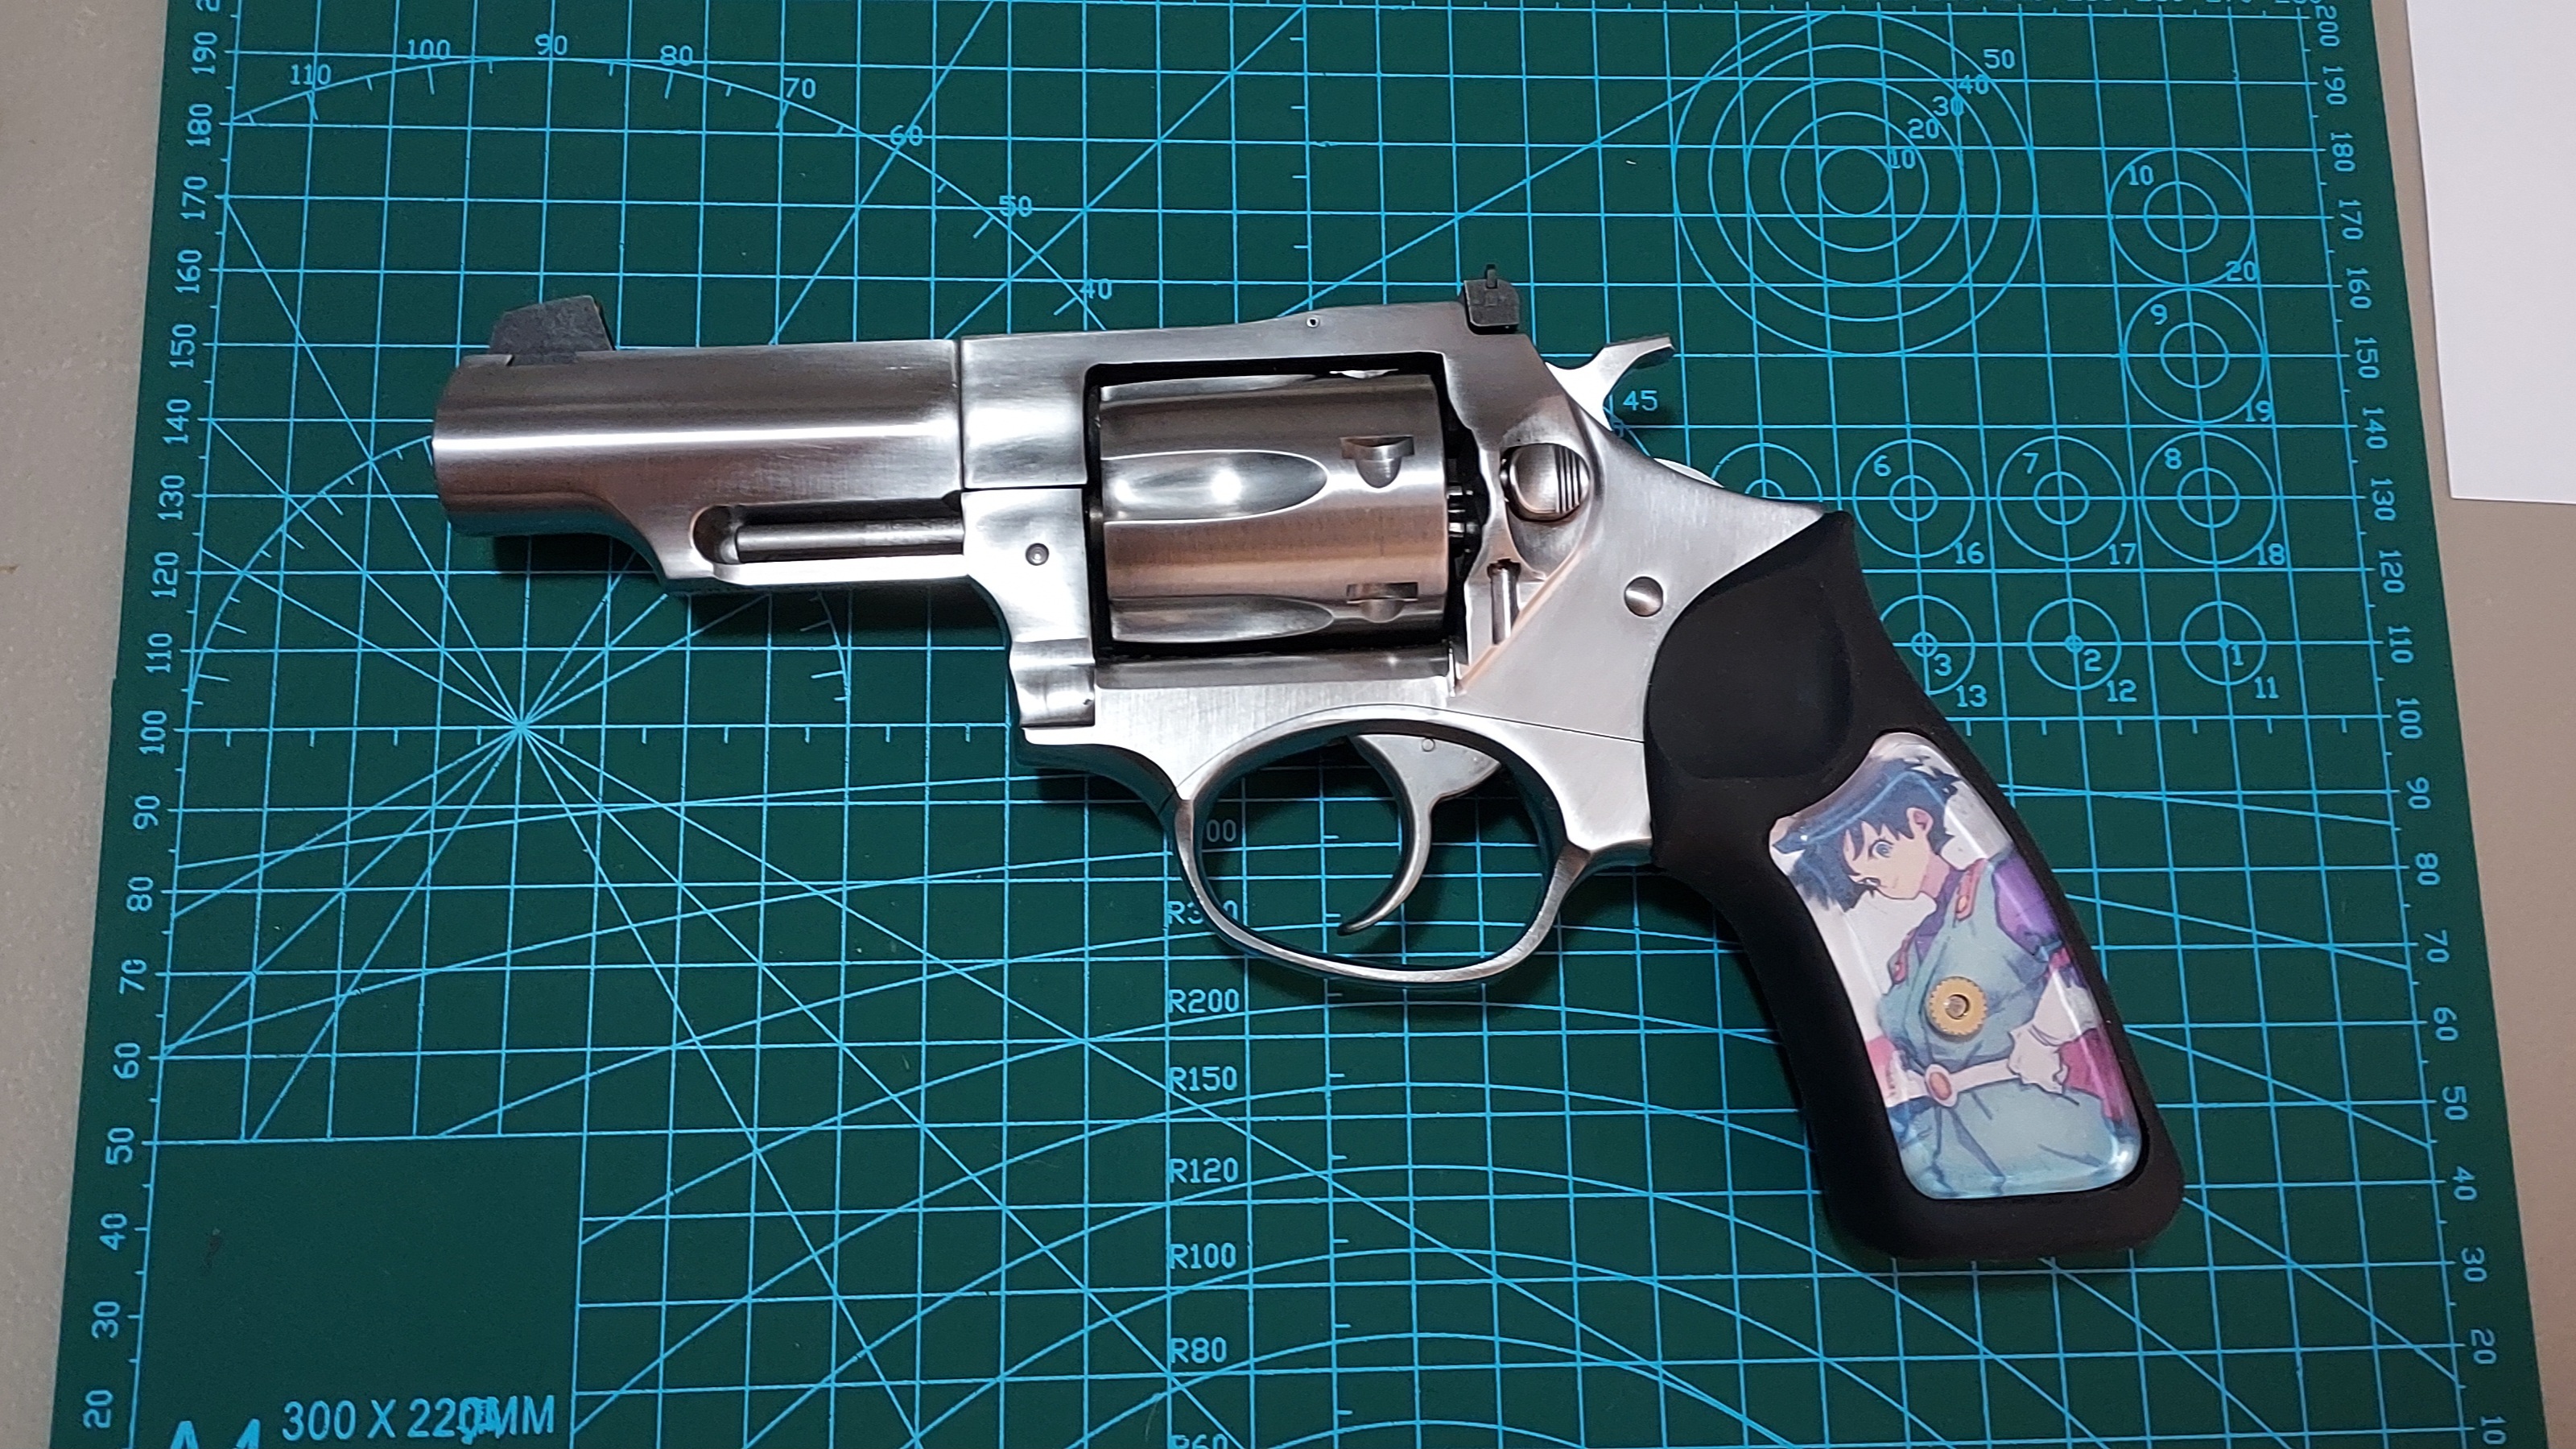
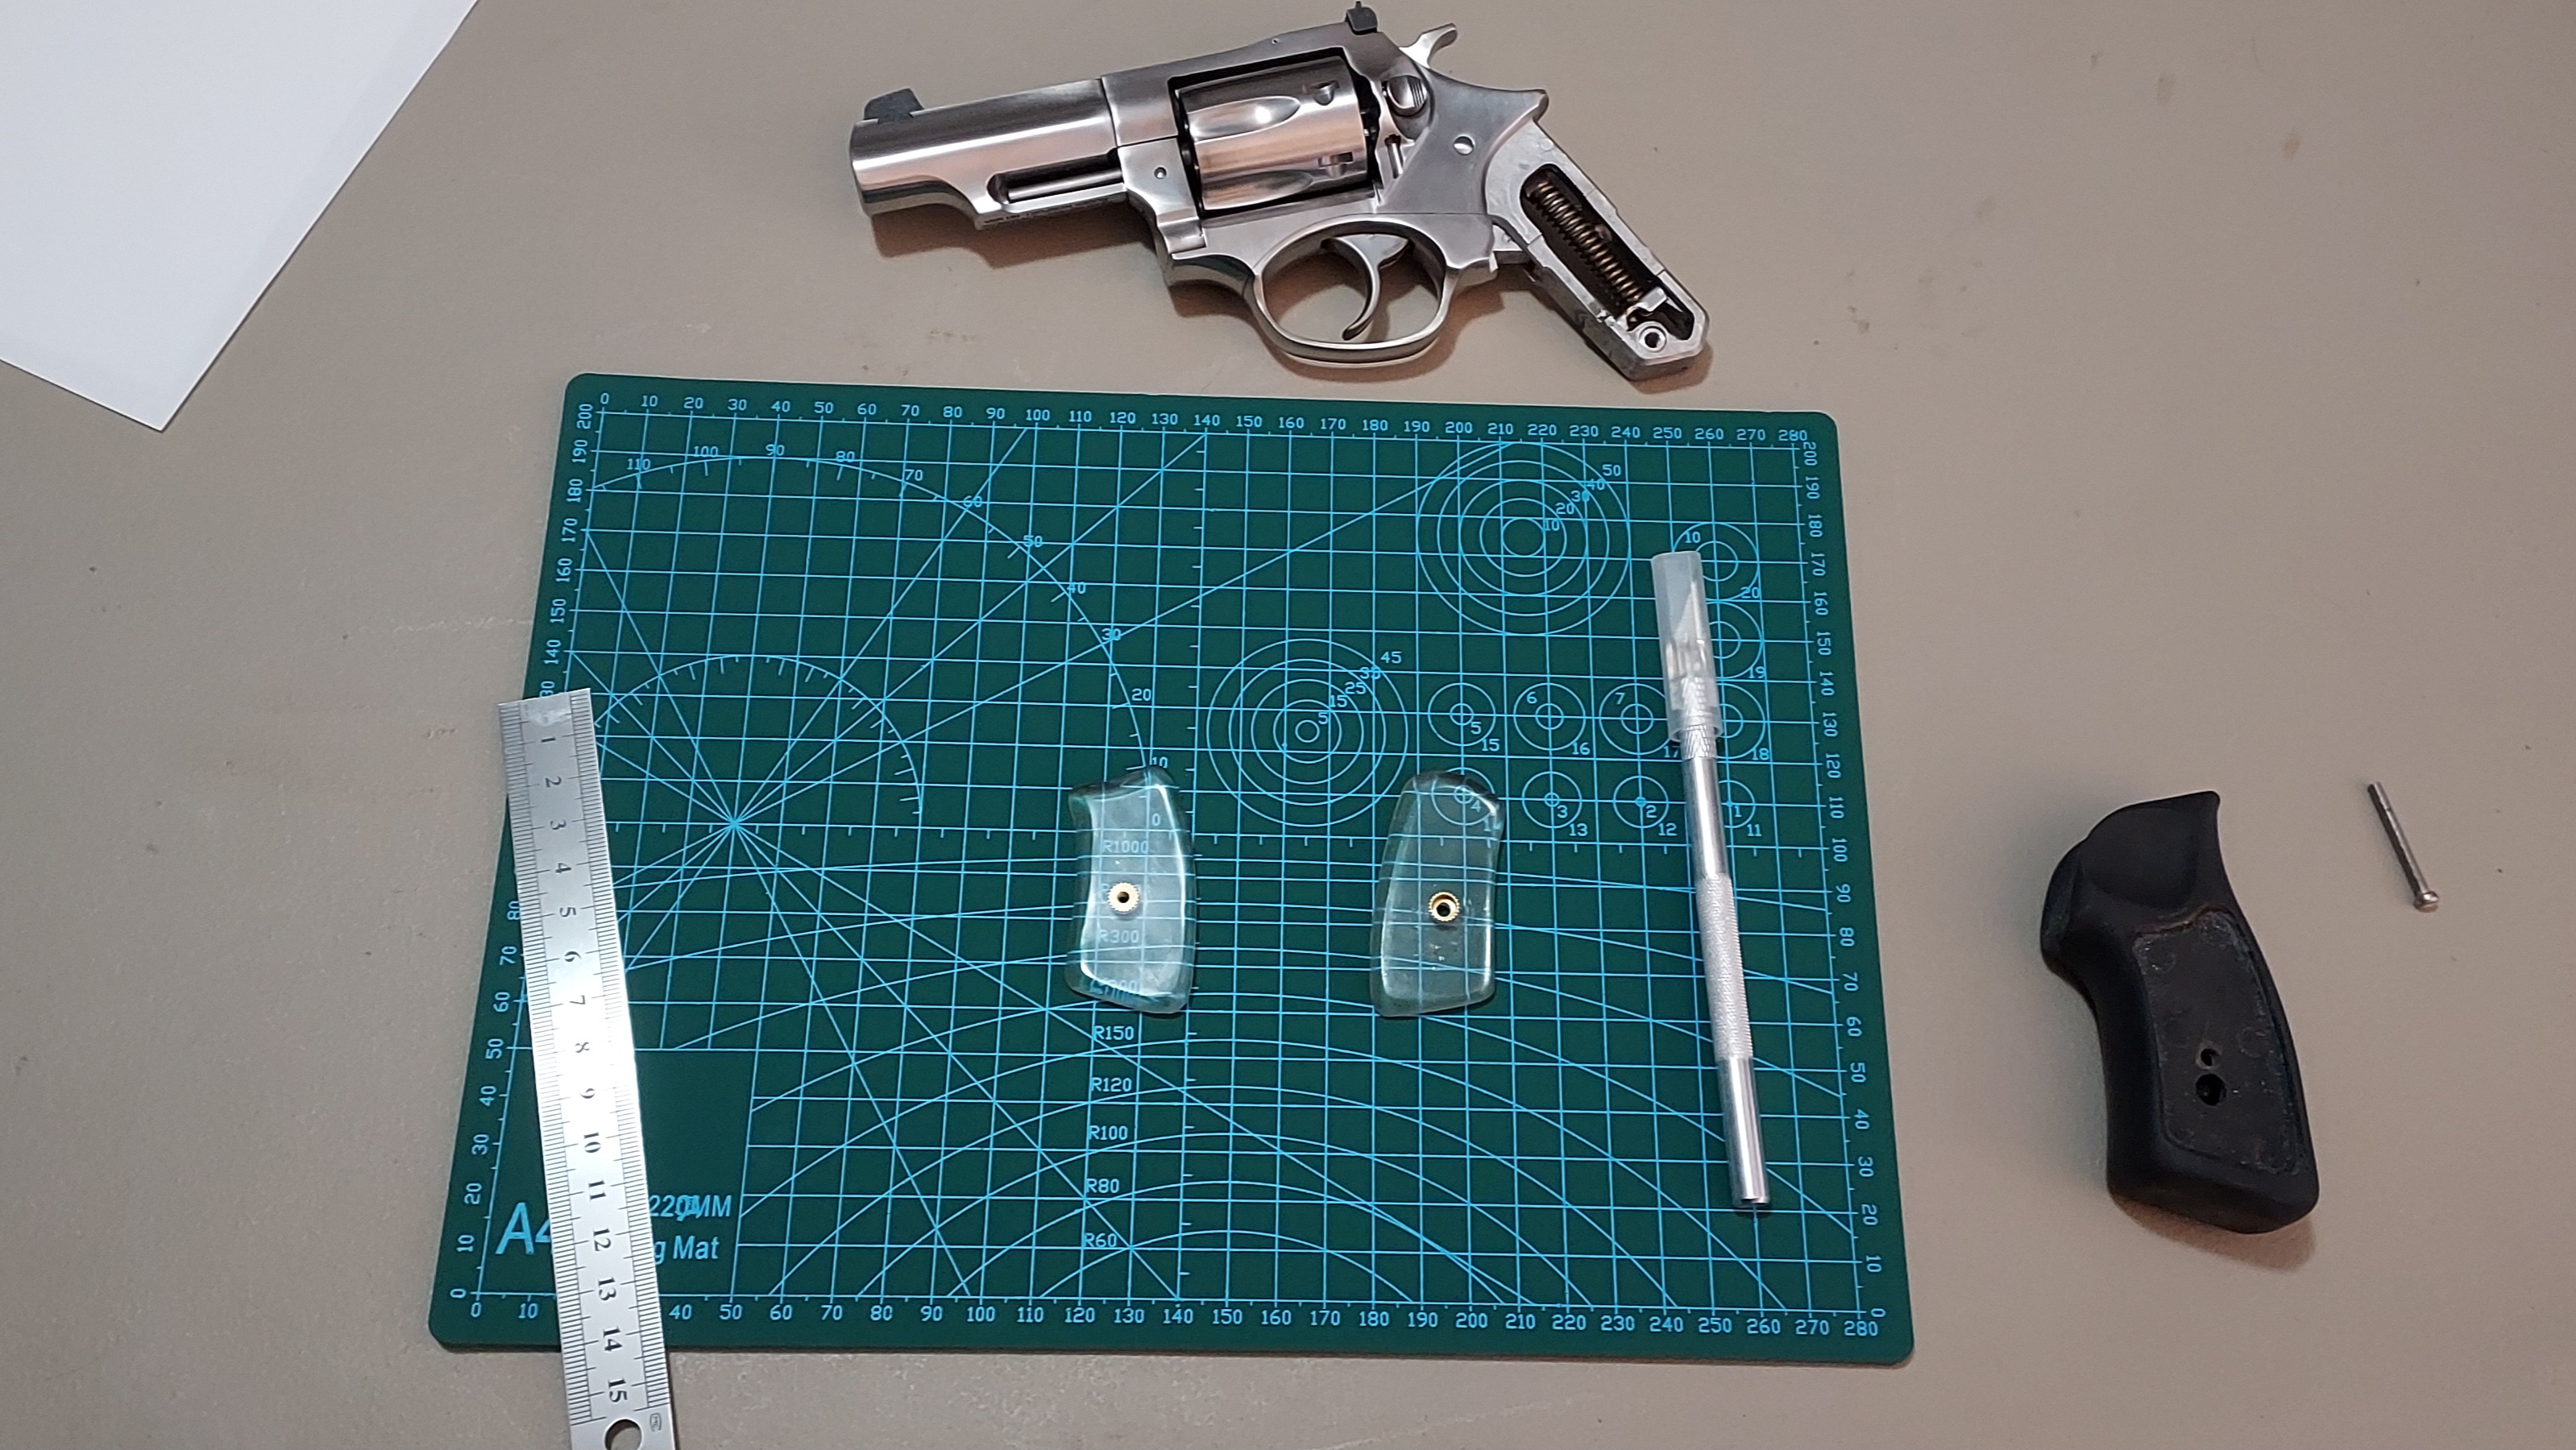
If you are here, I'm guessing you have already heard about such a thing as "sweetheart" or "waifu" grips; clear plexiglass grips under which you can stick a photo of a loved one or an anime woman you particularly like. That I what I set out to make.
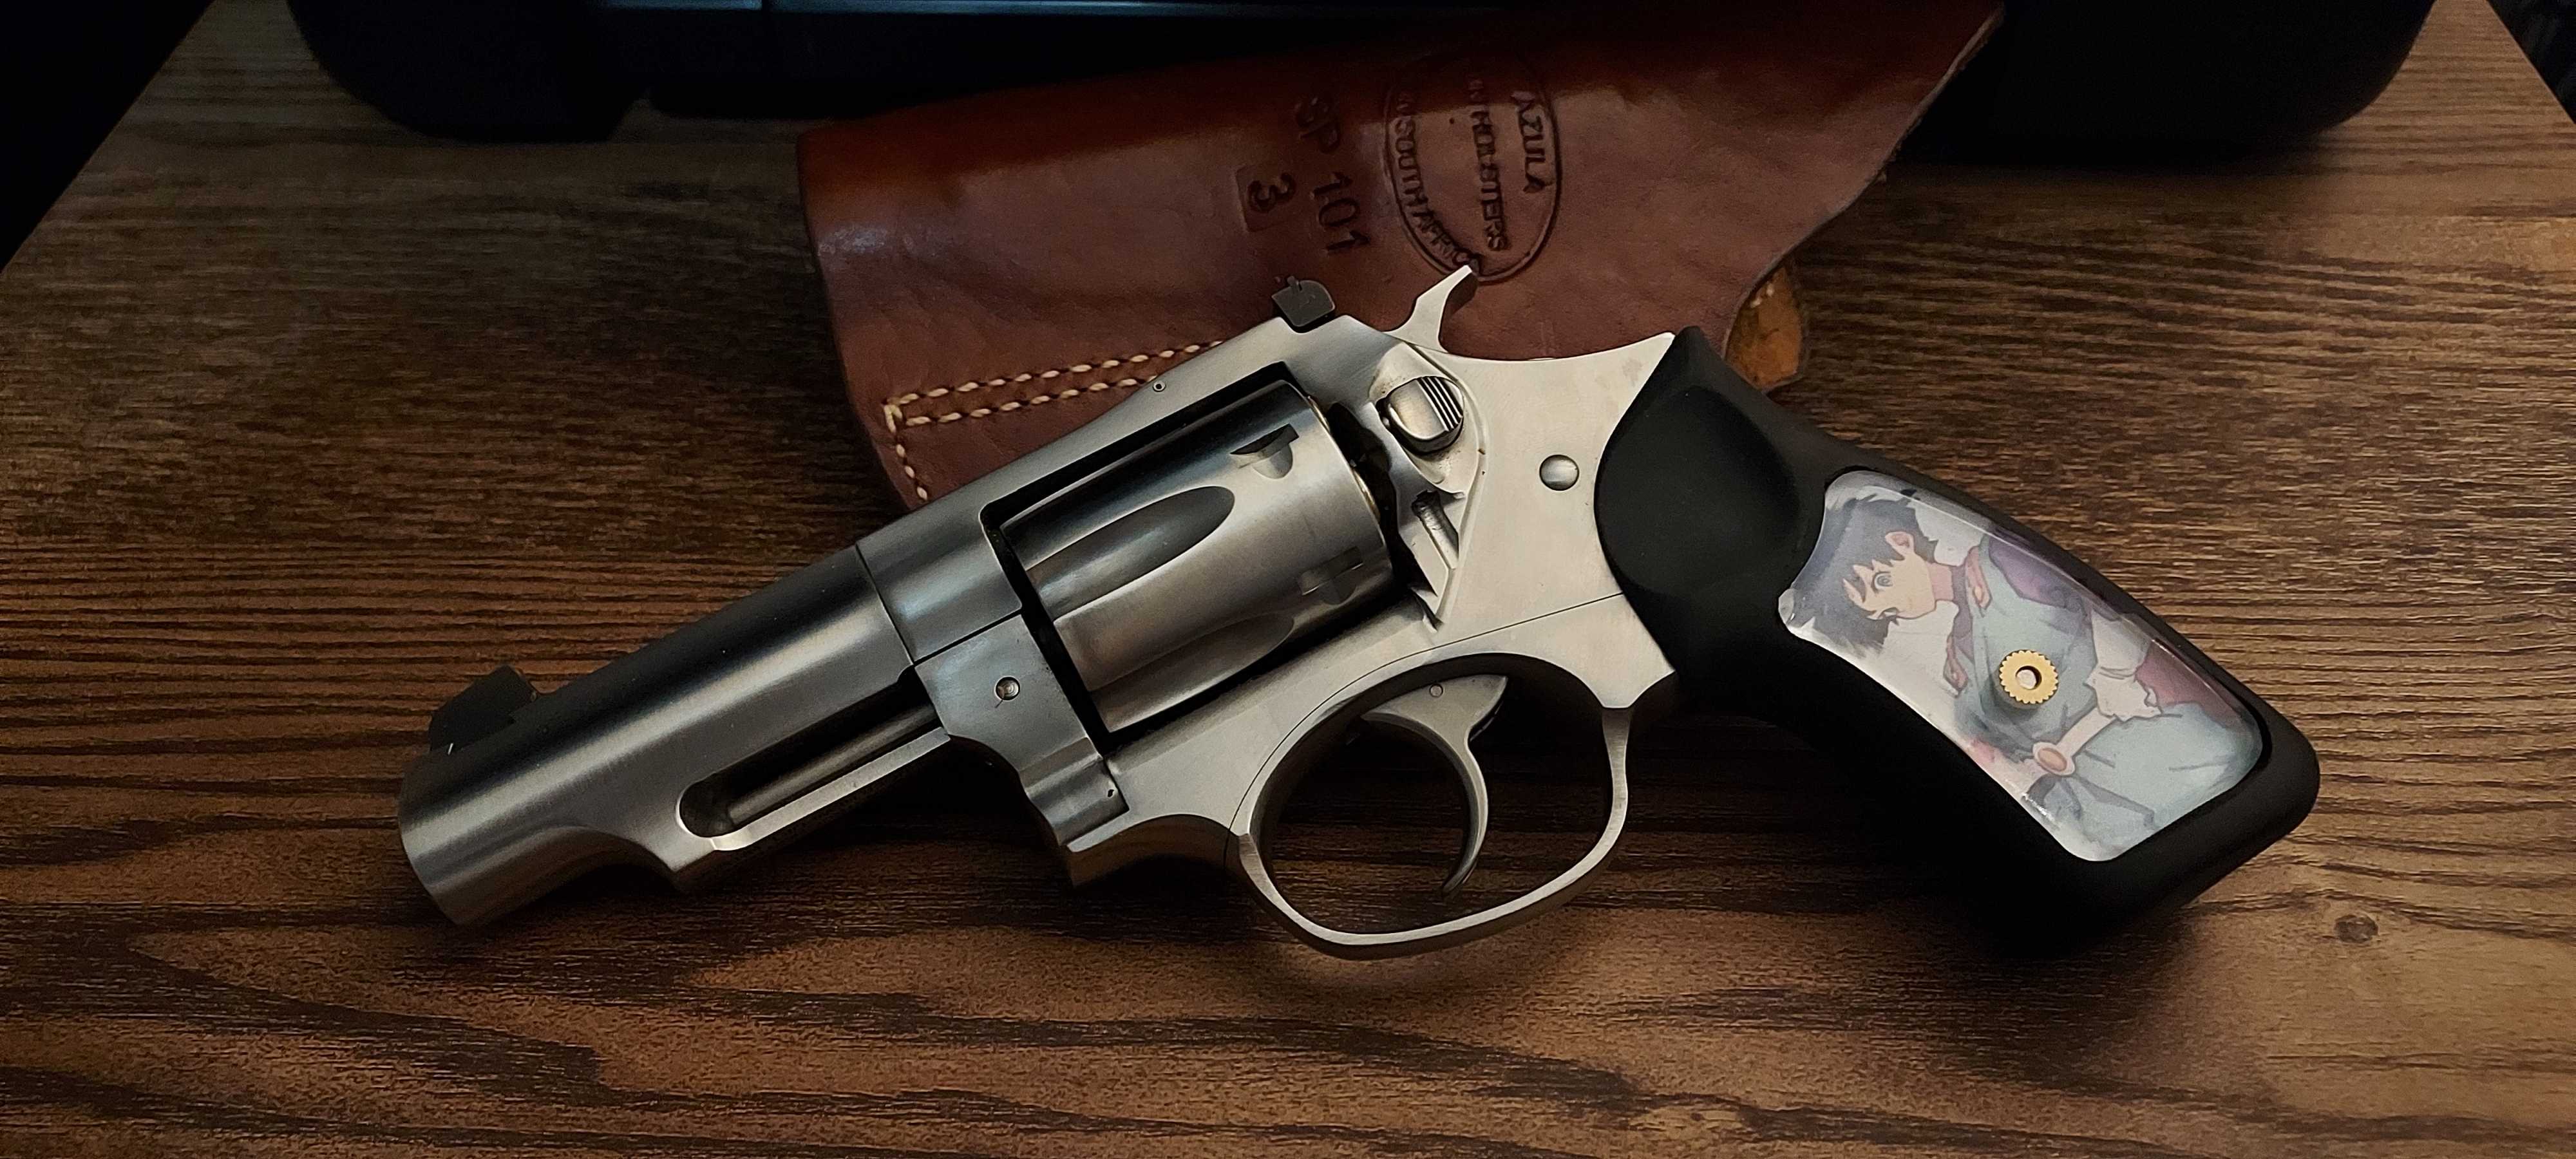
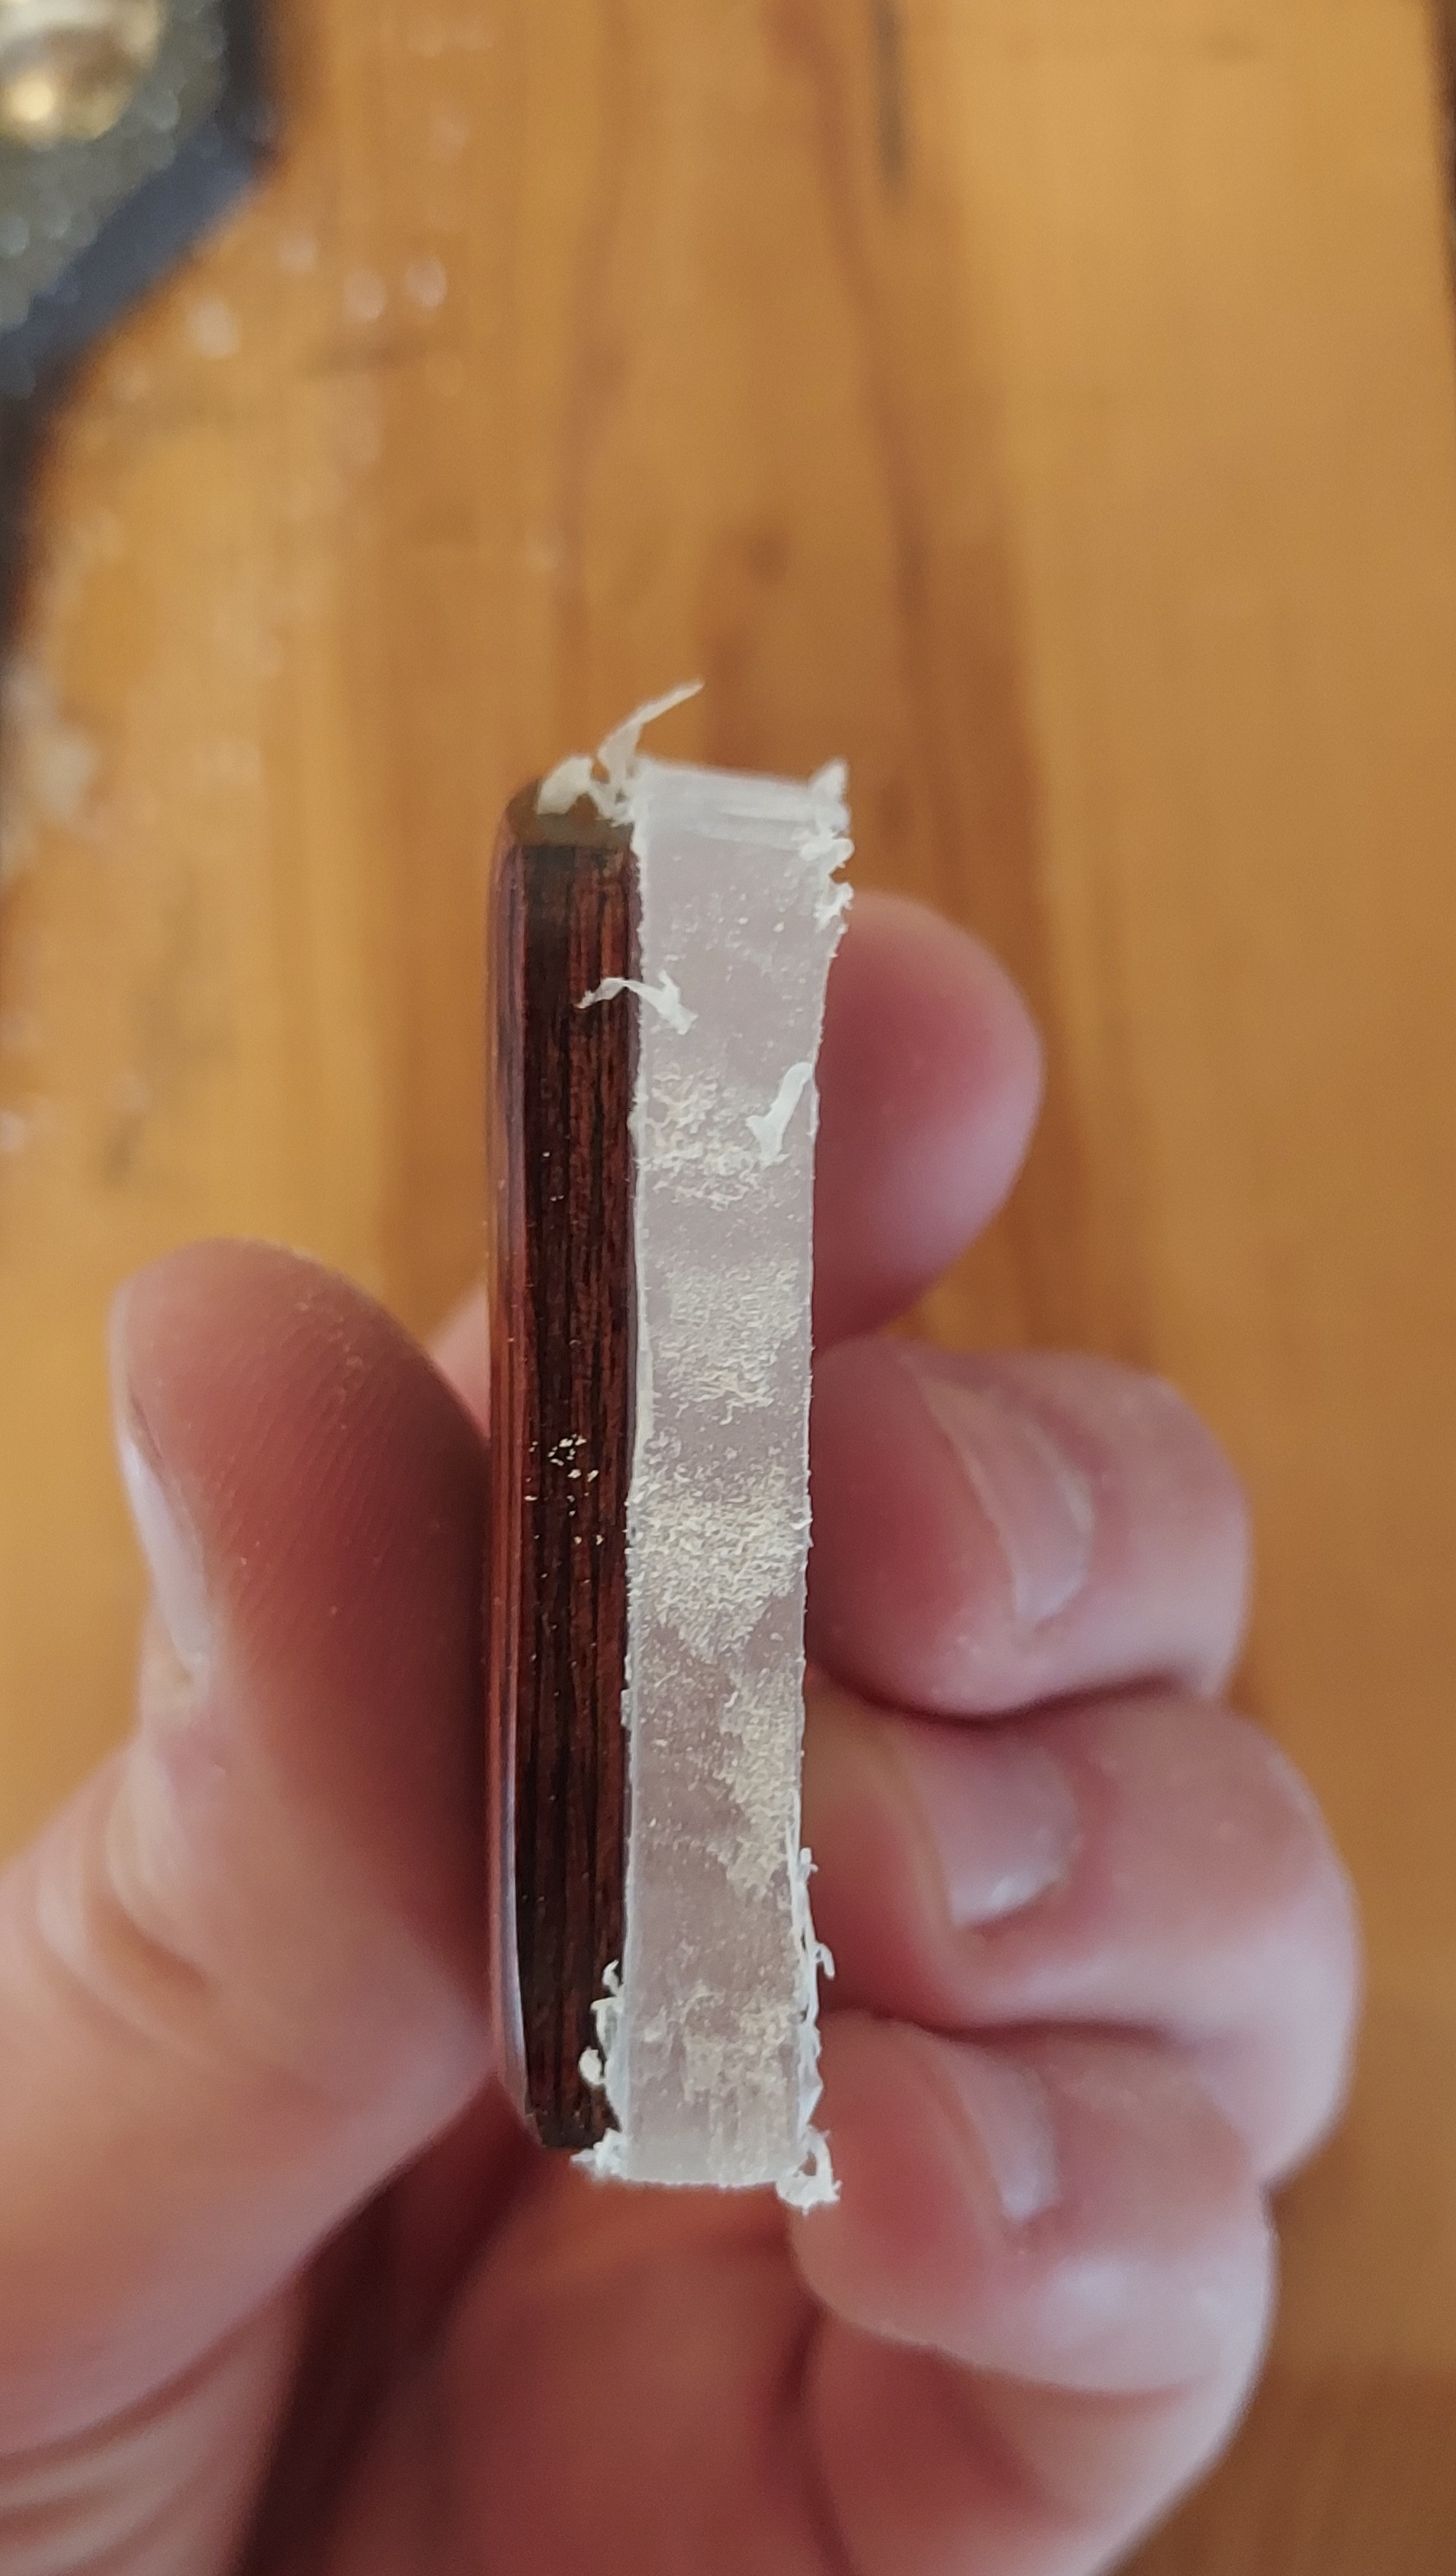
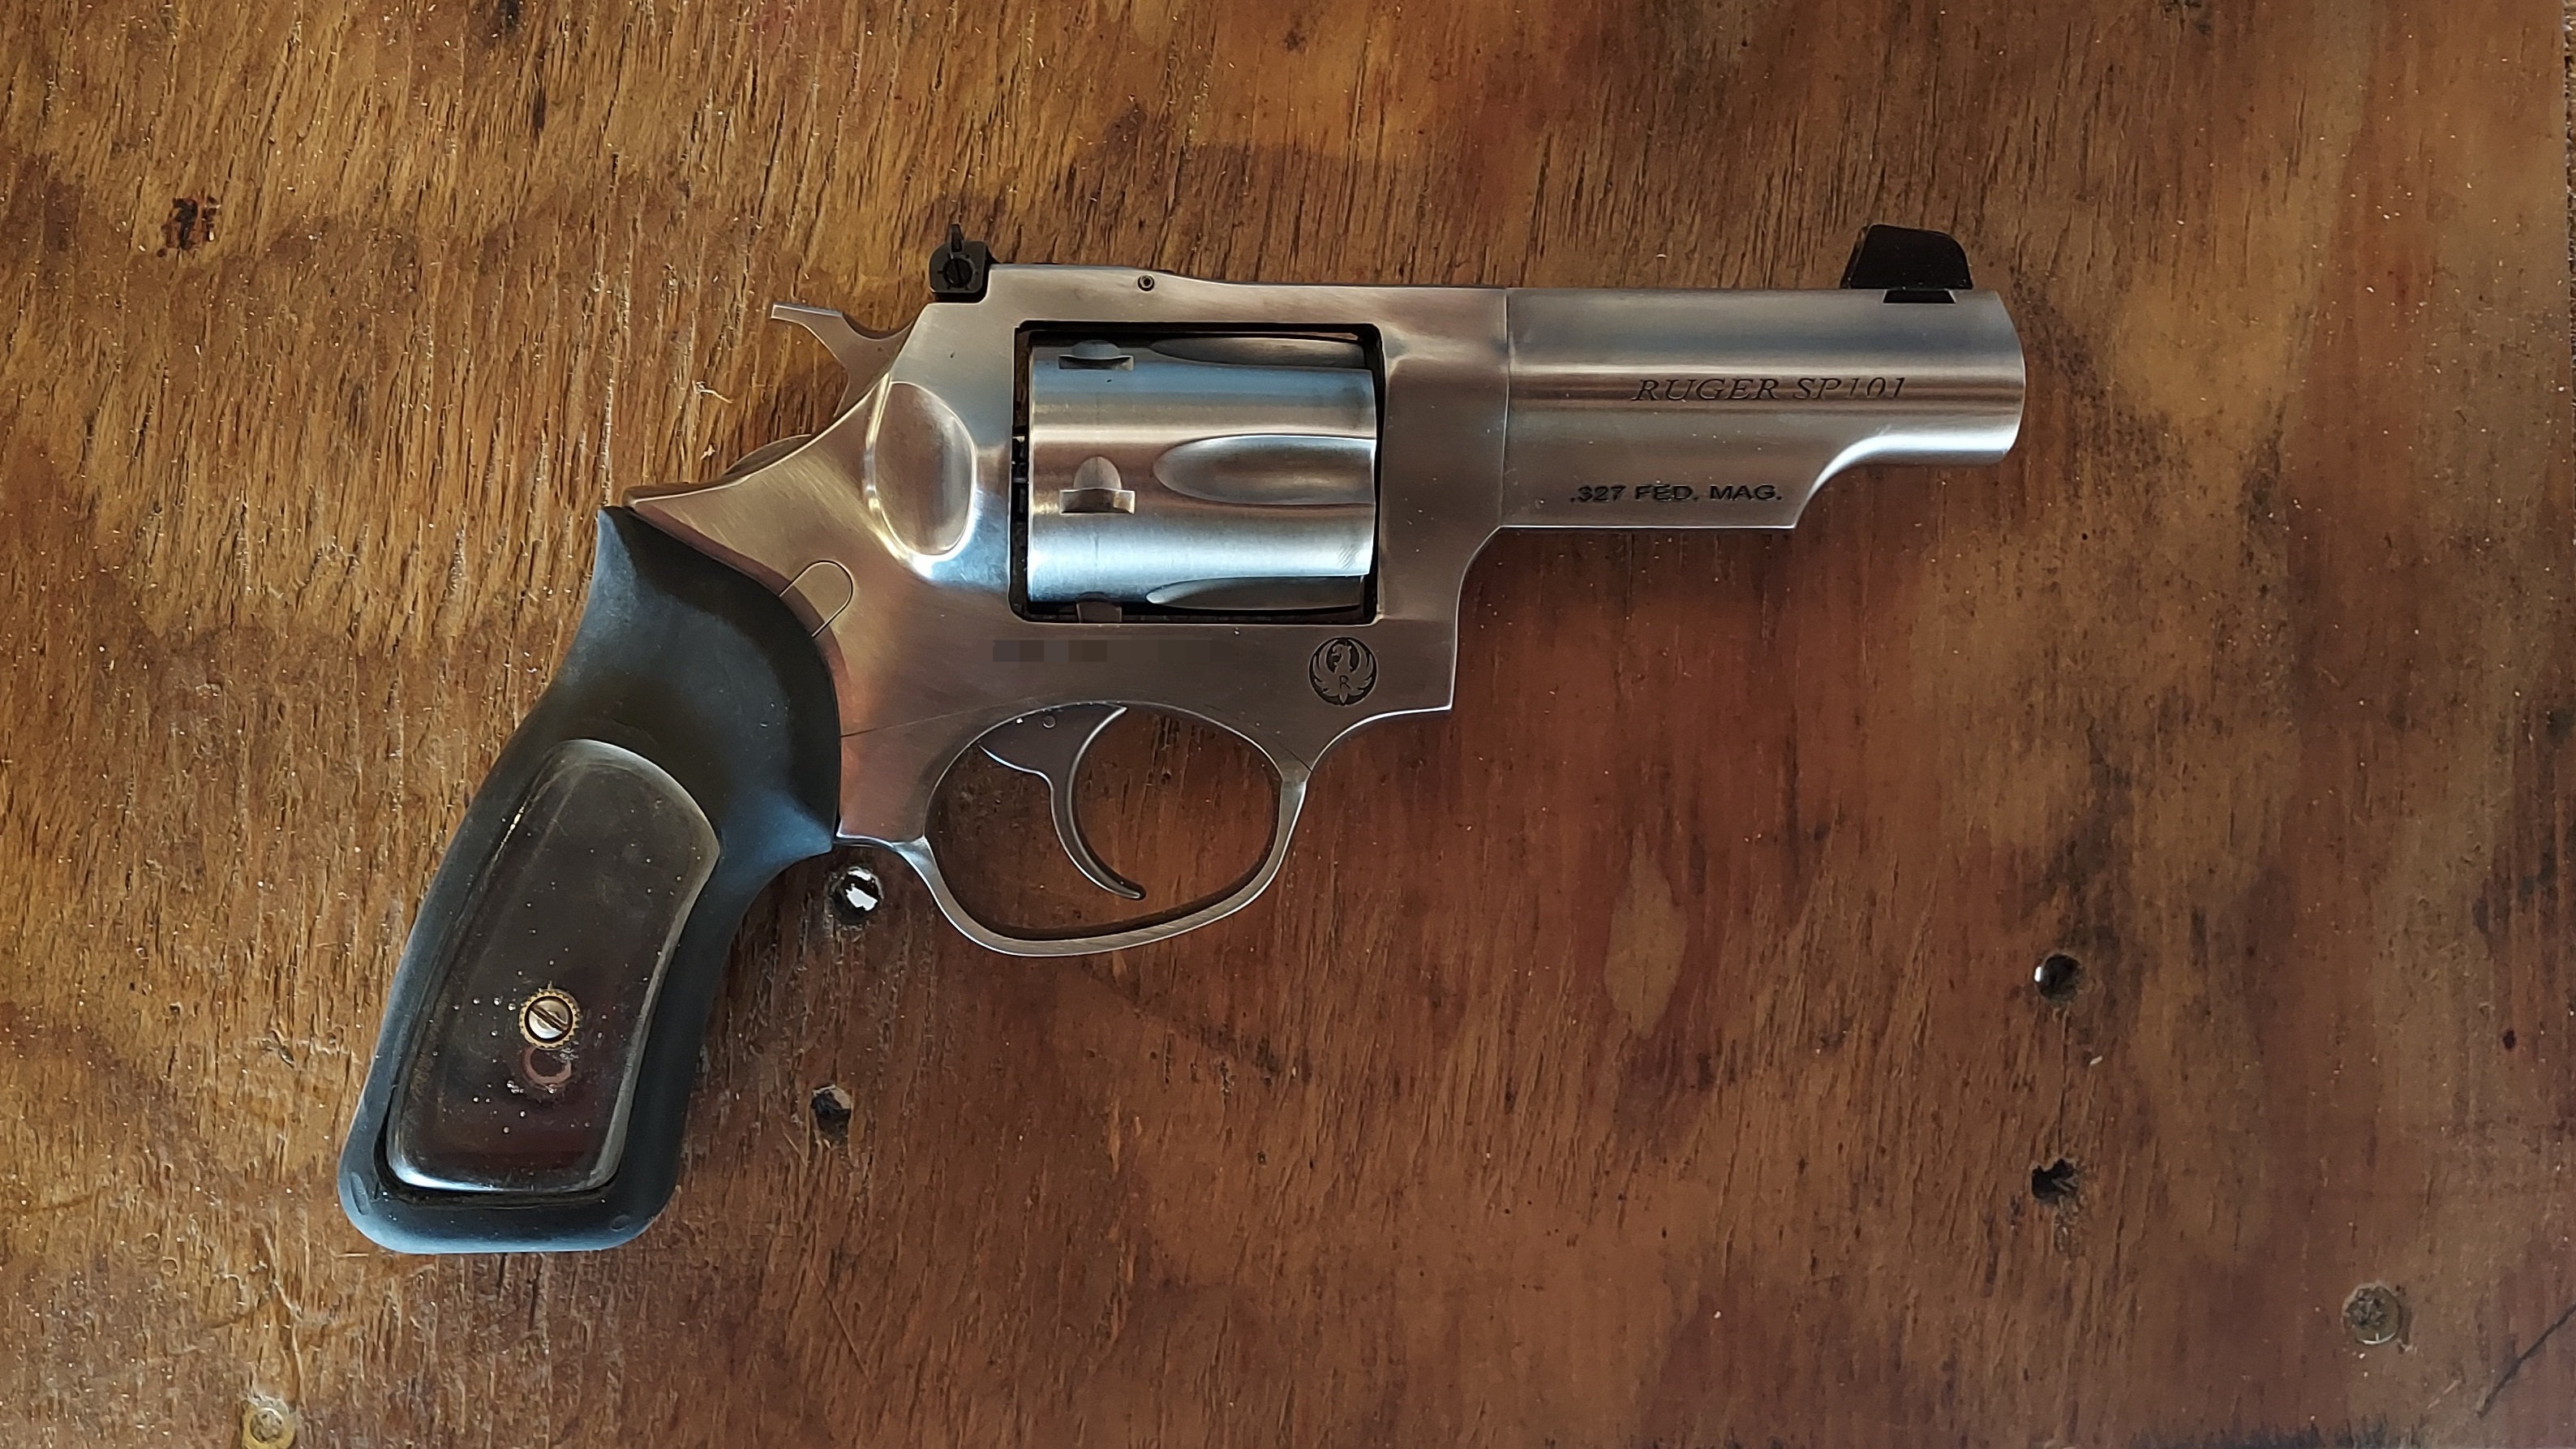
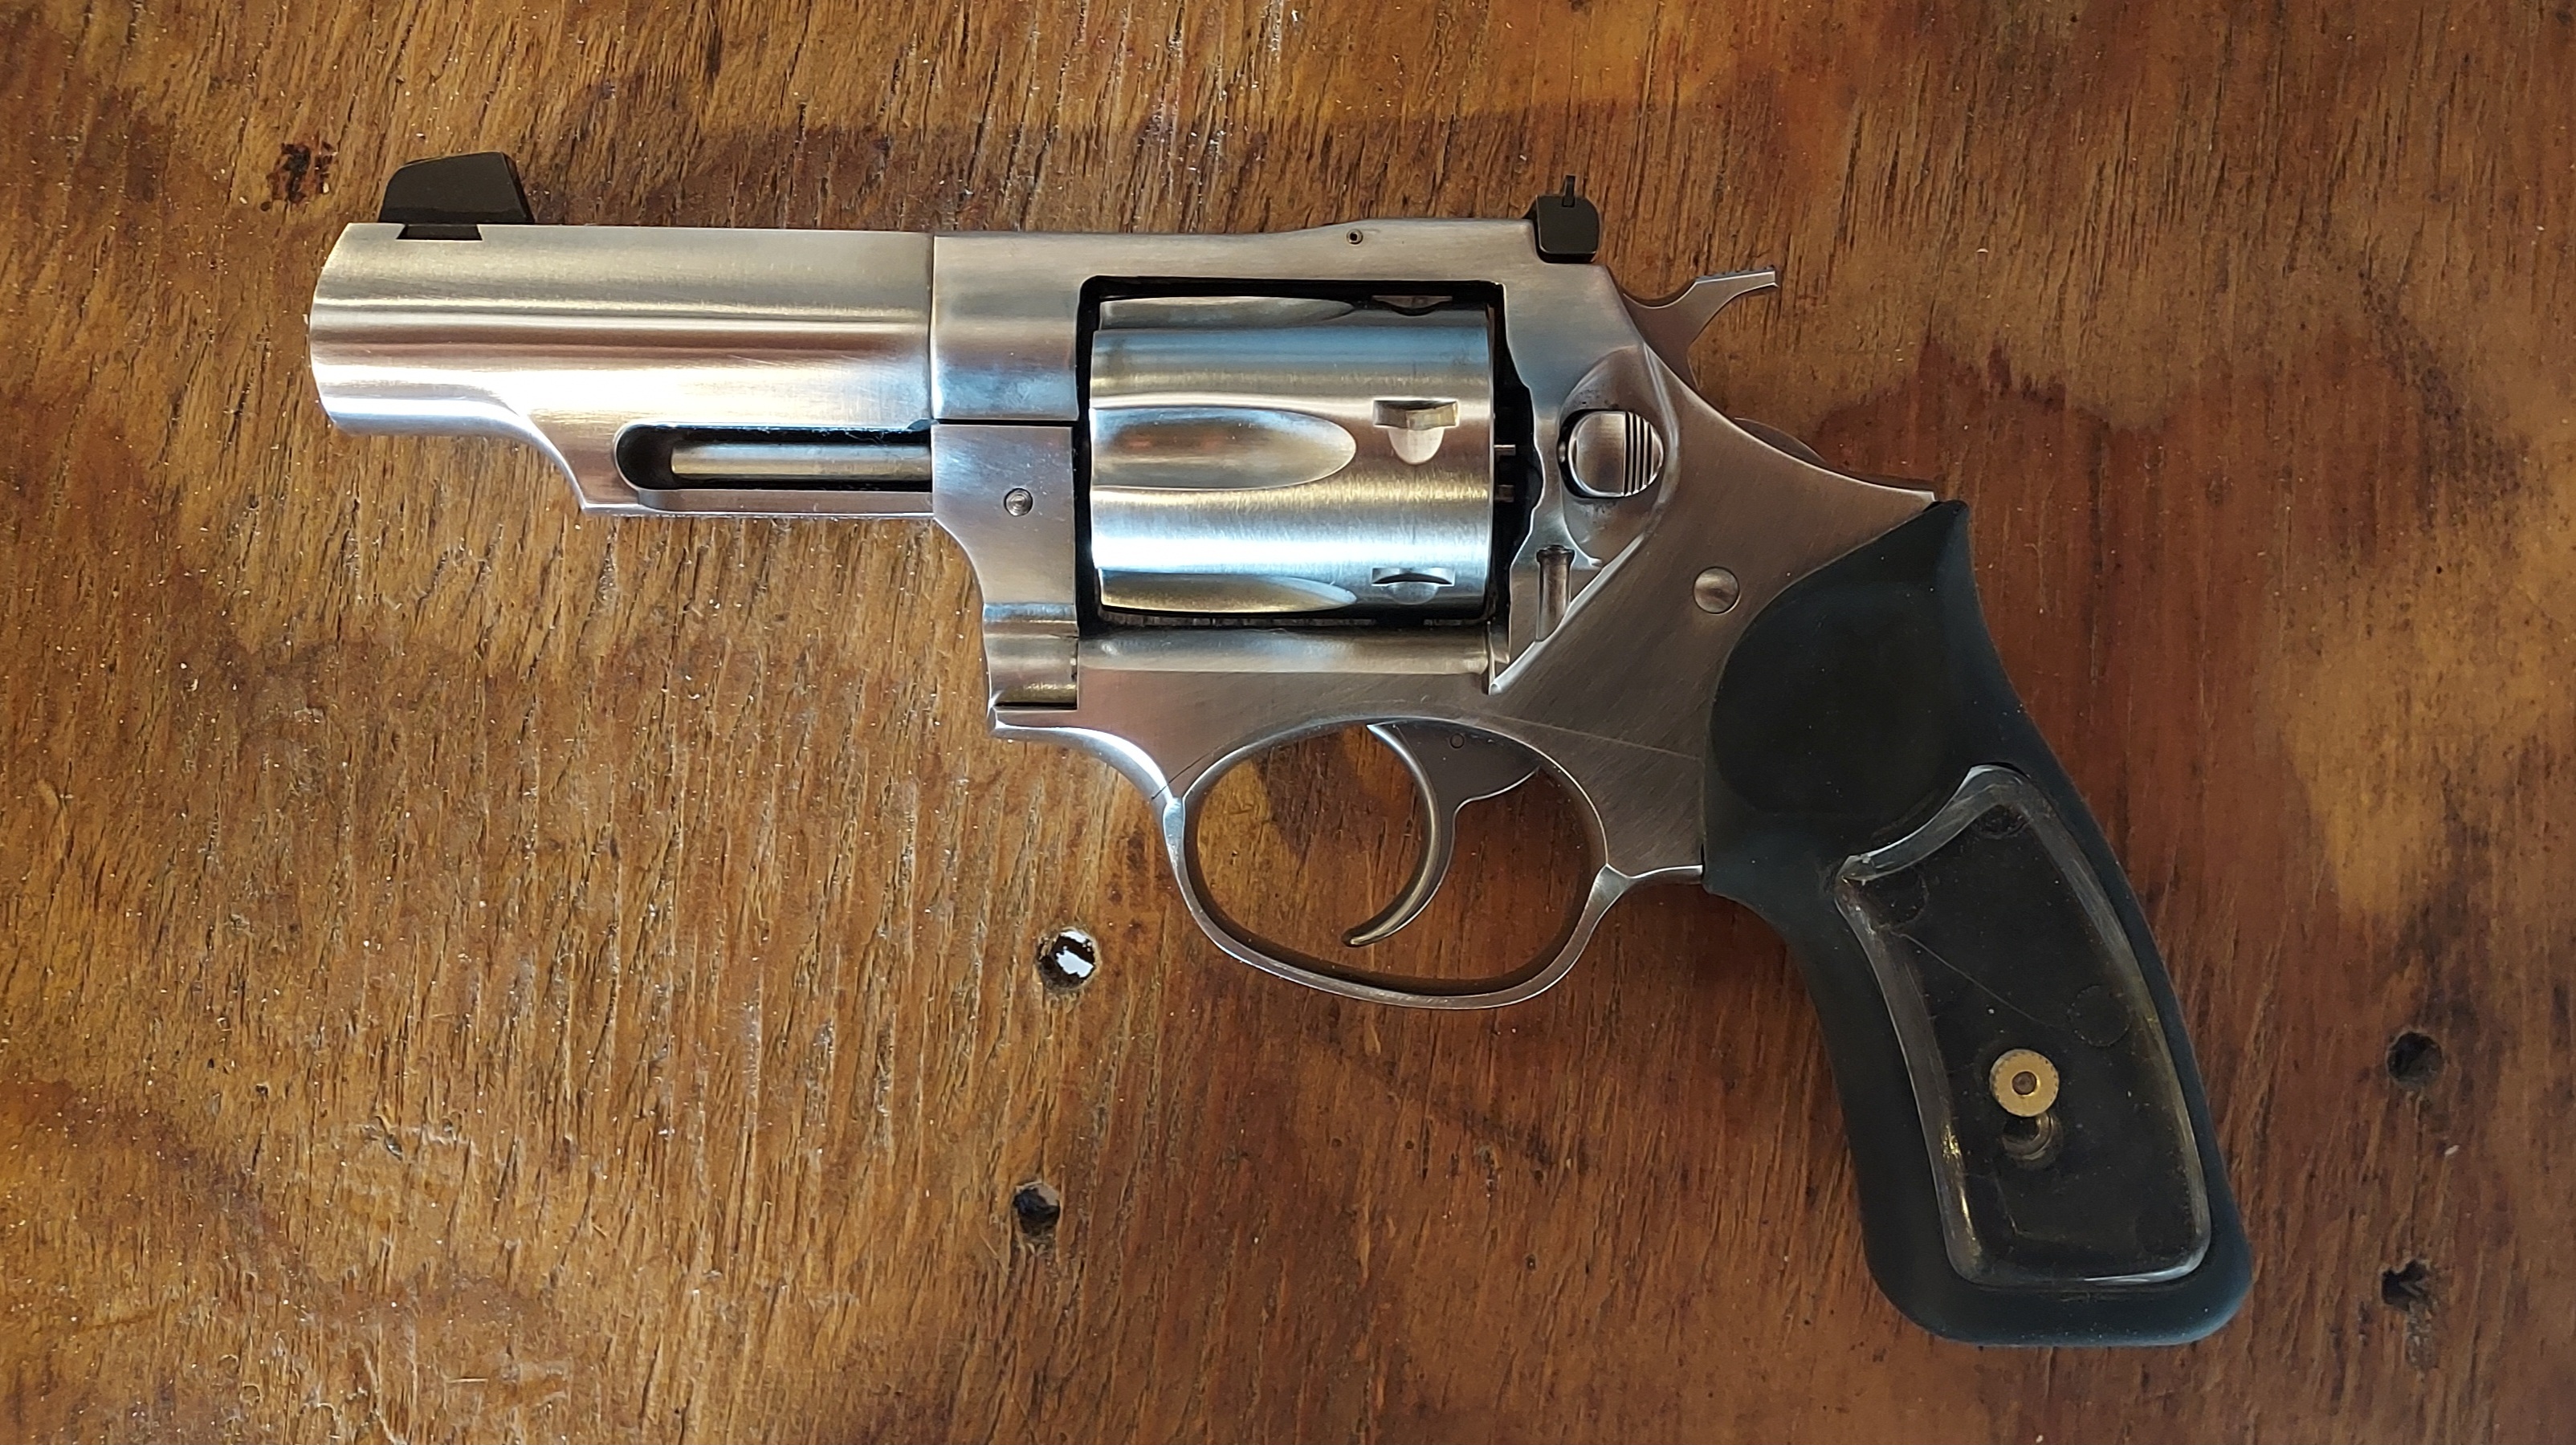
The Ruger SP101 is a particularly easy gun to make such grips for, because the grip is mostly rubber with plastic or wooden inserts. The inserts, or panels, are a fairly consistent thickness, slightly under 1/4th inch thick. This makes them ideal for a beginner to practice on before moving to more complex grips. Note that this holds true for other materials as well, so if you want to try your hand at antler or wood or whatever other materials, the SP101 would be a good choice. Same with the GP100.
These tools aren't necessarily ideal, but they will work well enough if you take your time and aren't a retard:
I found these to be pretty good and would recommend them:
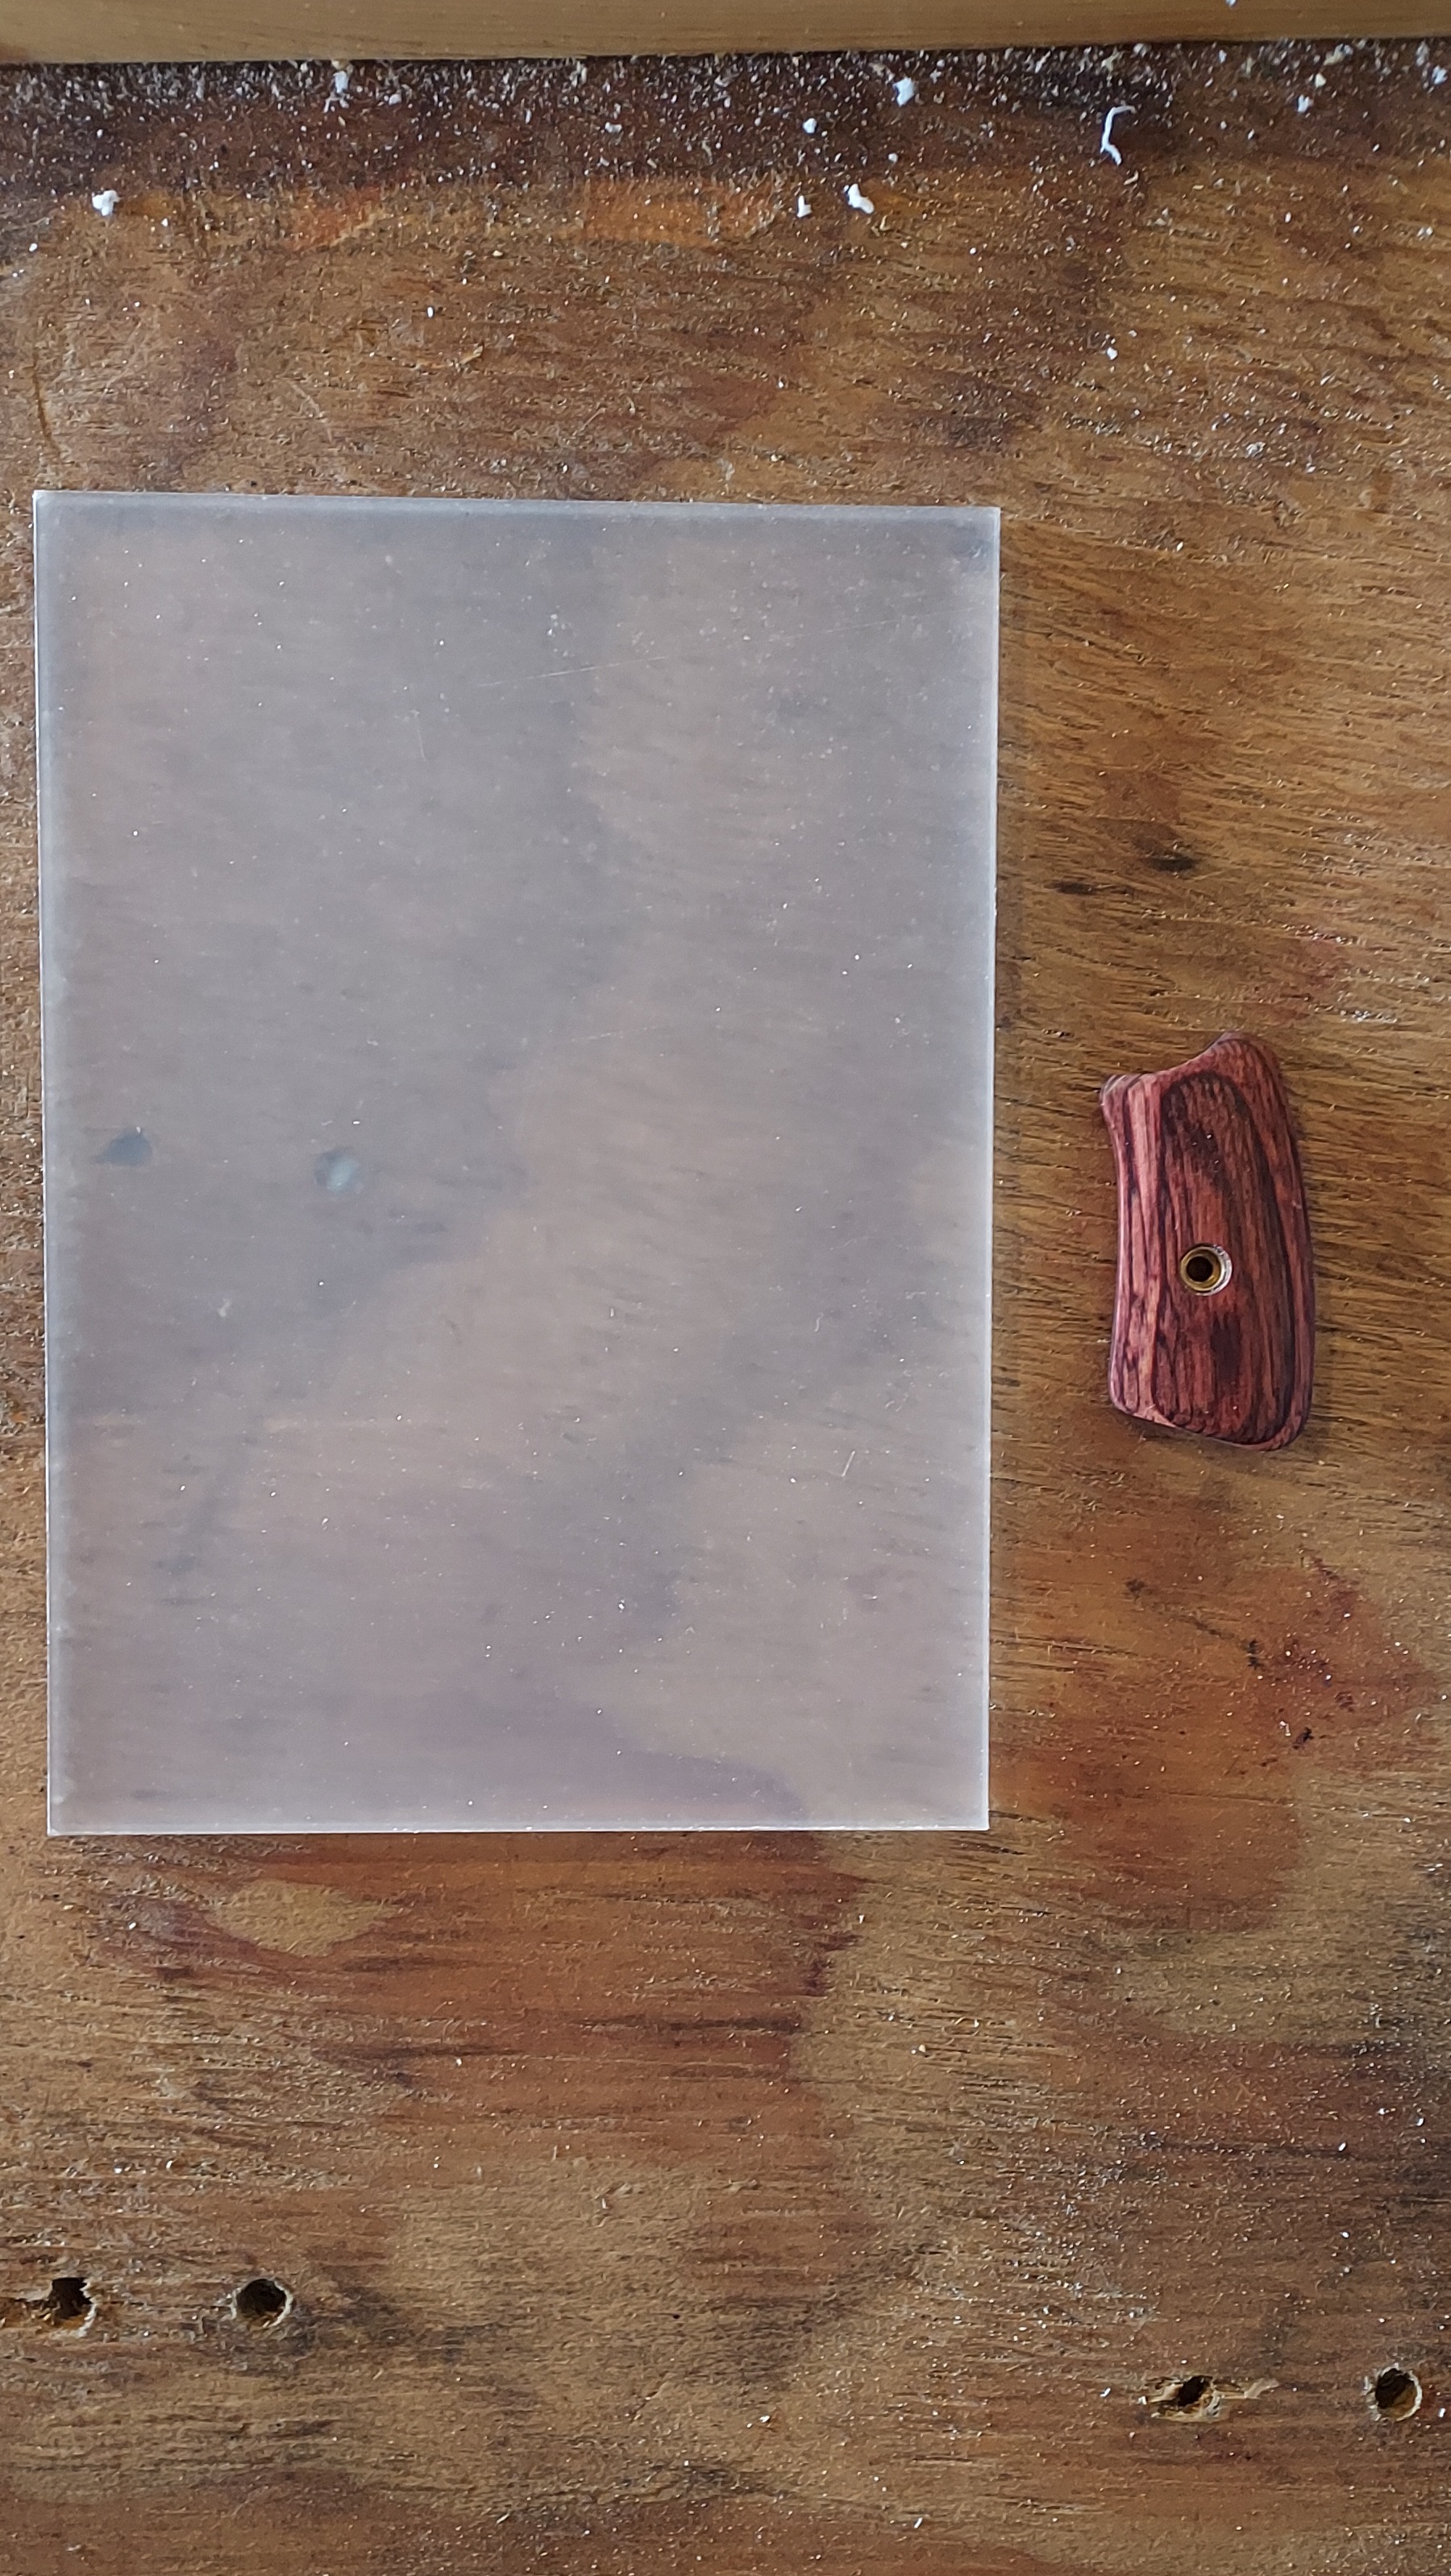
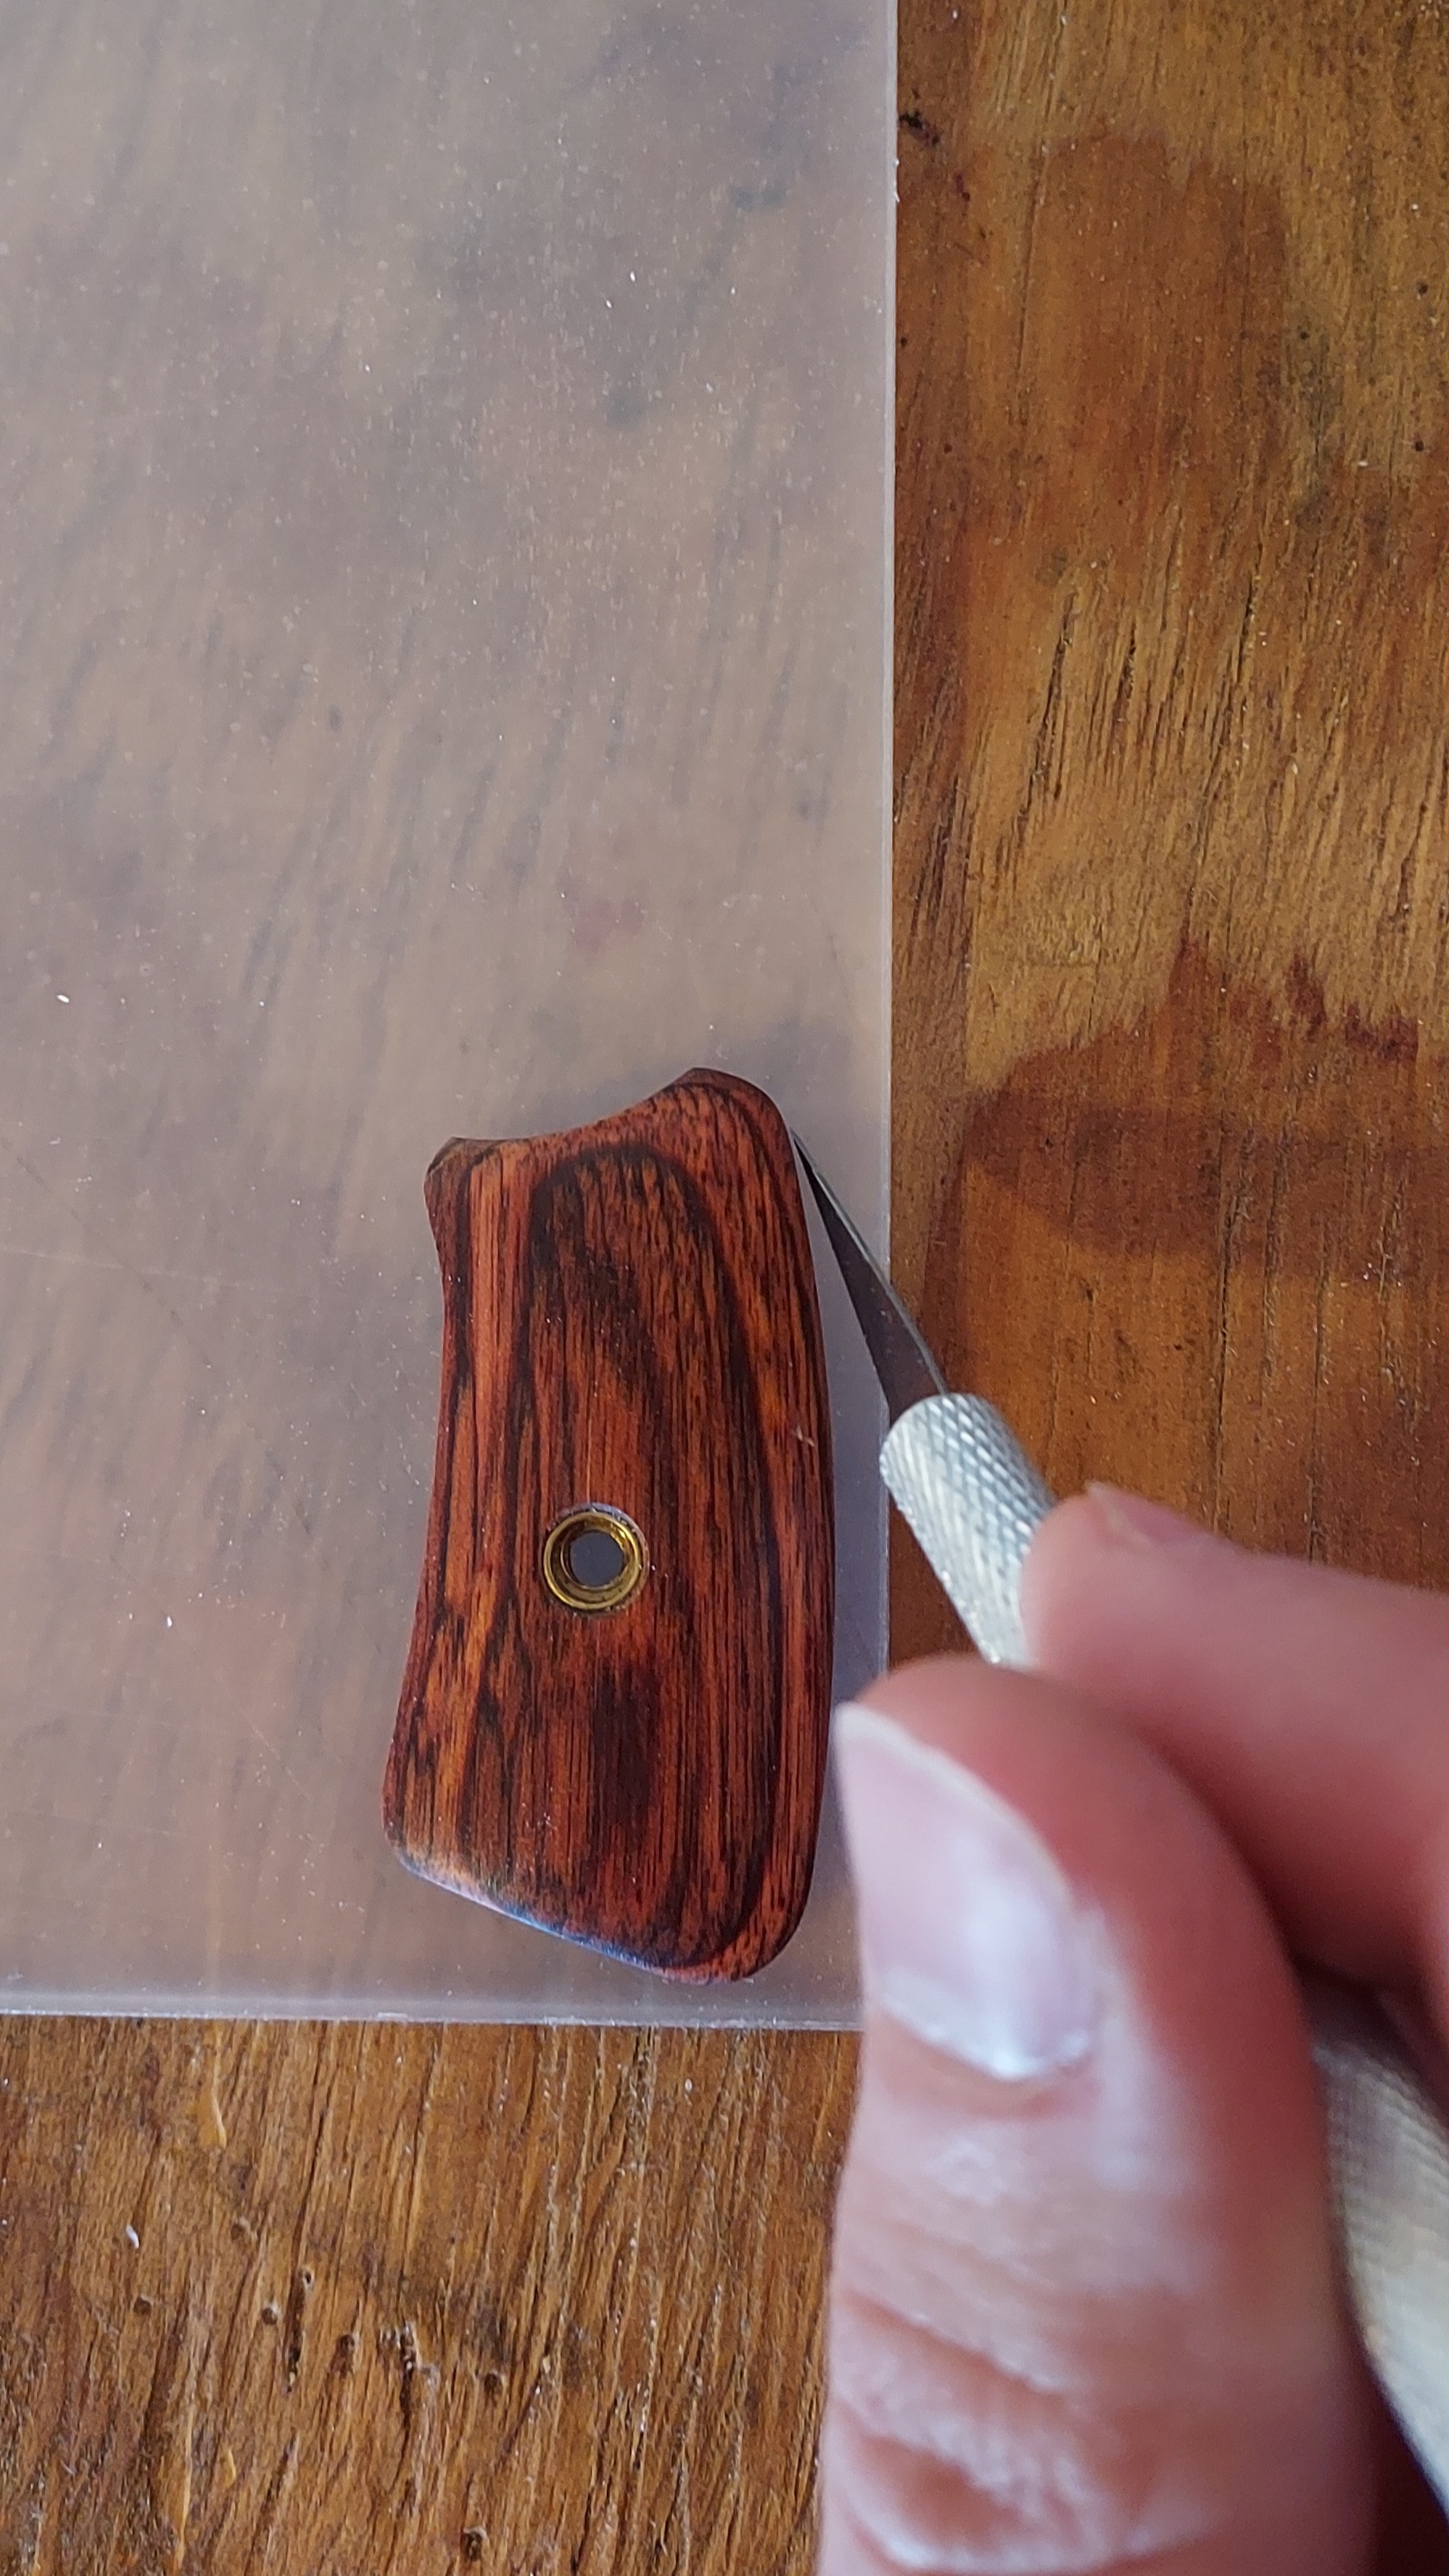
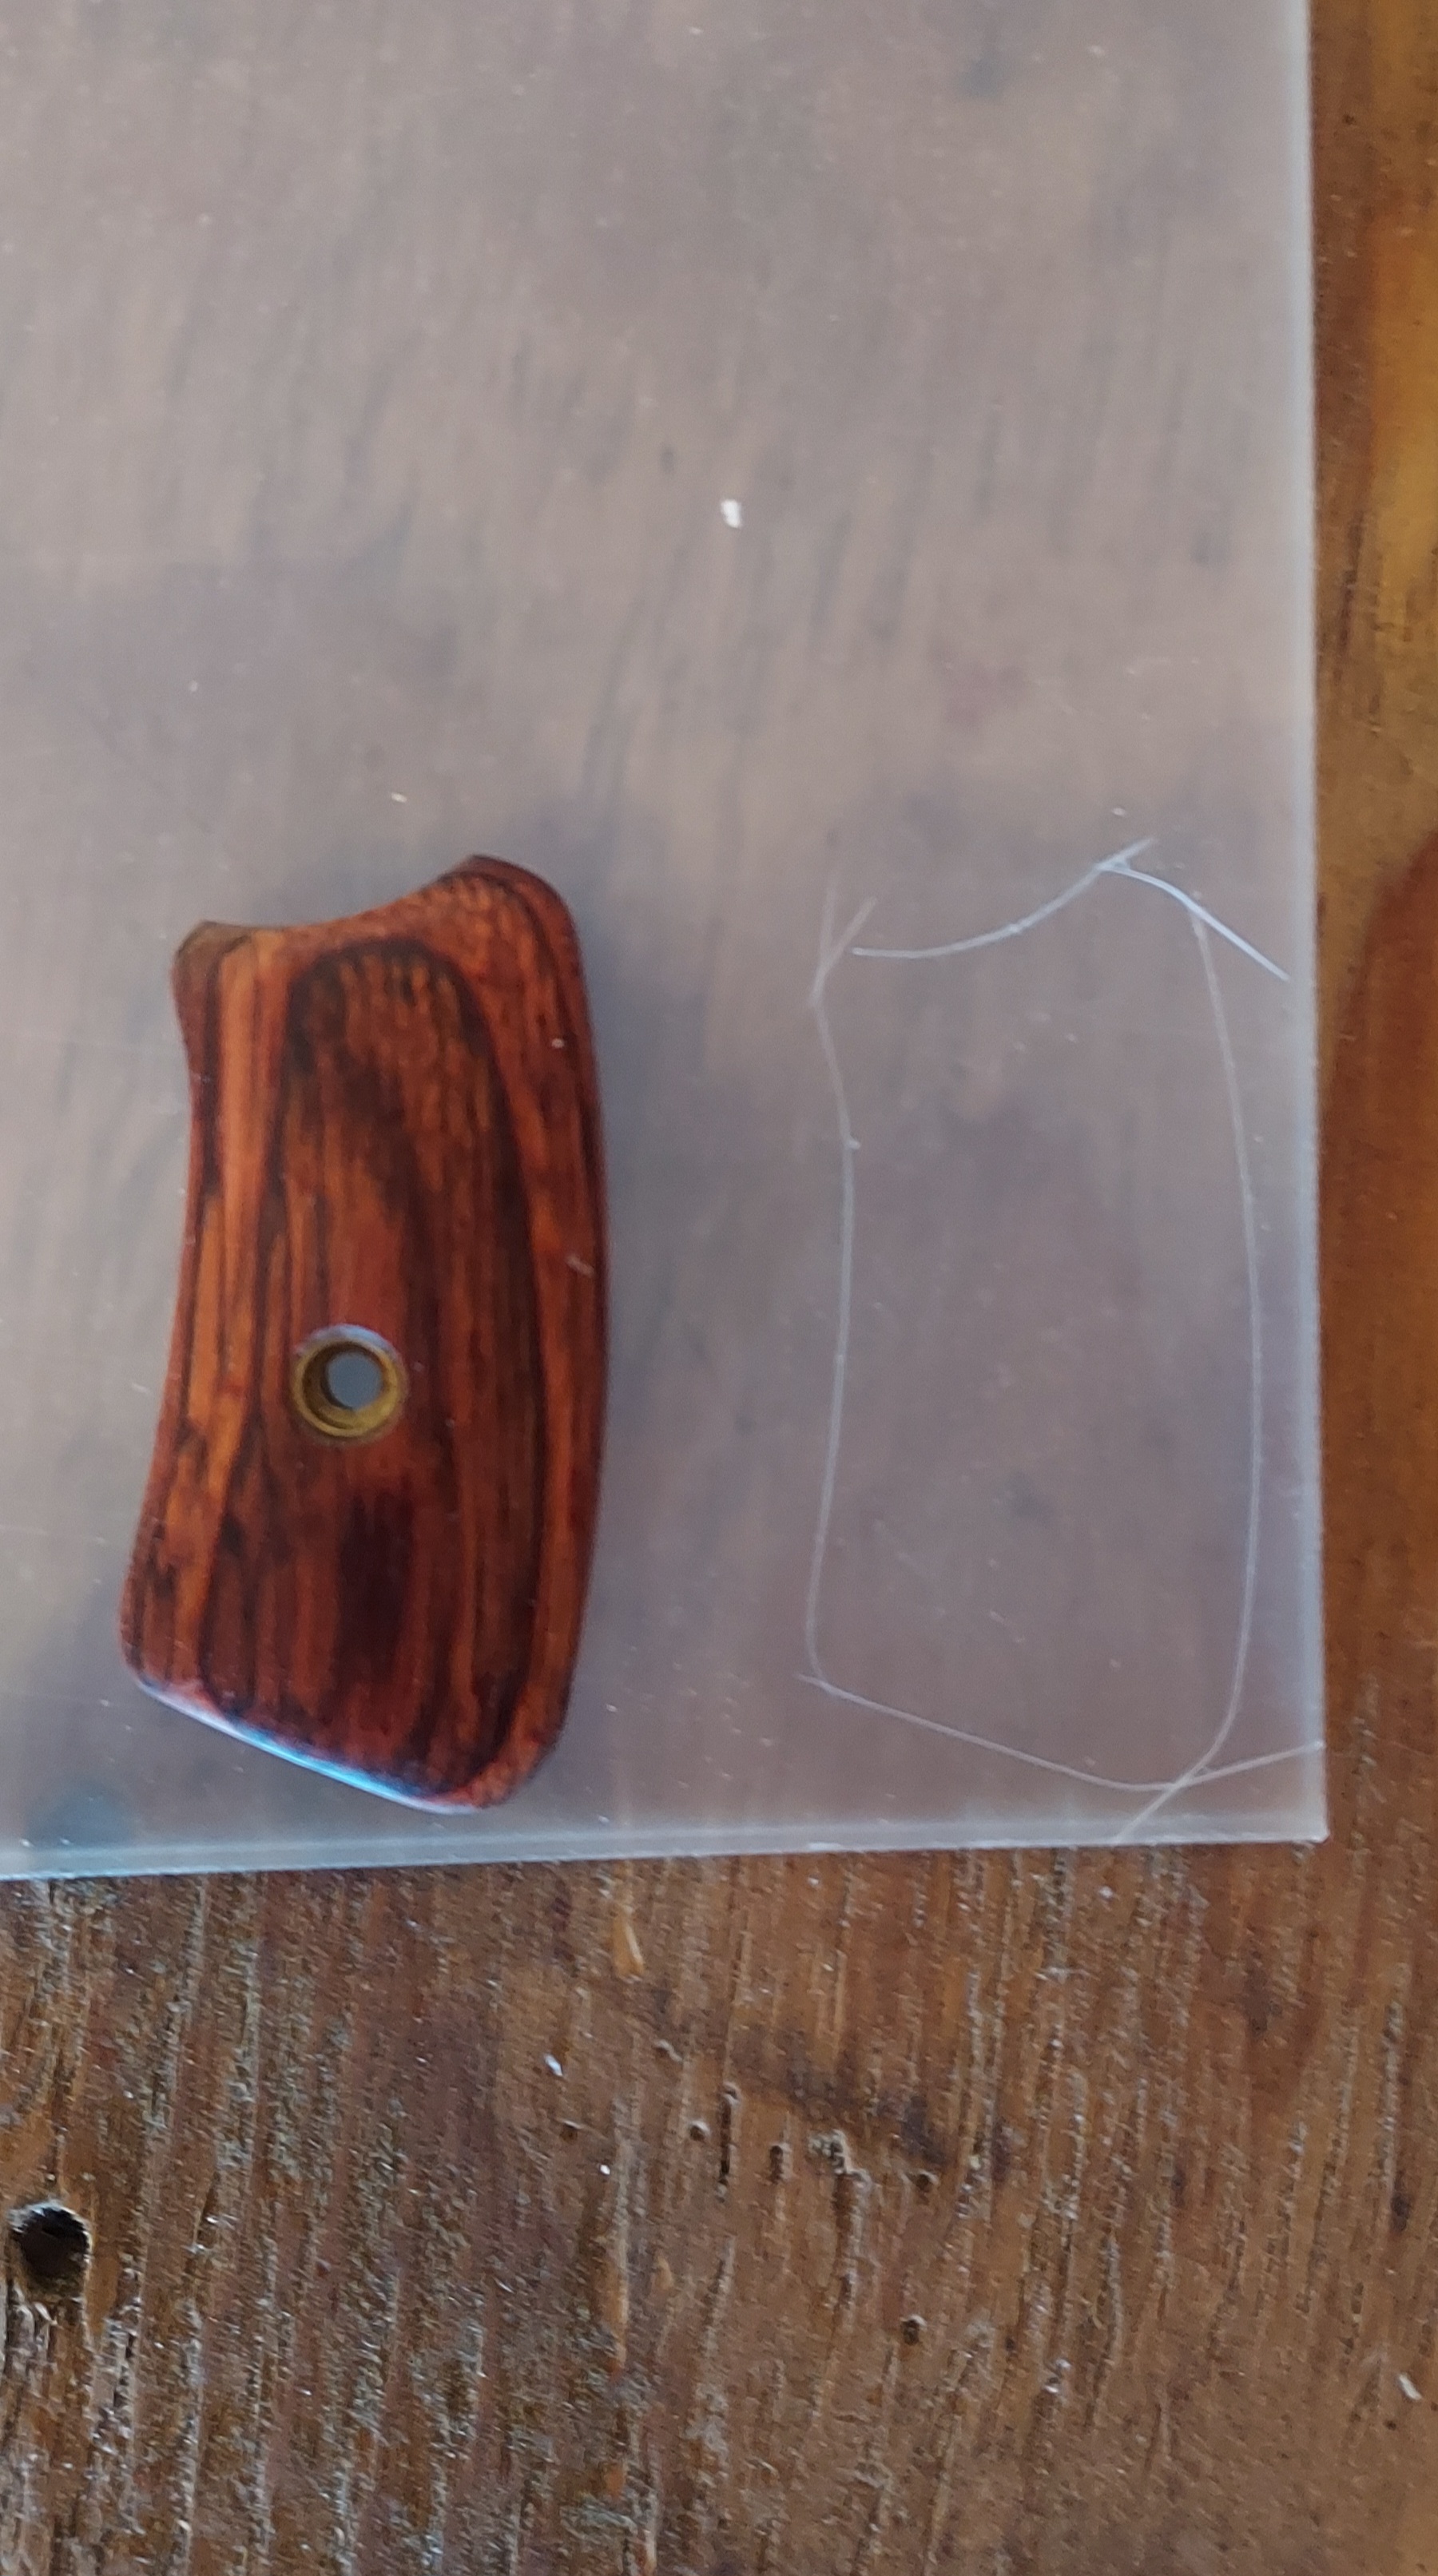
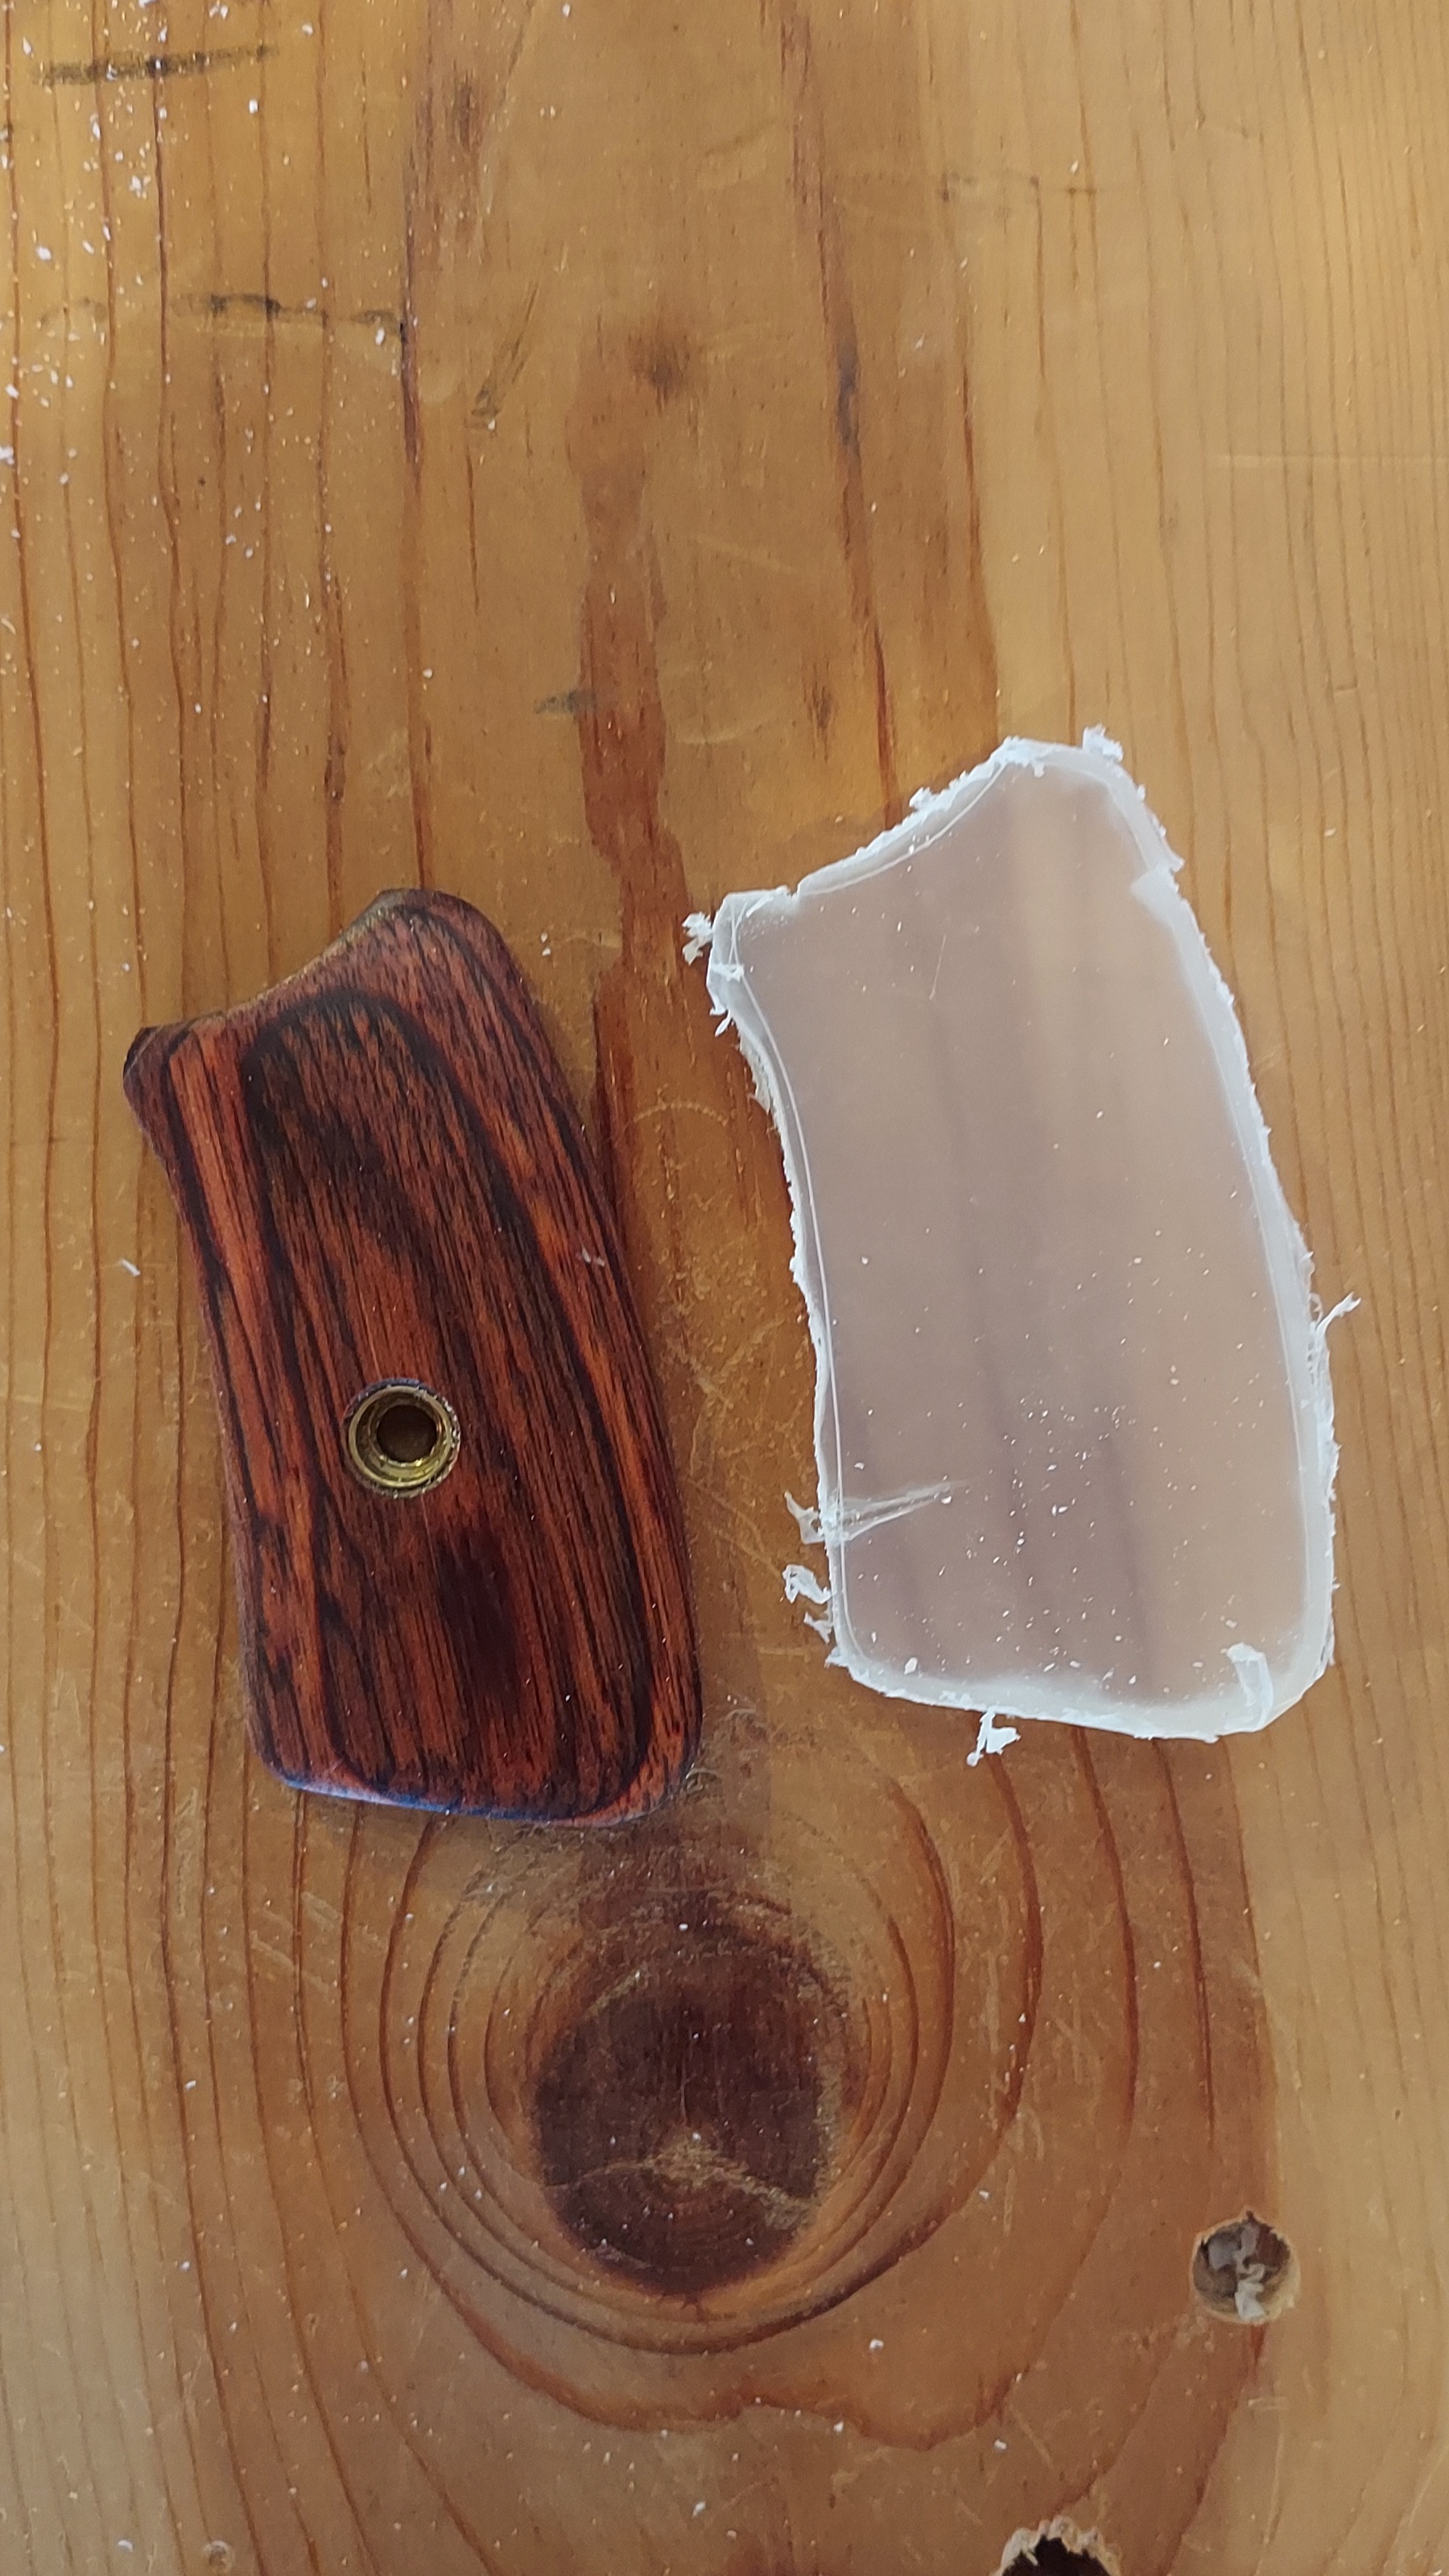
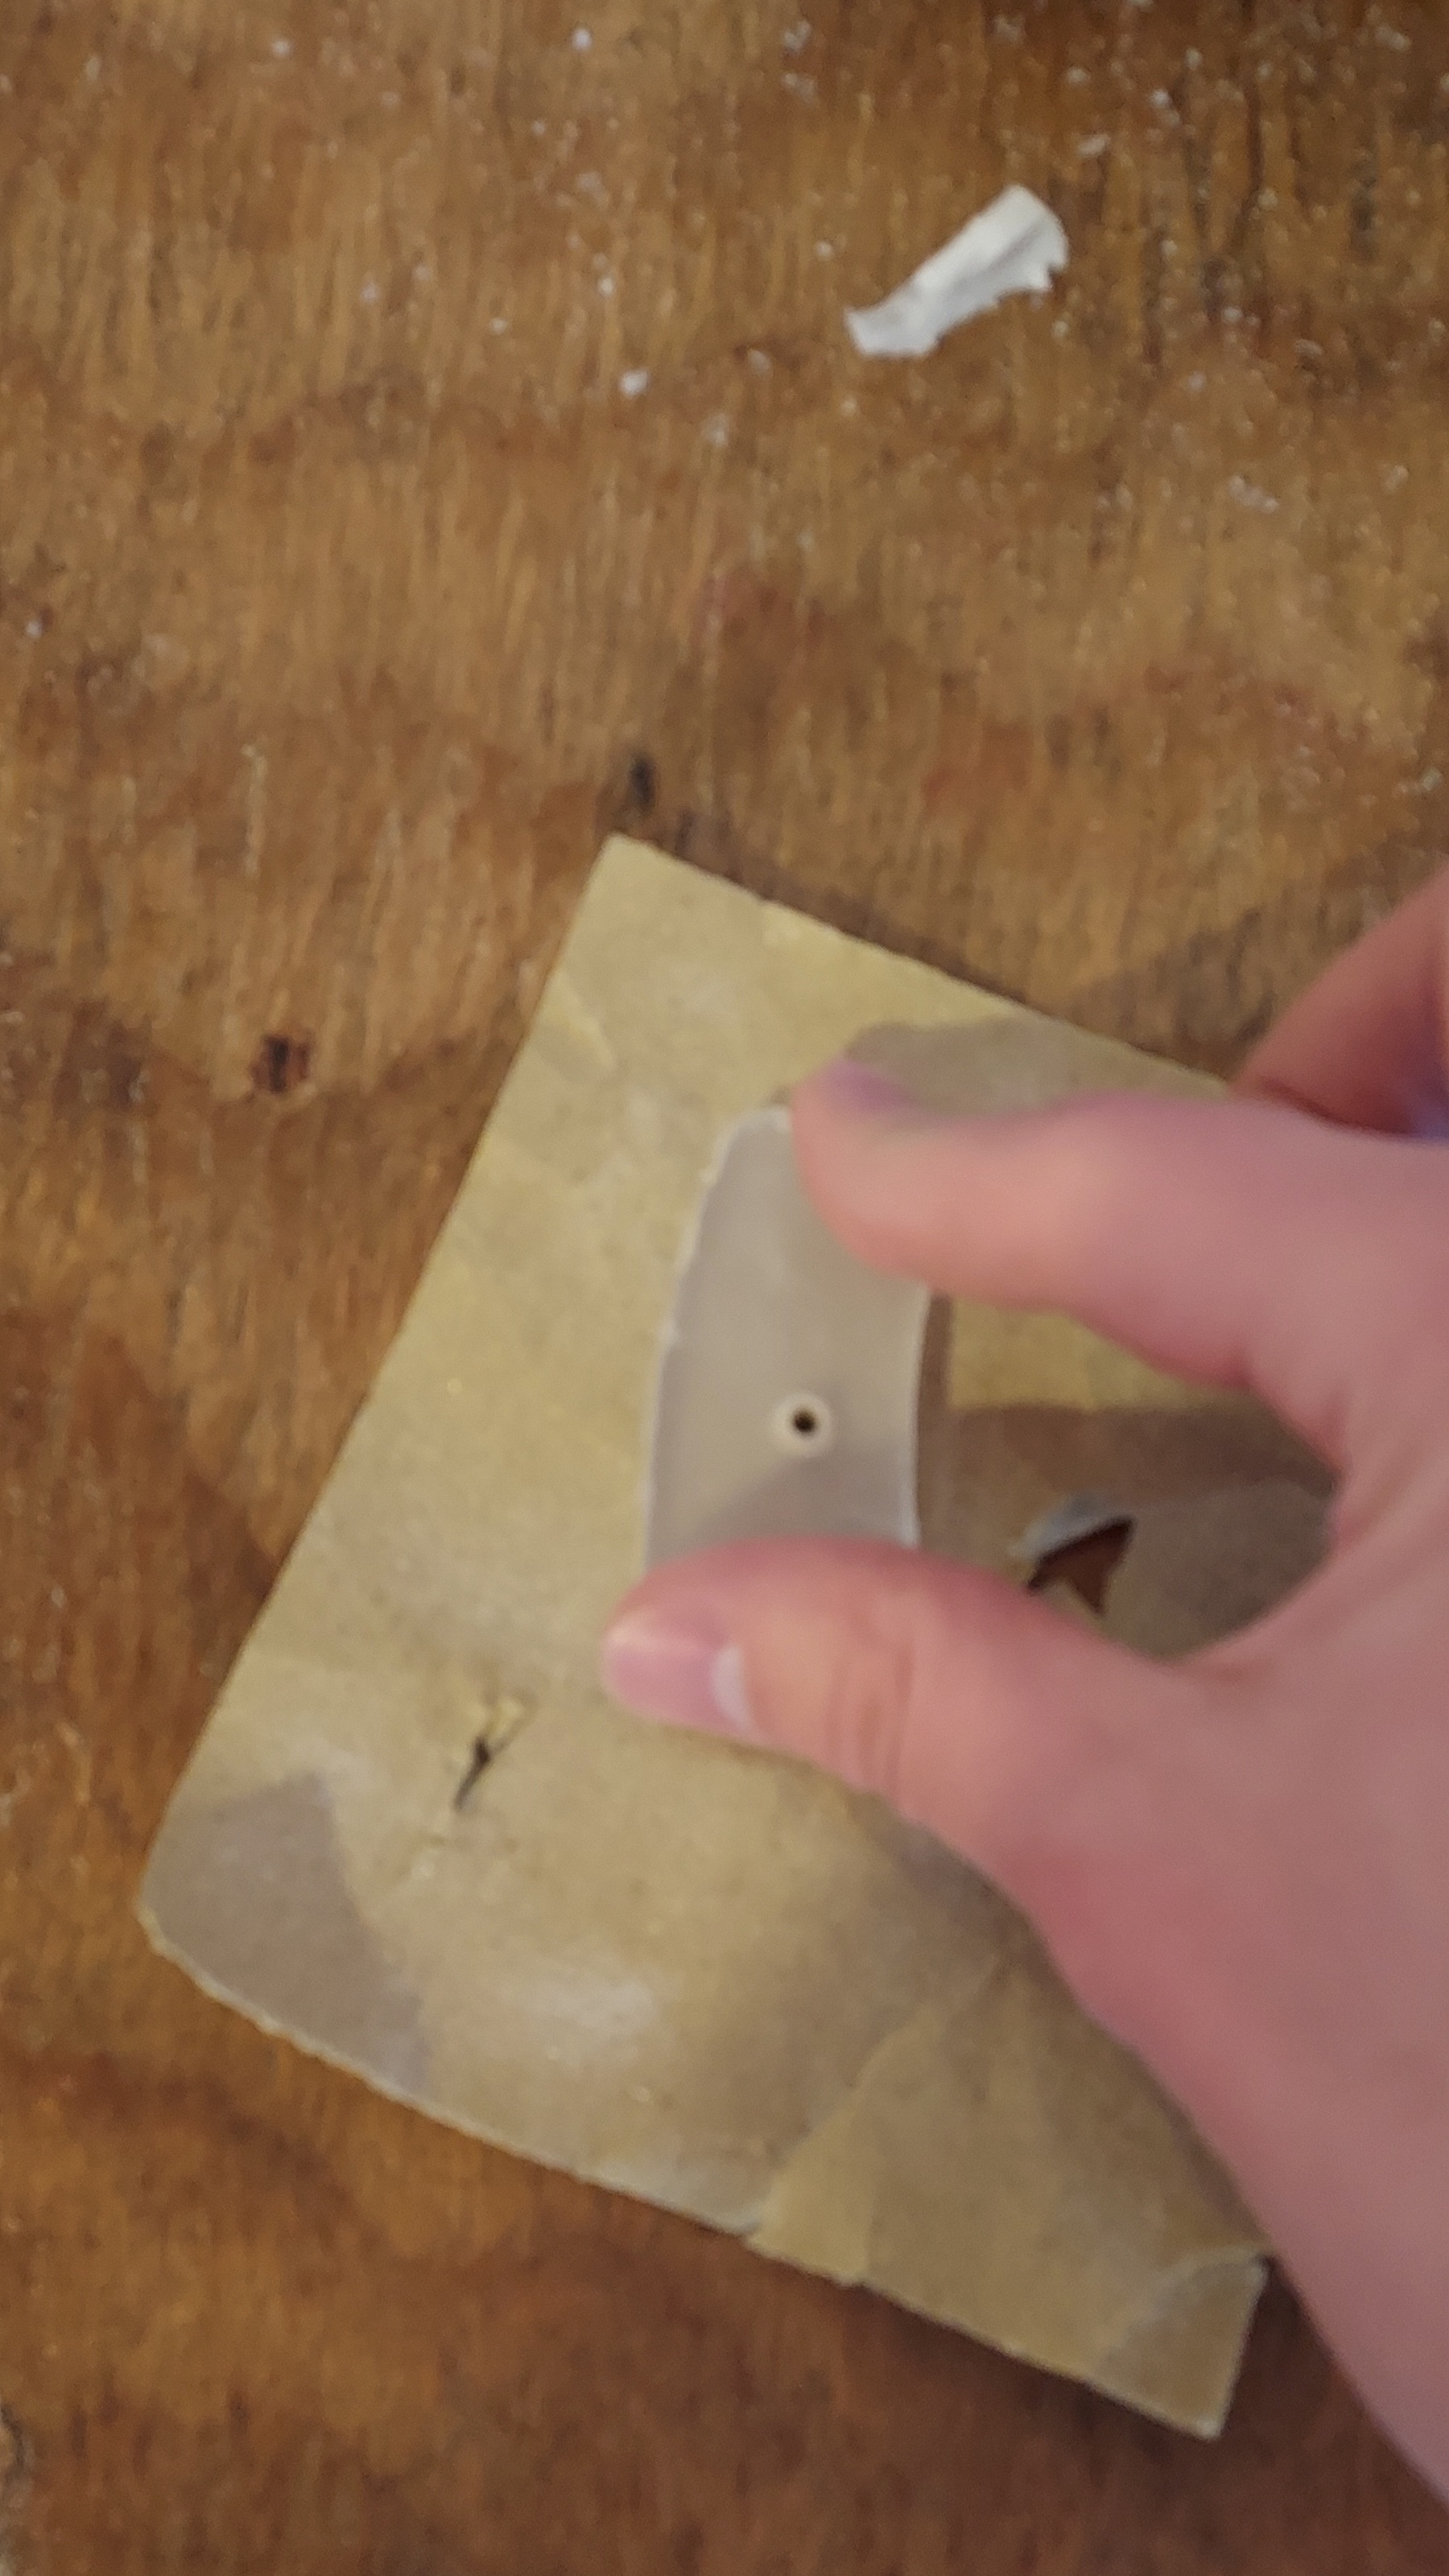
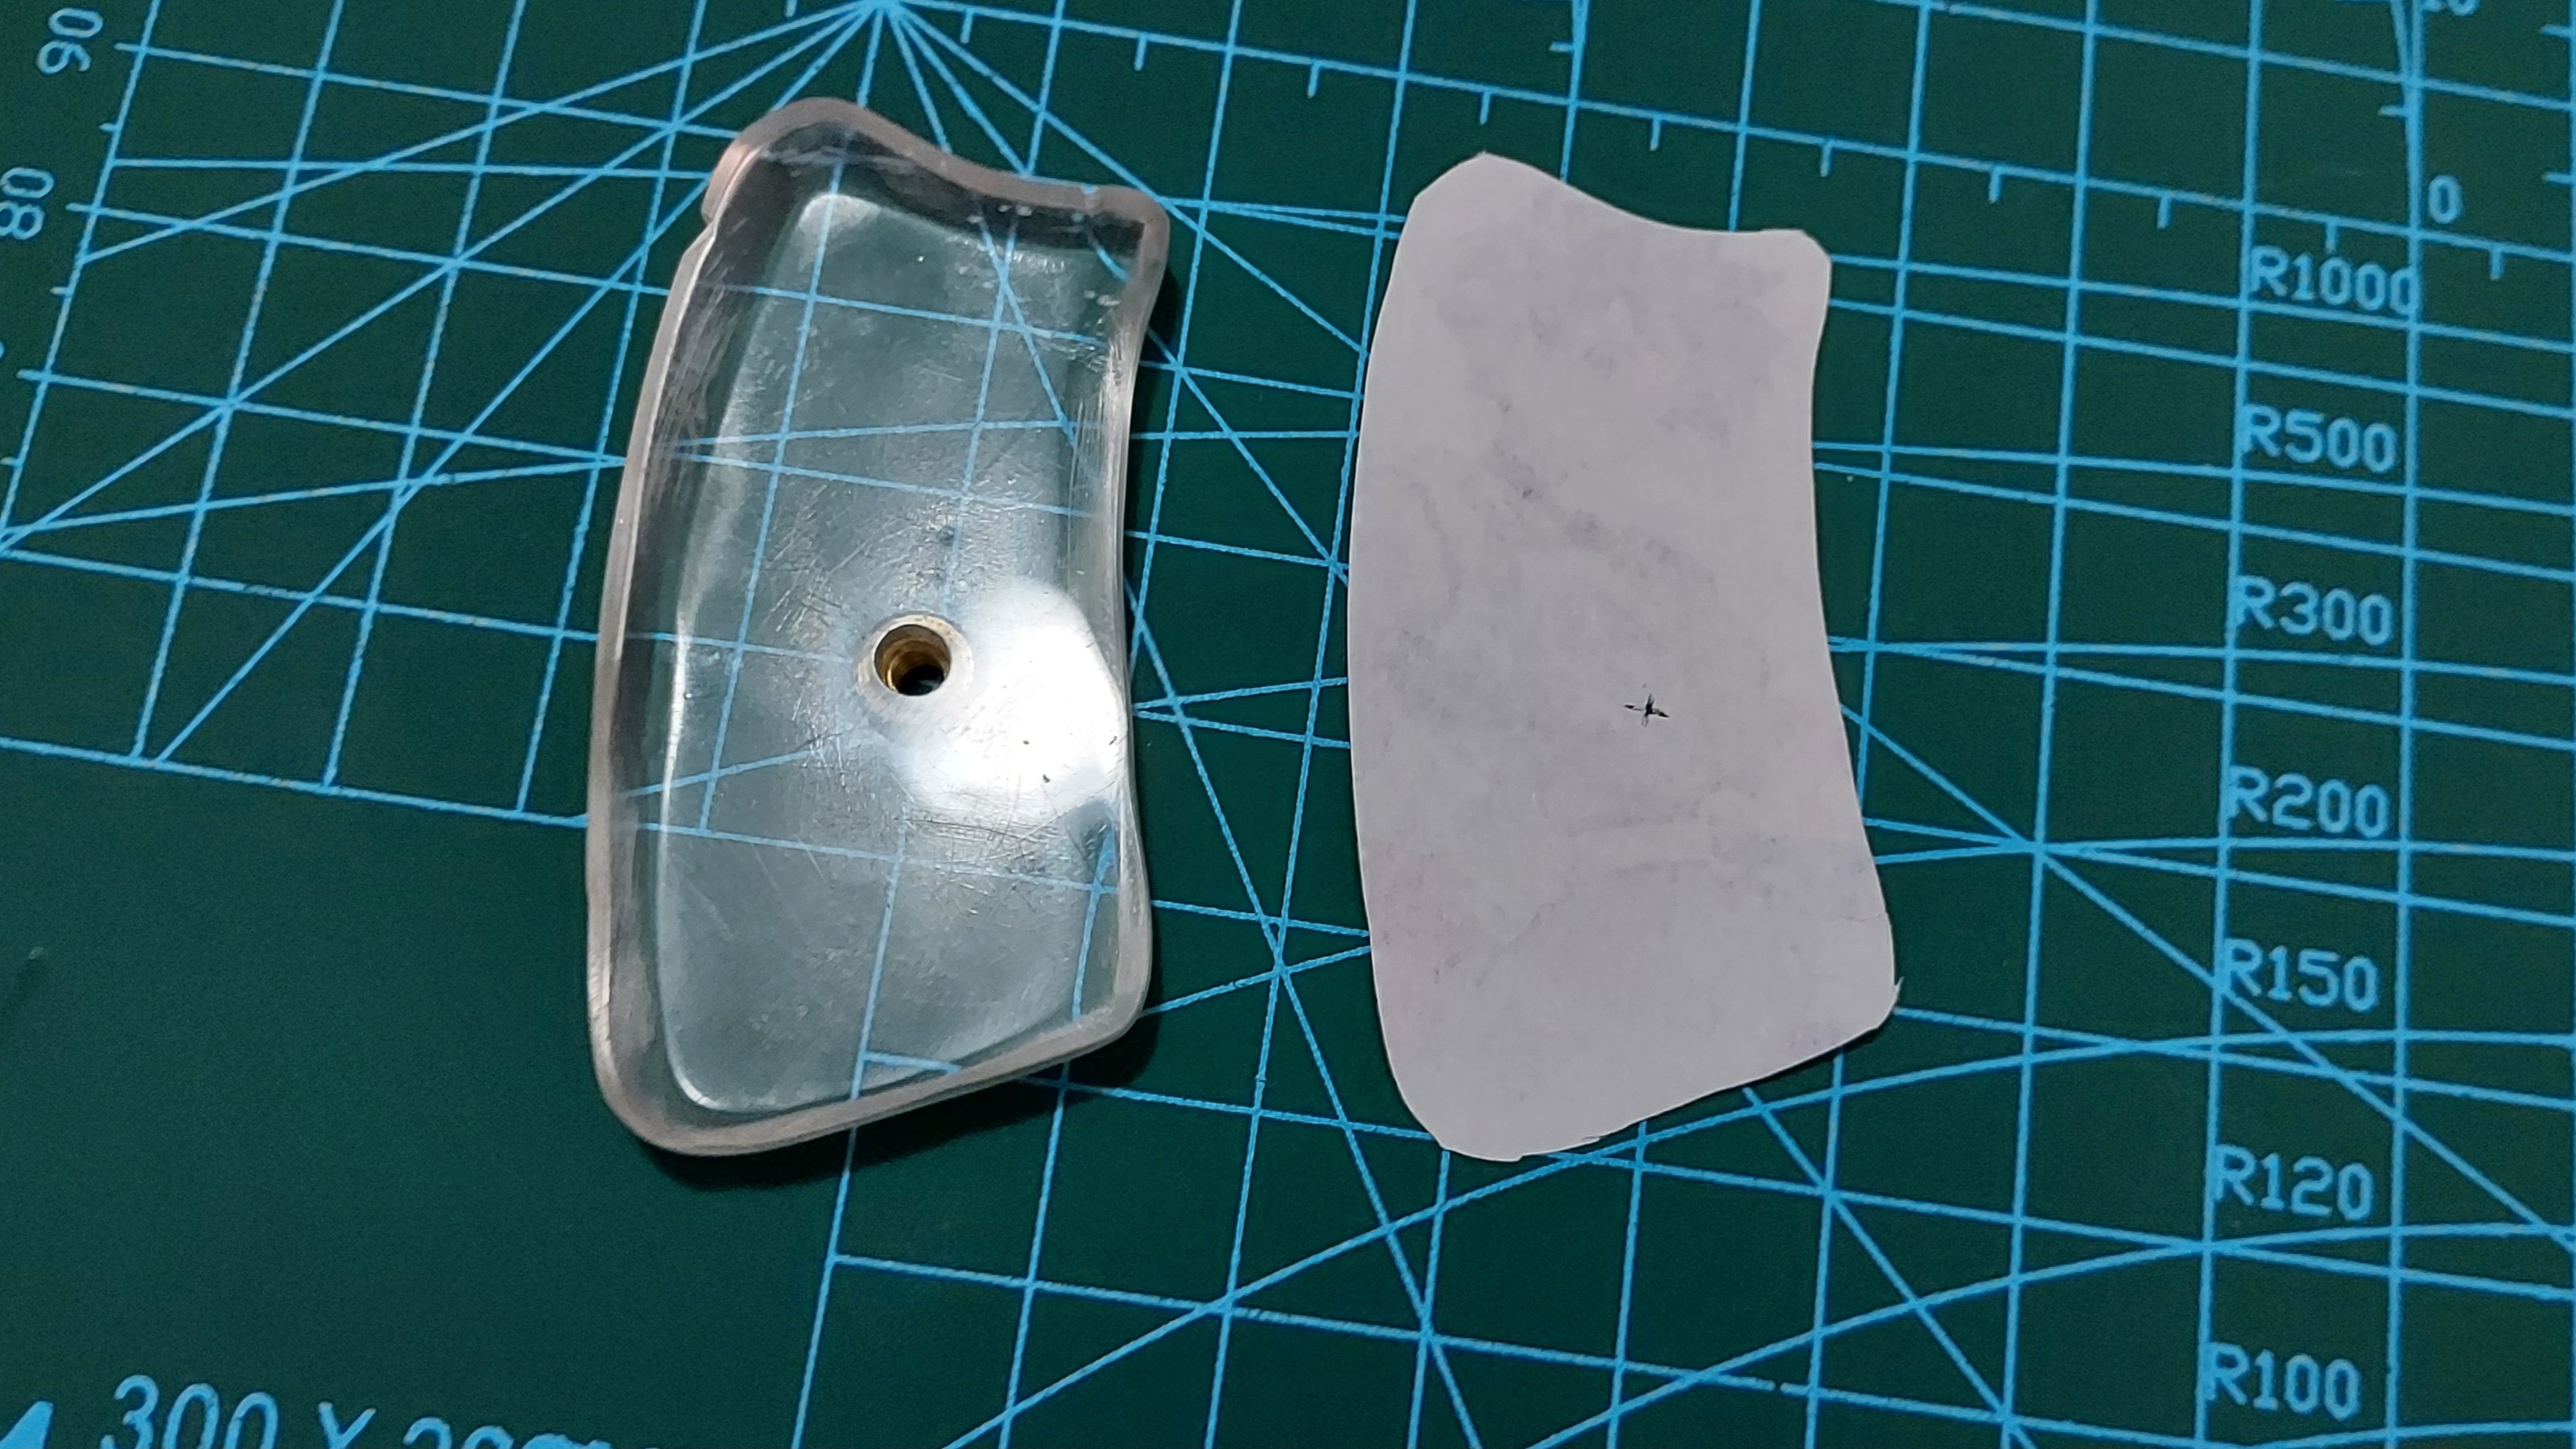
First thing to do is grab your original grip panel and trace it with the exacto knife on your sheet of plexiglass. Most of the time, the plexiglass will have some sort of protective film on it, which will be very helpful to us. The goal is to get the tracing as close to exact as possible. I originlly tried to trace with the sharpie, but my tracing always ended up a lot bigger than the panel I was tracing, so using the knife from the get go seems to work better.
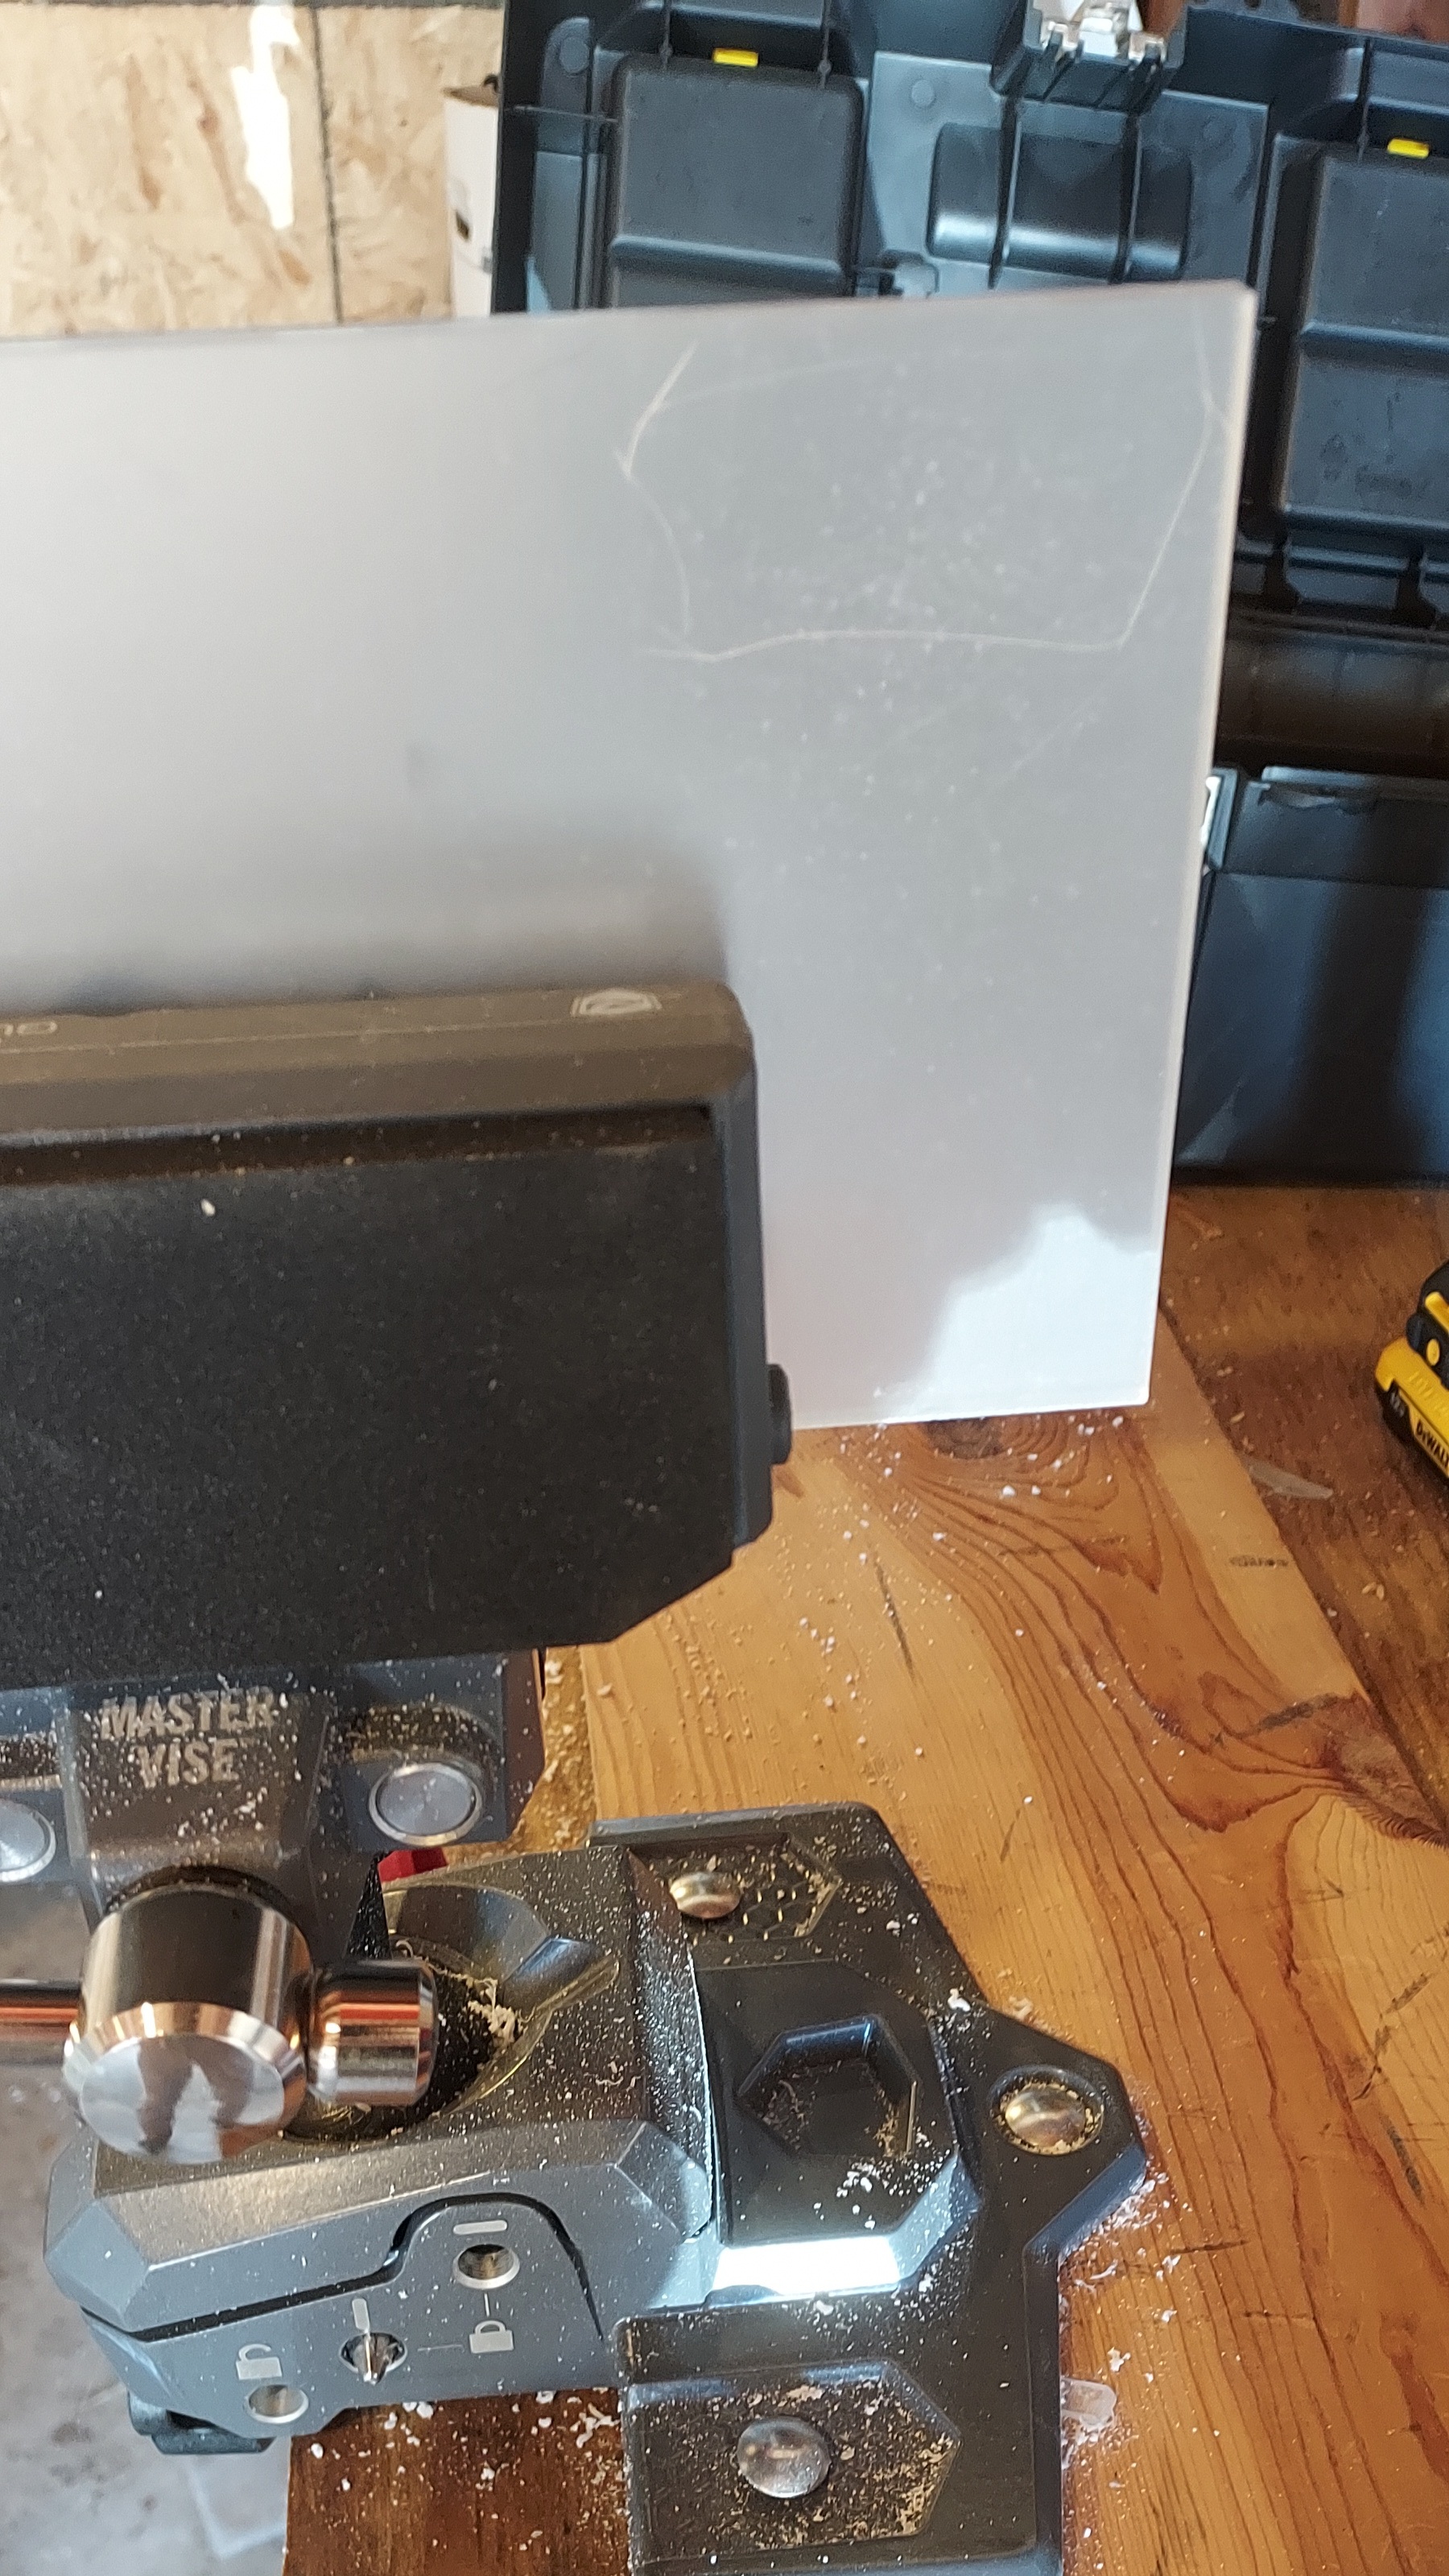
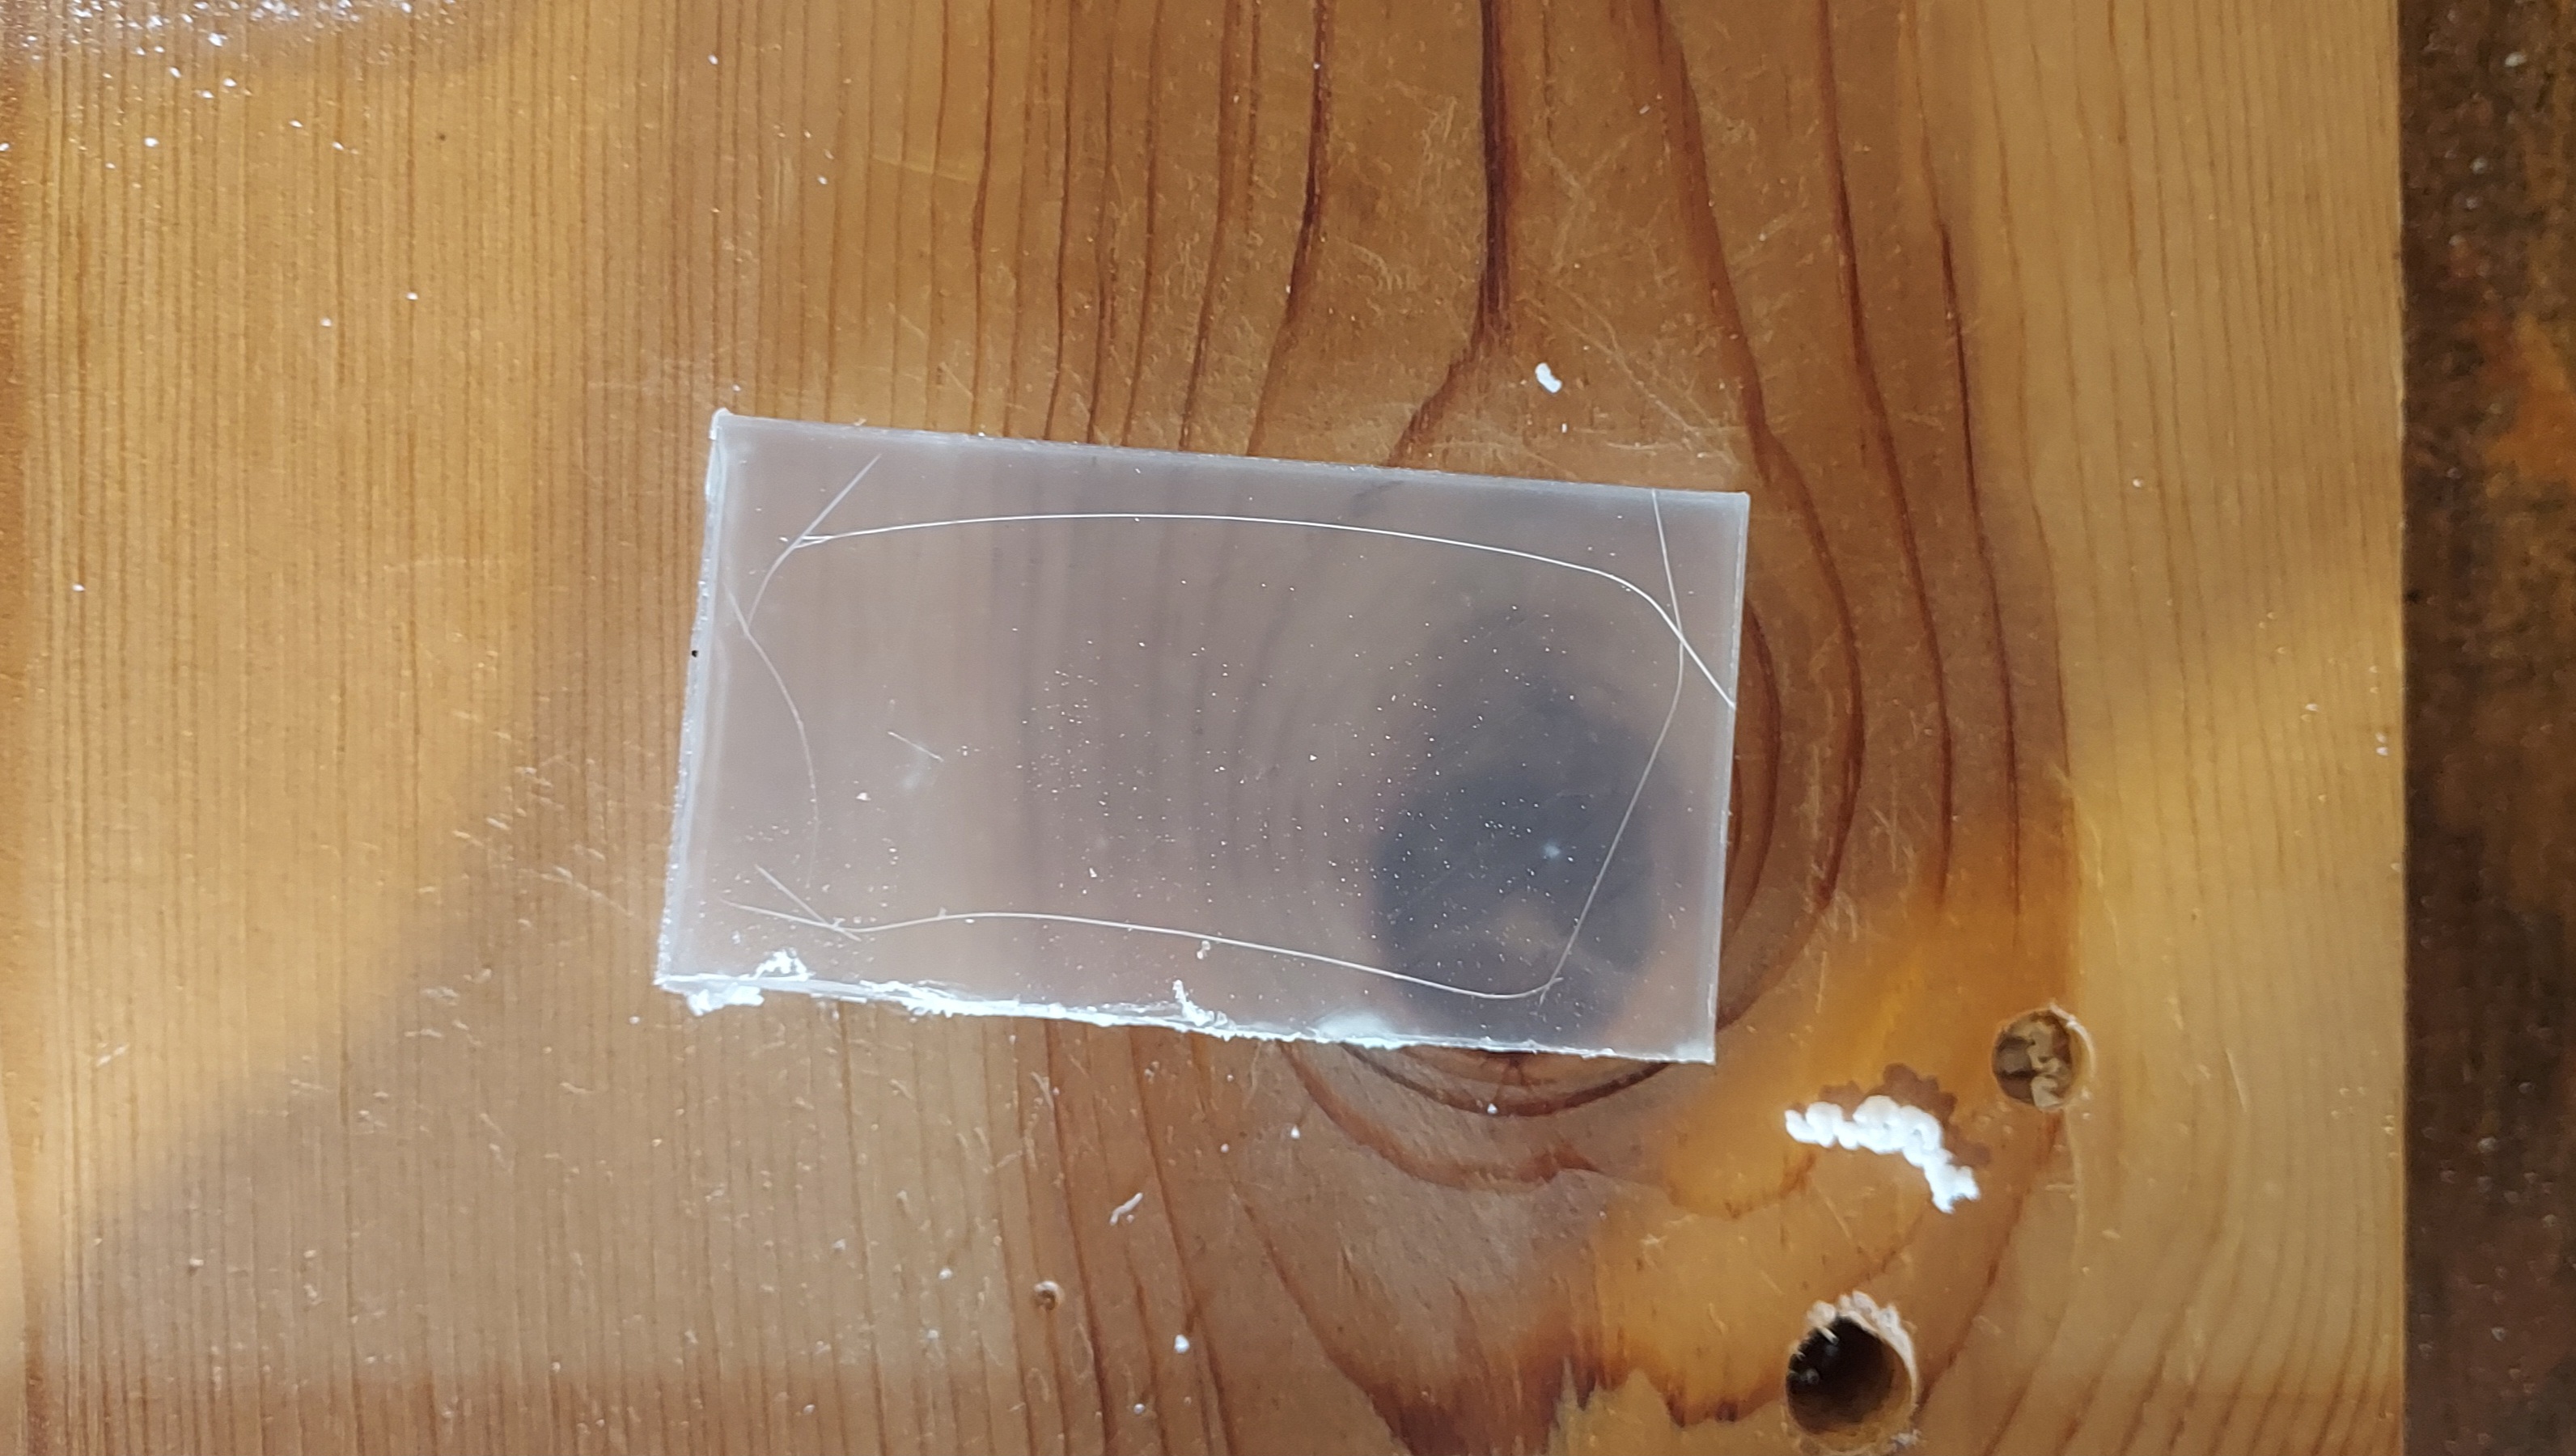
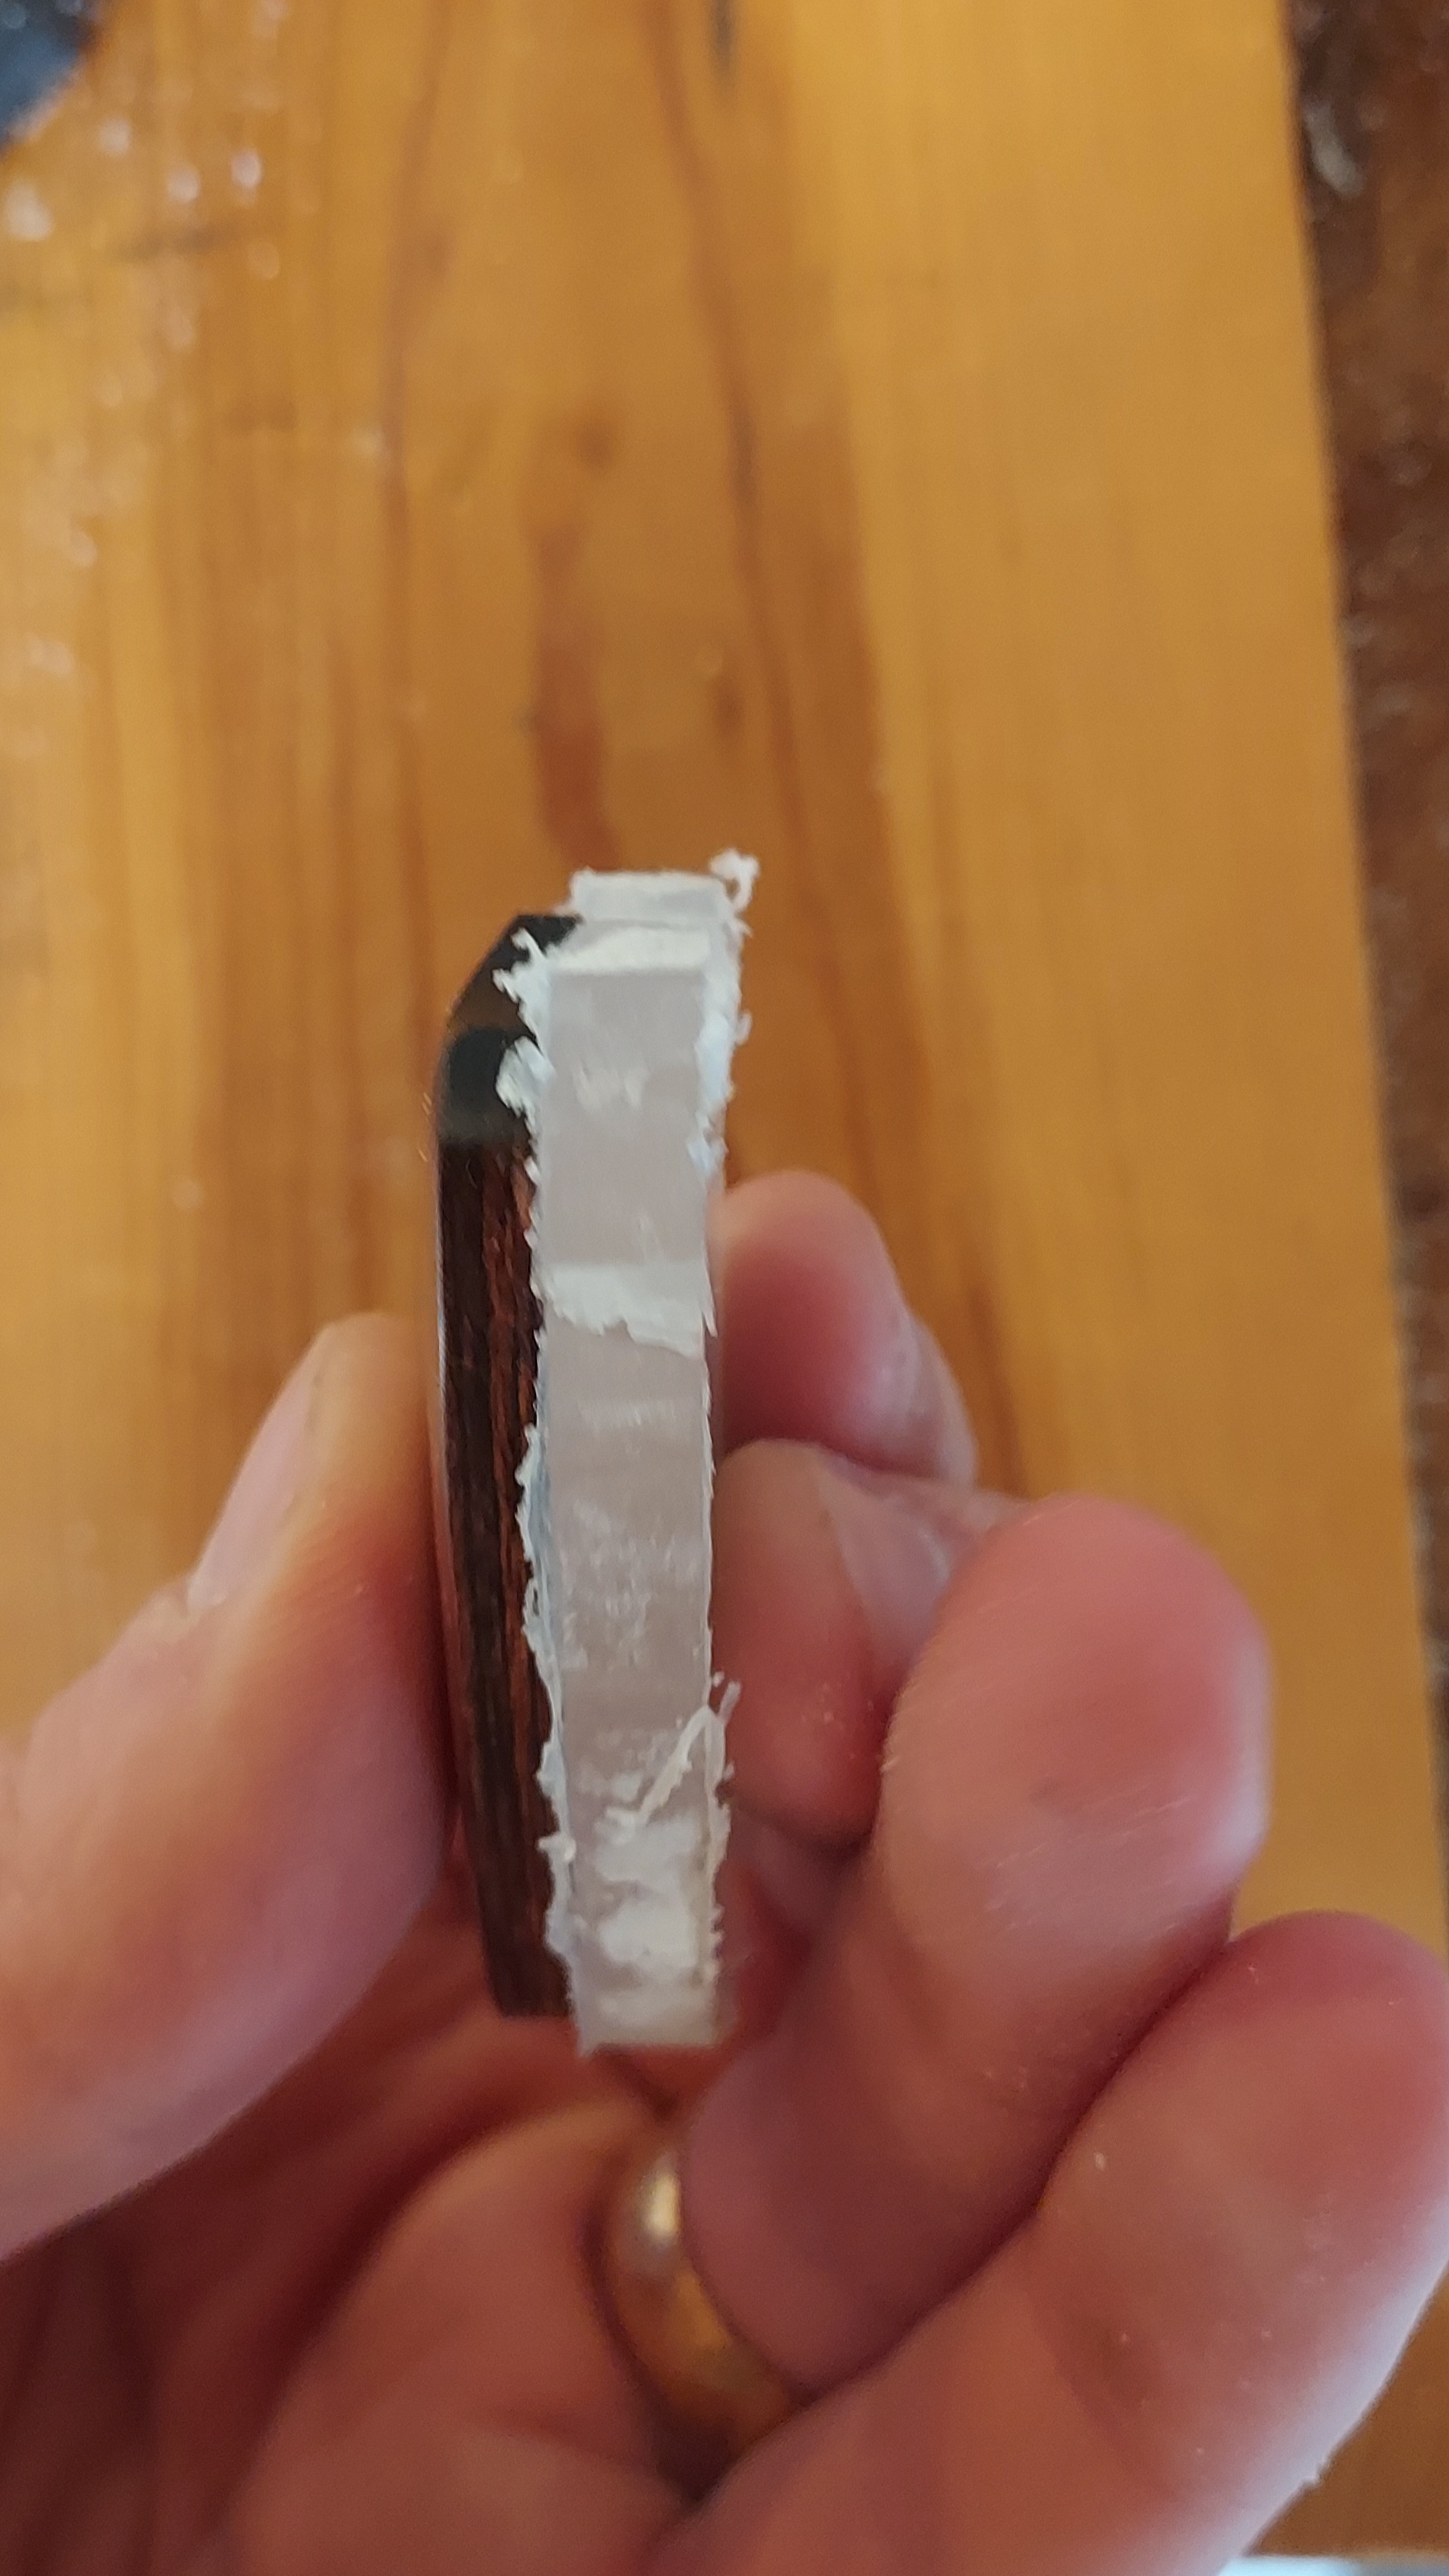
Once the tracing is done, it is time to cut it out. Secure the plexiglass in your vise and do a rough cut out with the oscilating tool. A bandsaw would be a better option if you have access to one, but I don't.

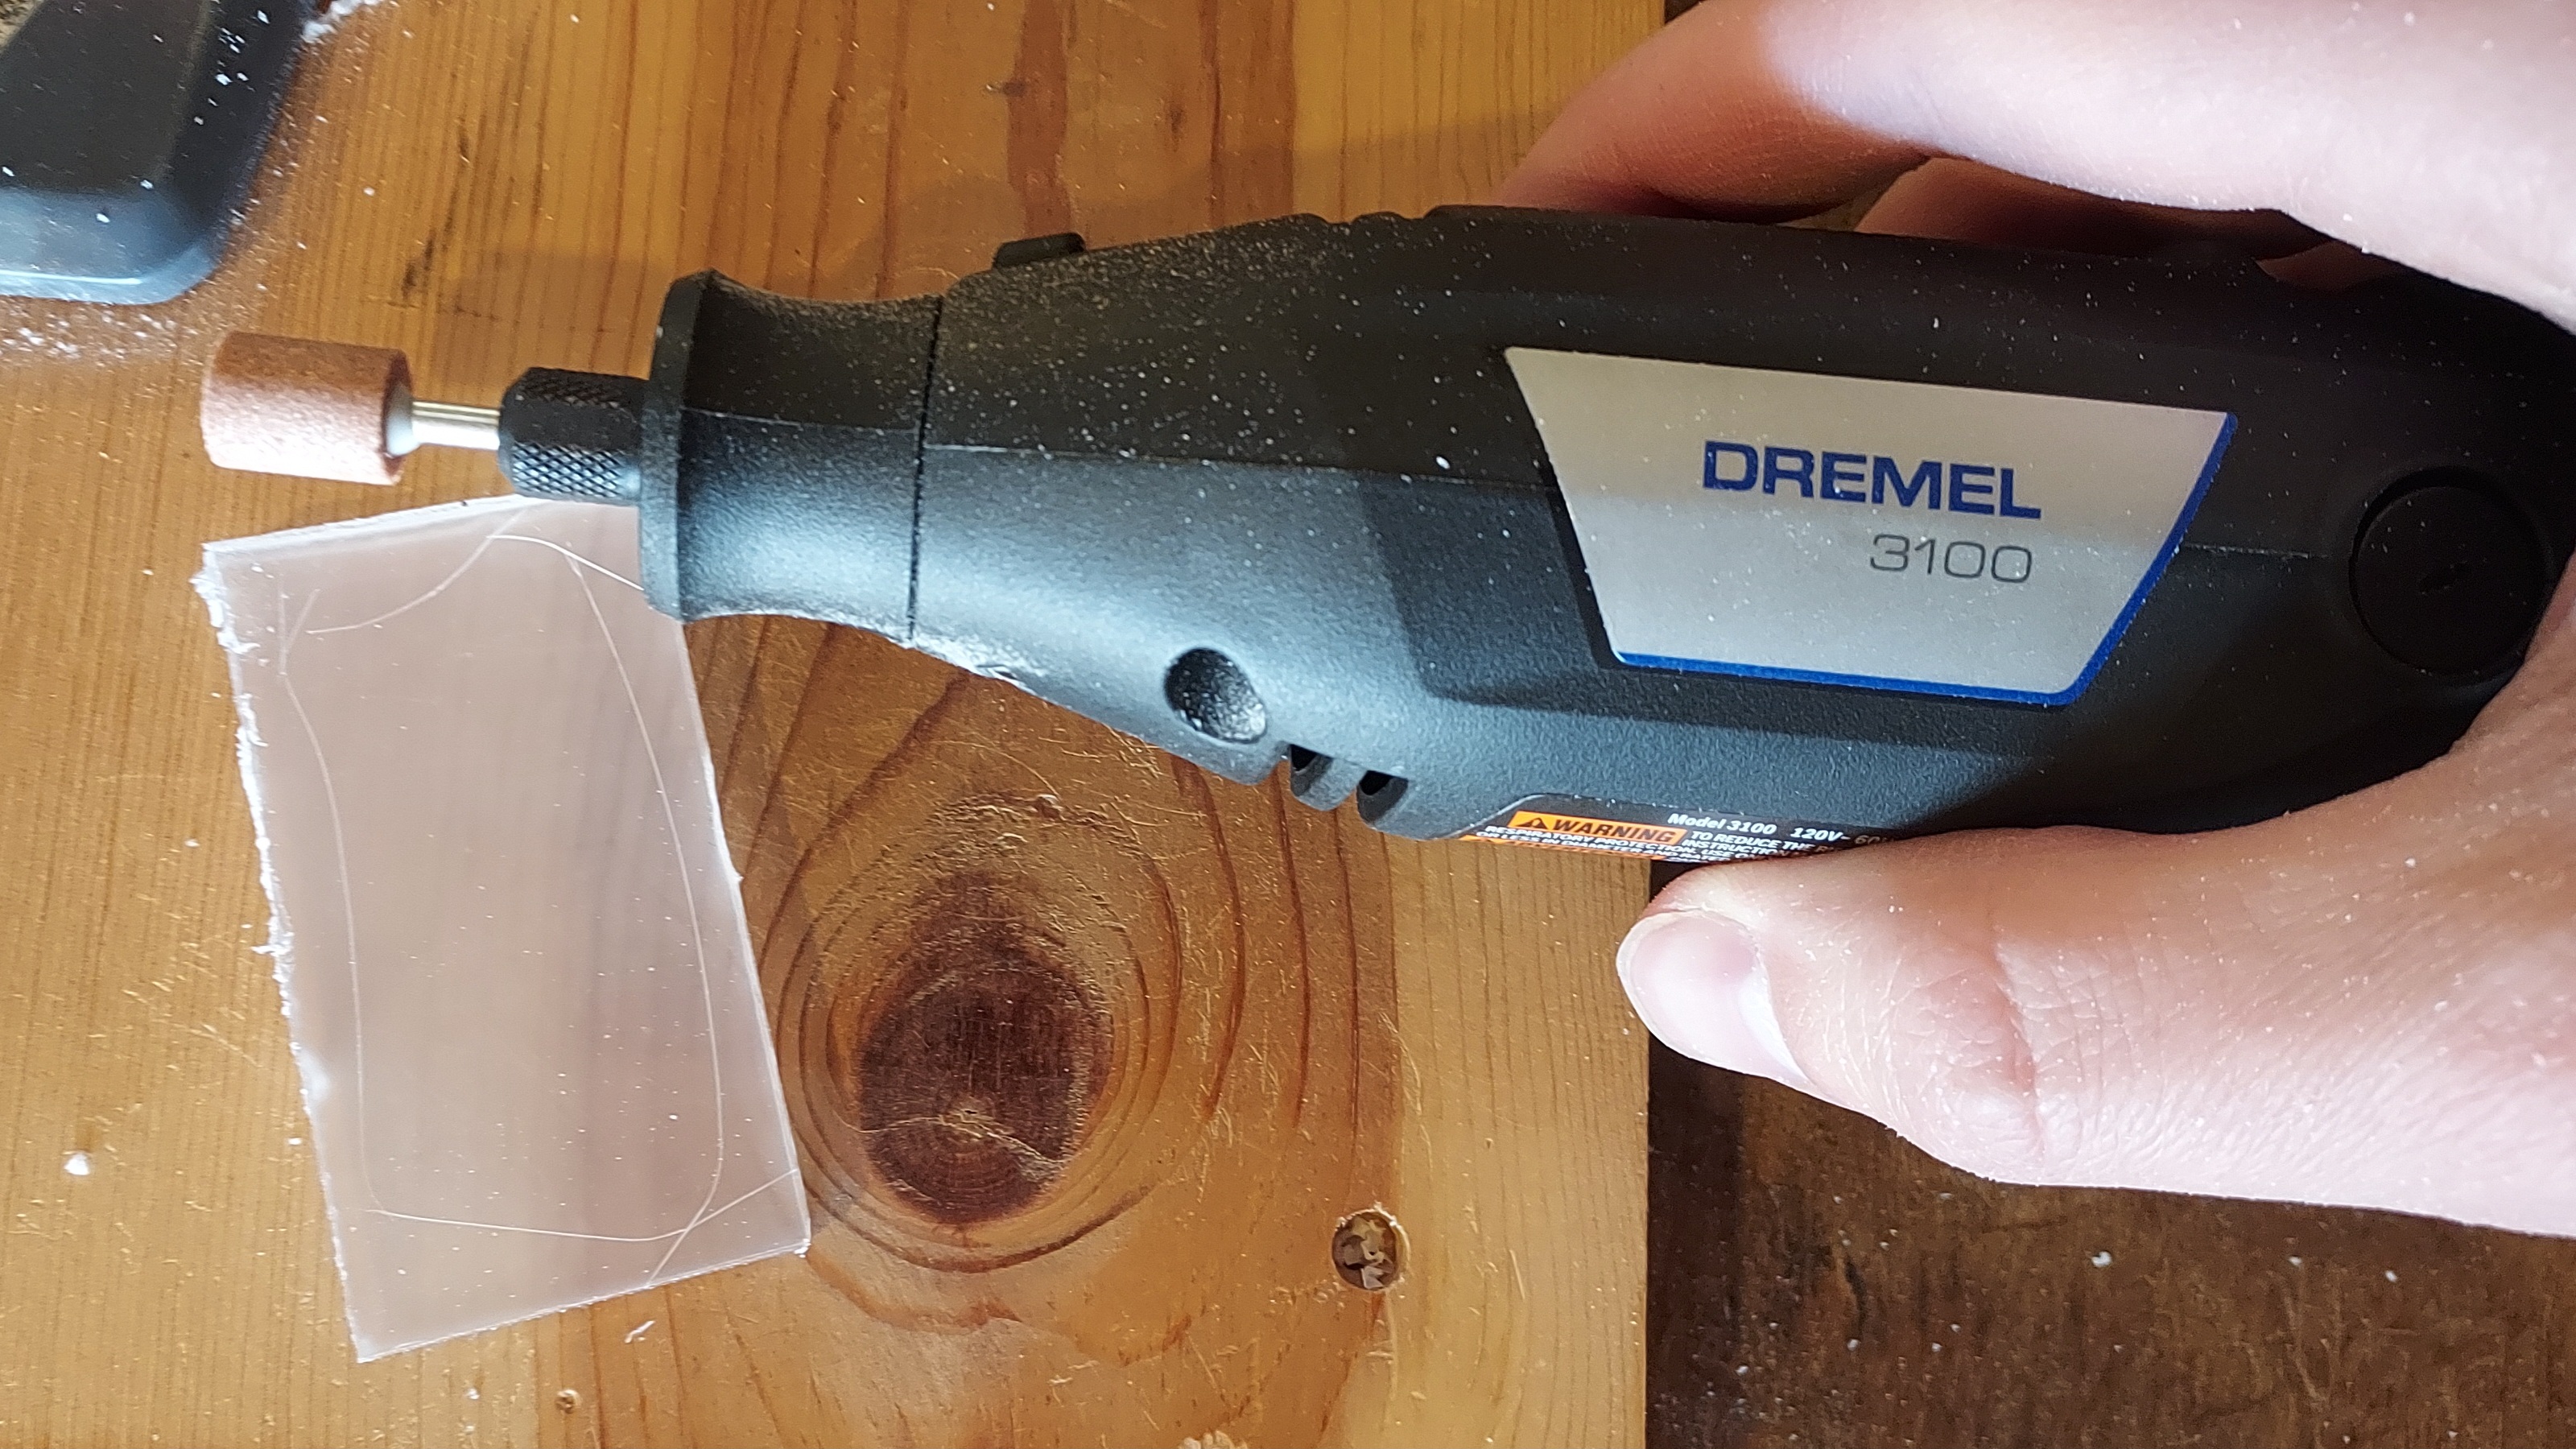
Once you have it roughly cut out, use a rotary tool with a grinding head to shape the grip. Be conservative here and don't get right up on where your tracing is, it's just a rough shaping at this point. Do not worry about any depth measurements yet, just make the outlines match.
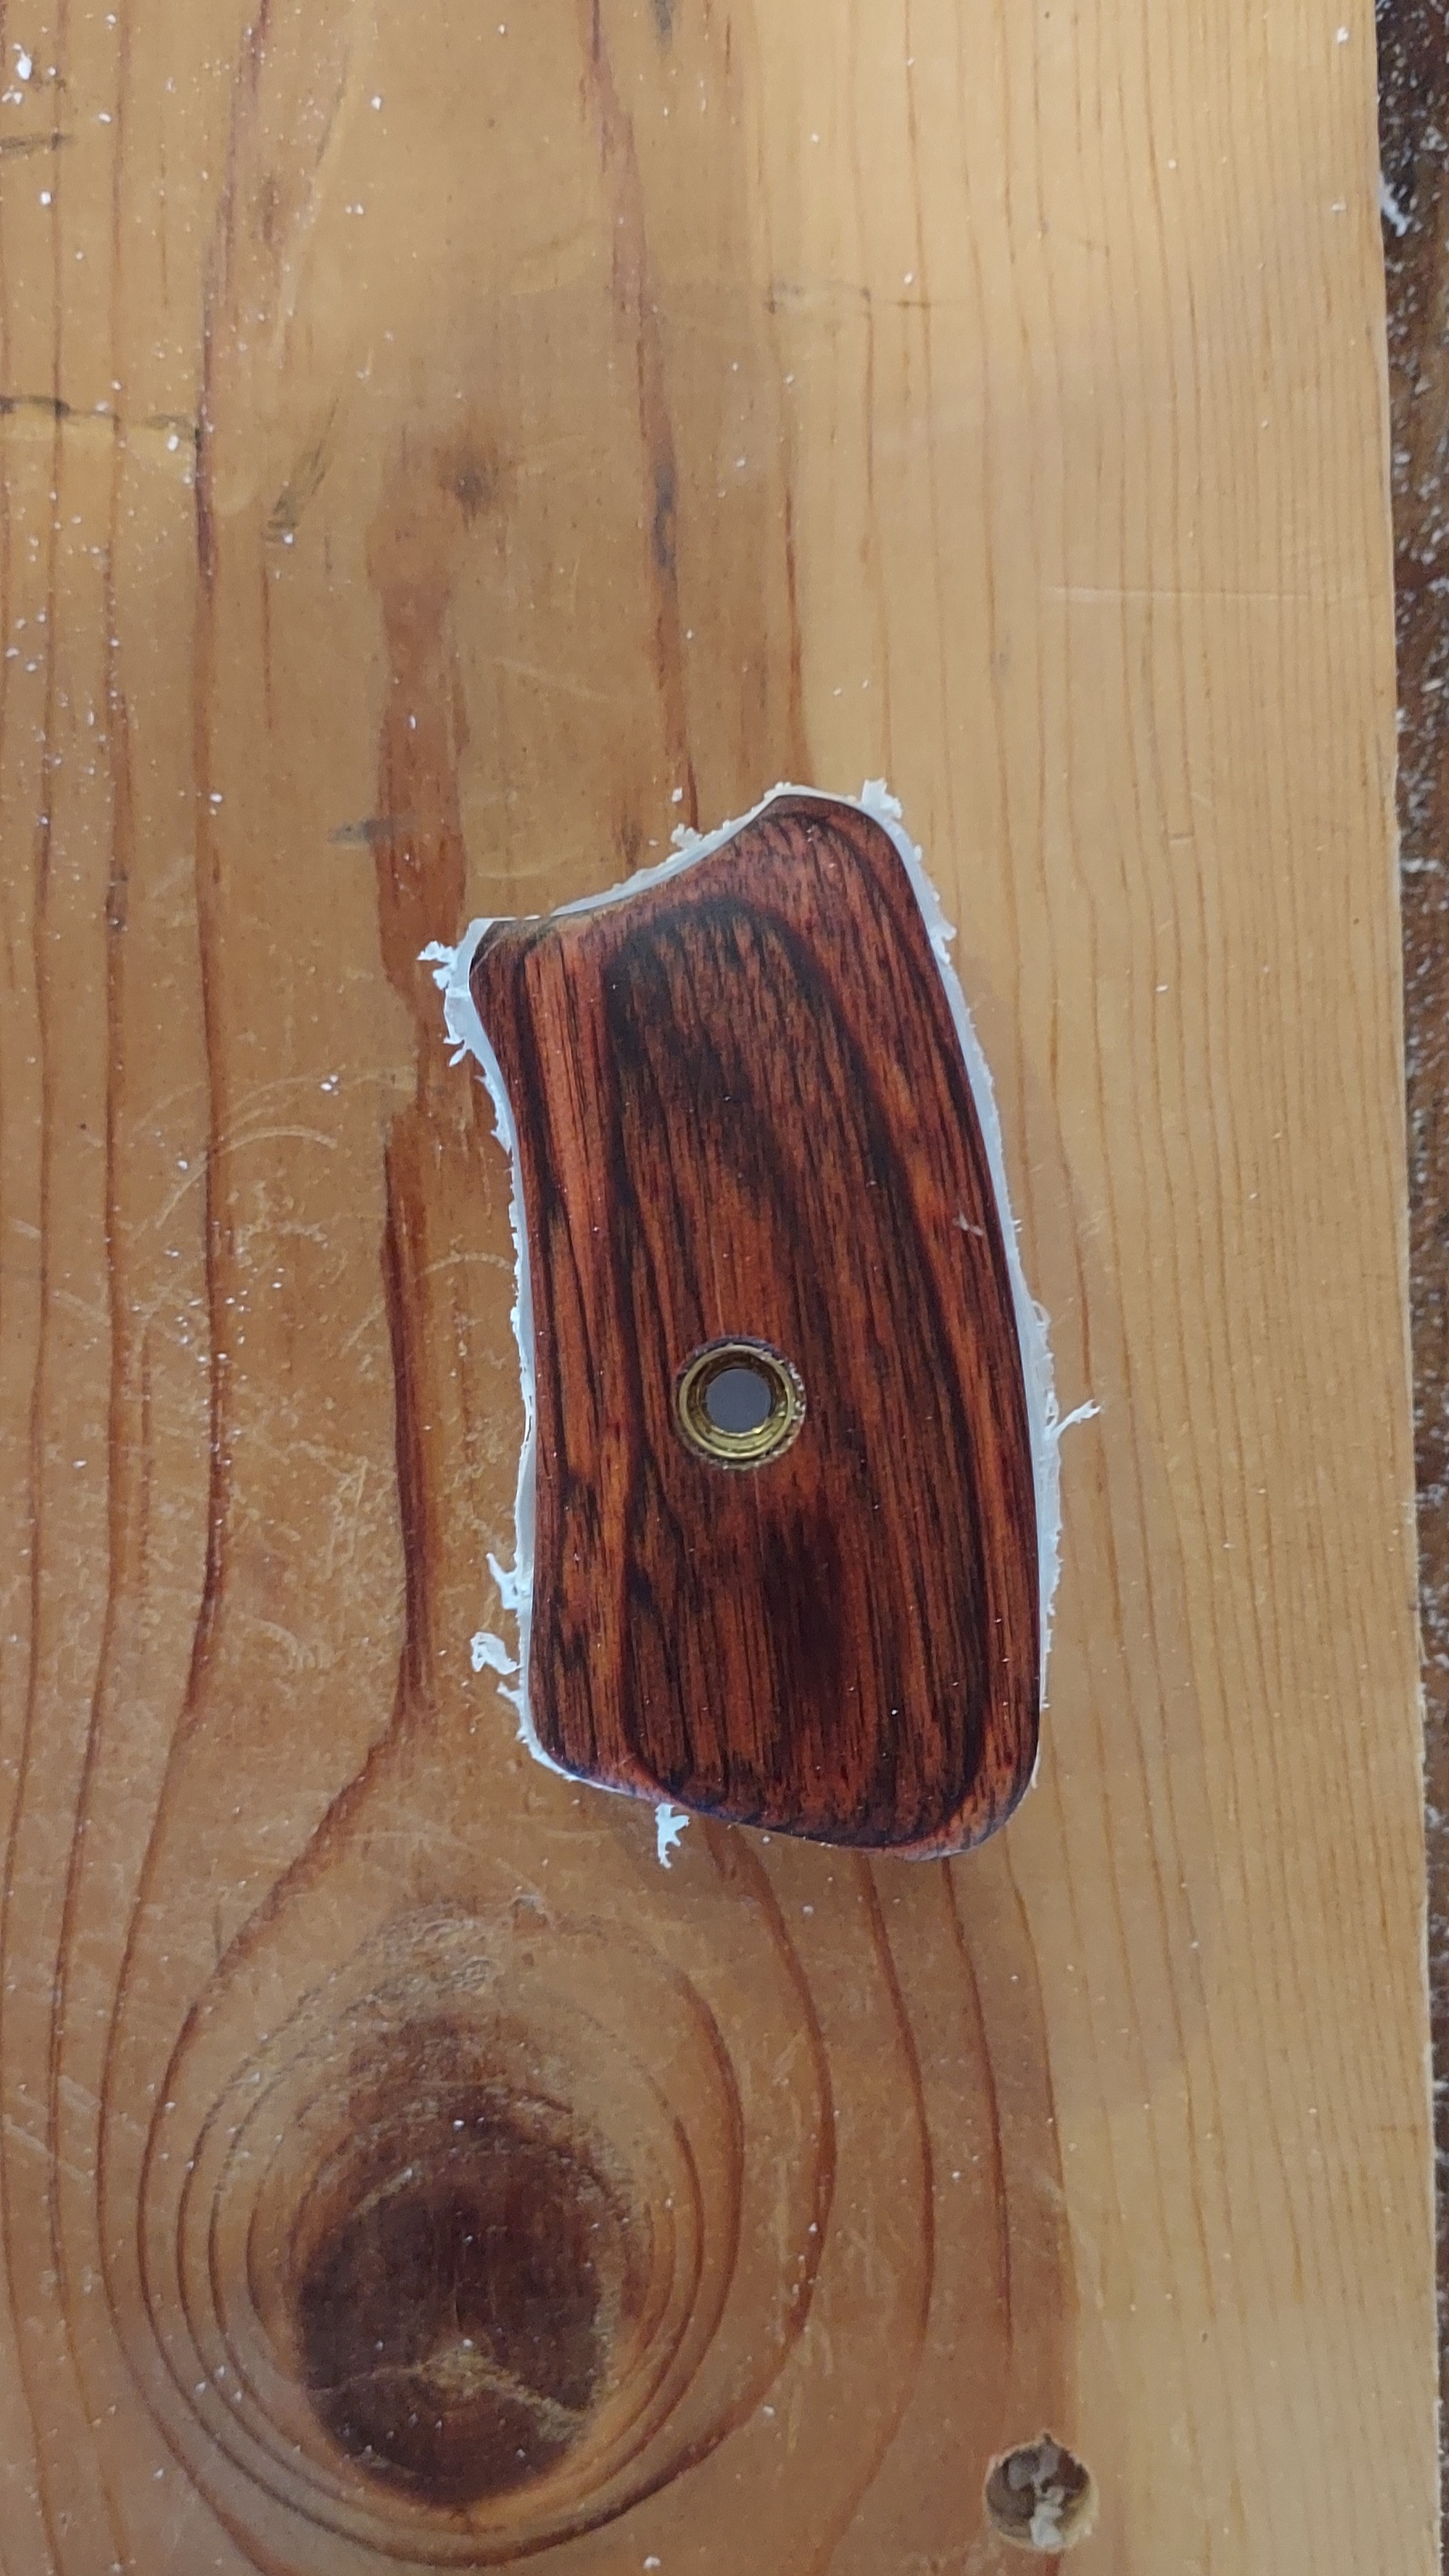
You'll be doing a lot of comparison to the original panel to get the plexiglass one juuust right. Compare every angle and test fit the new panel into the rubber grip itself.
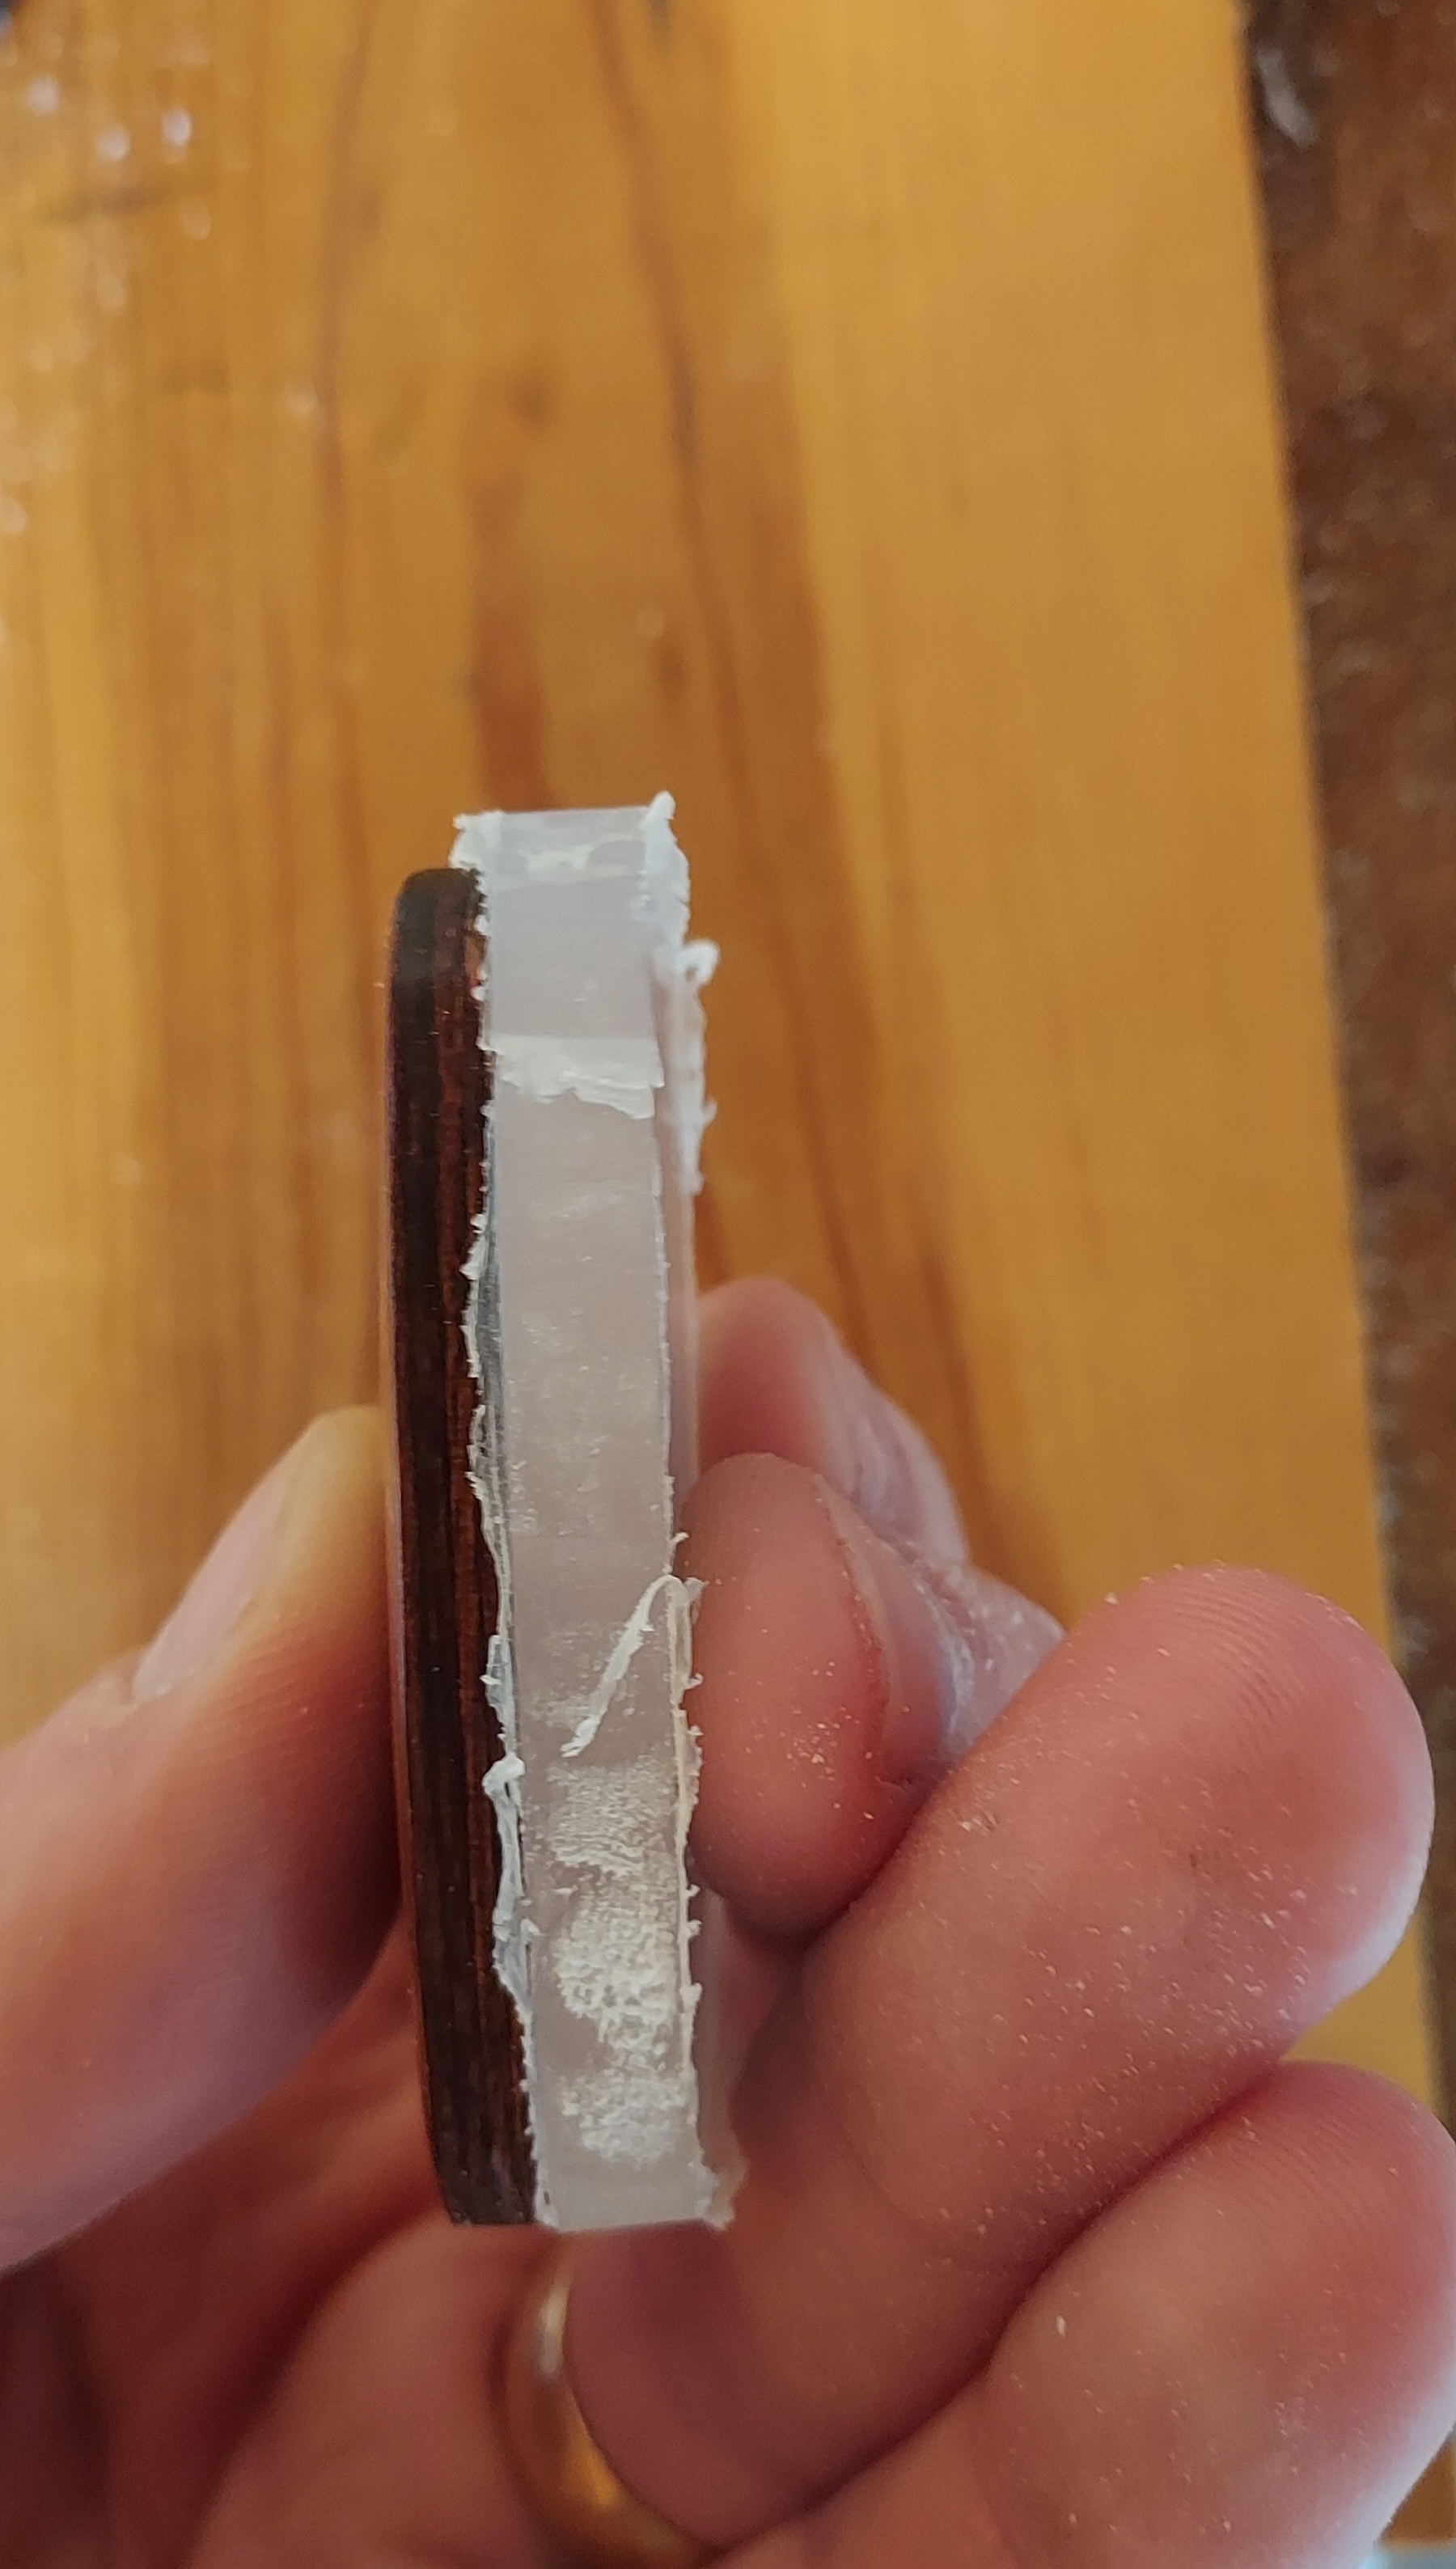
To smooth it further, use the rotary tool with a sanding head. A belt sander would be a better option here but I don't have one. Be careful to not remove too much material, or you'll have to start over. Once the outlines are close, use 60 grit sandpaper to shape it perfectly, making sure the outlines are perfect matches and that the panel fits into the rubber grip just right.

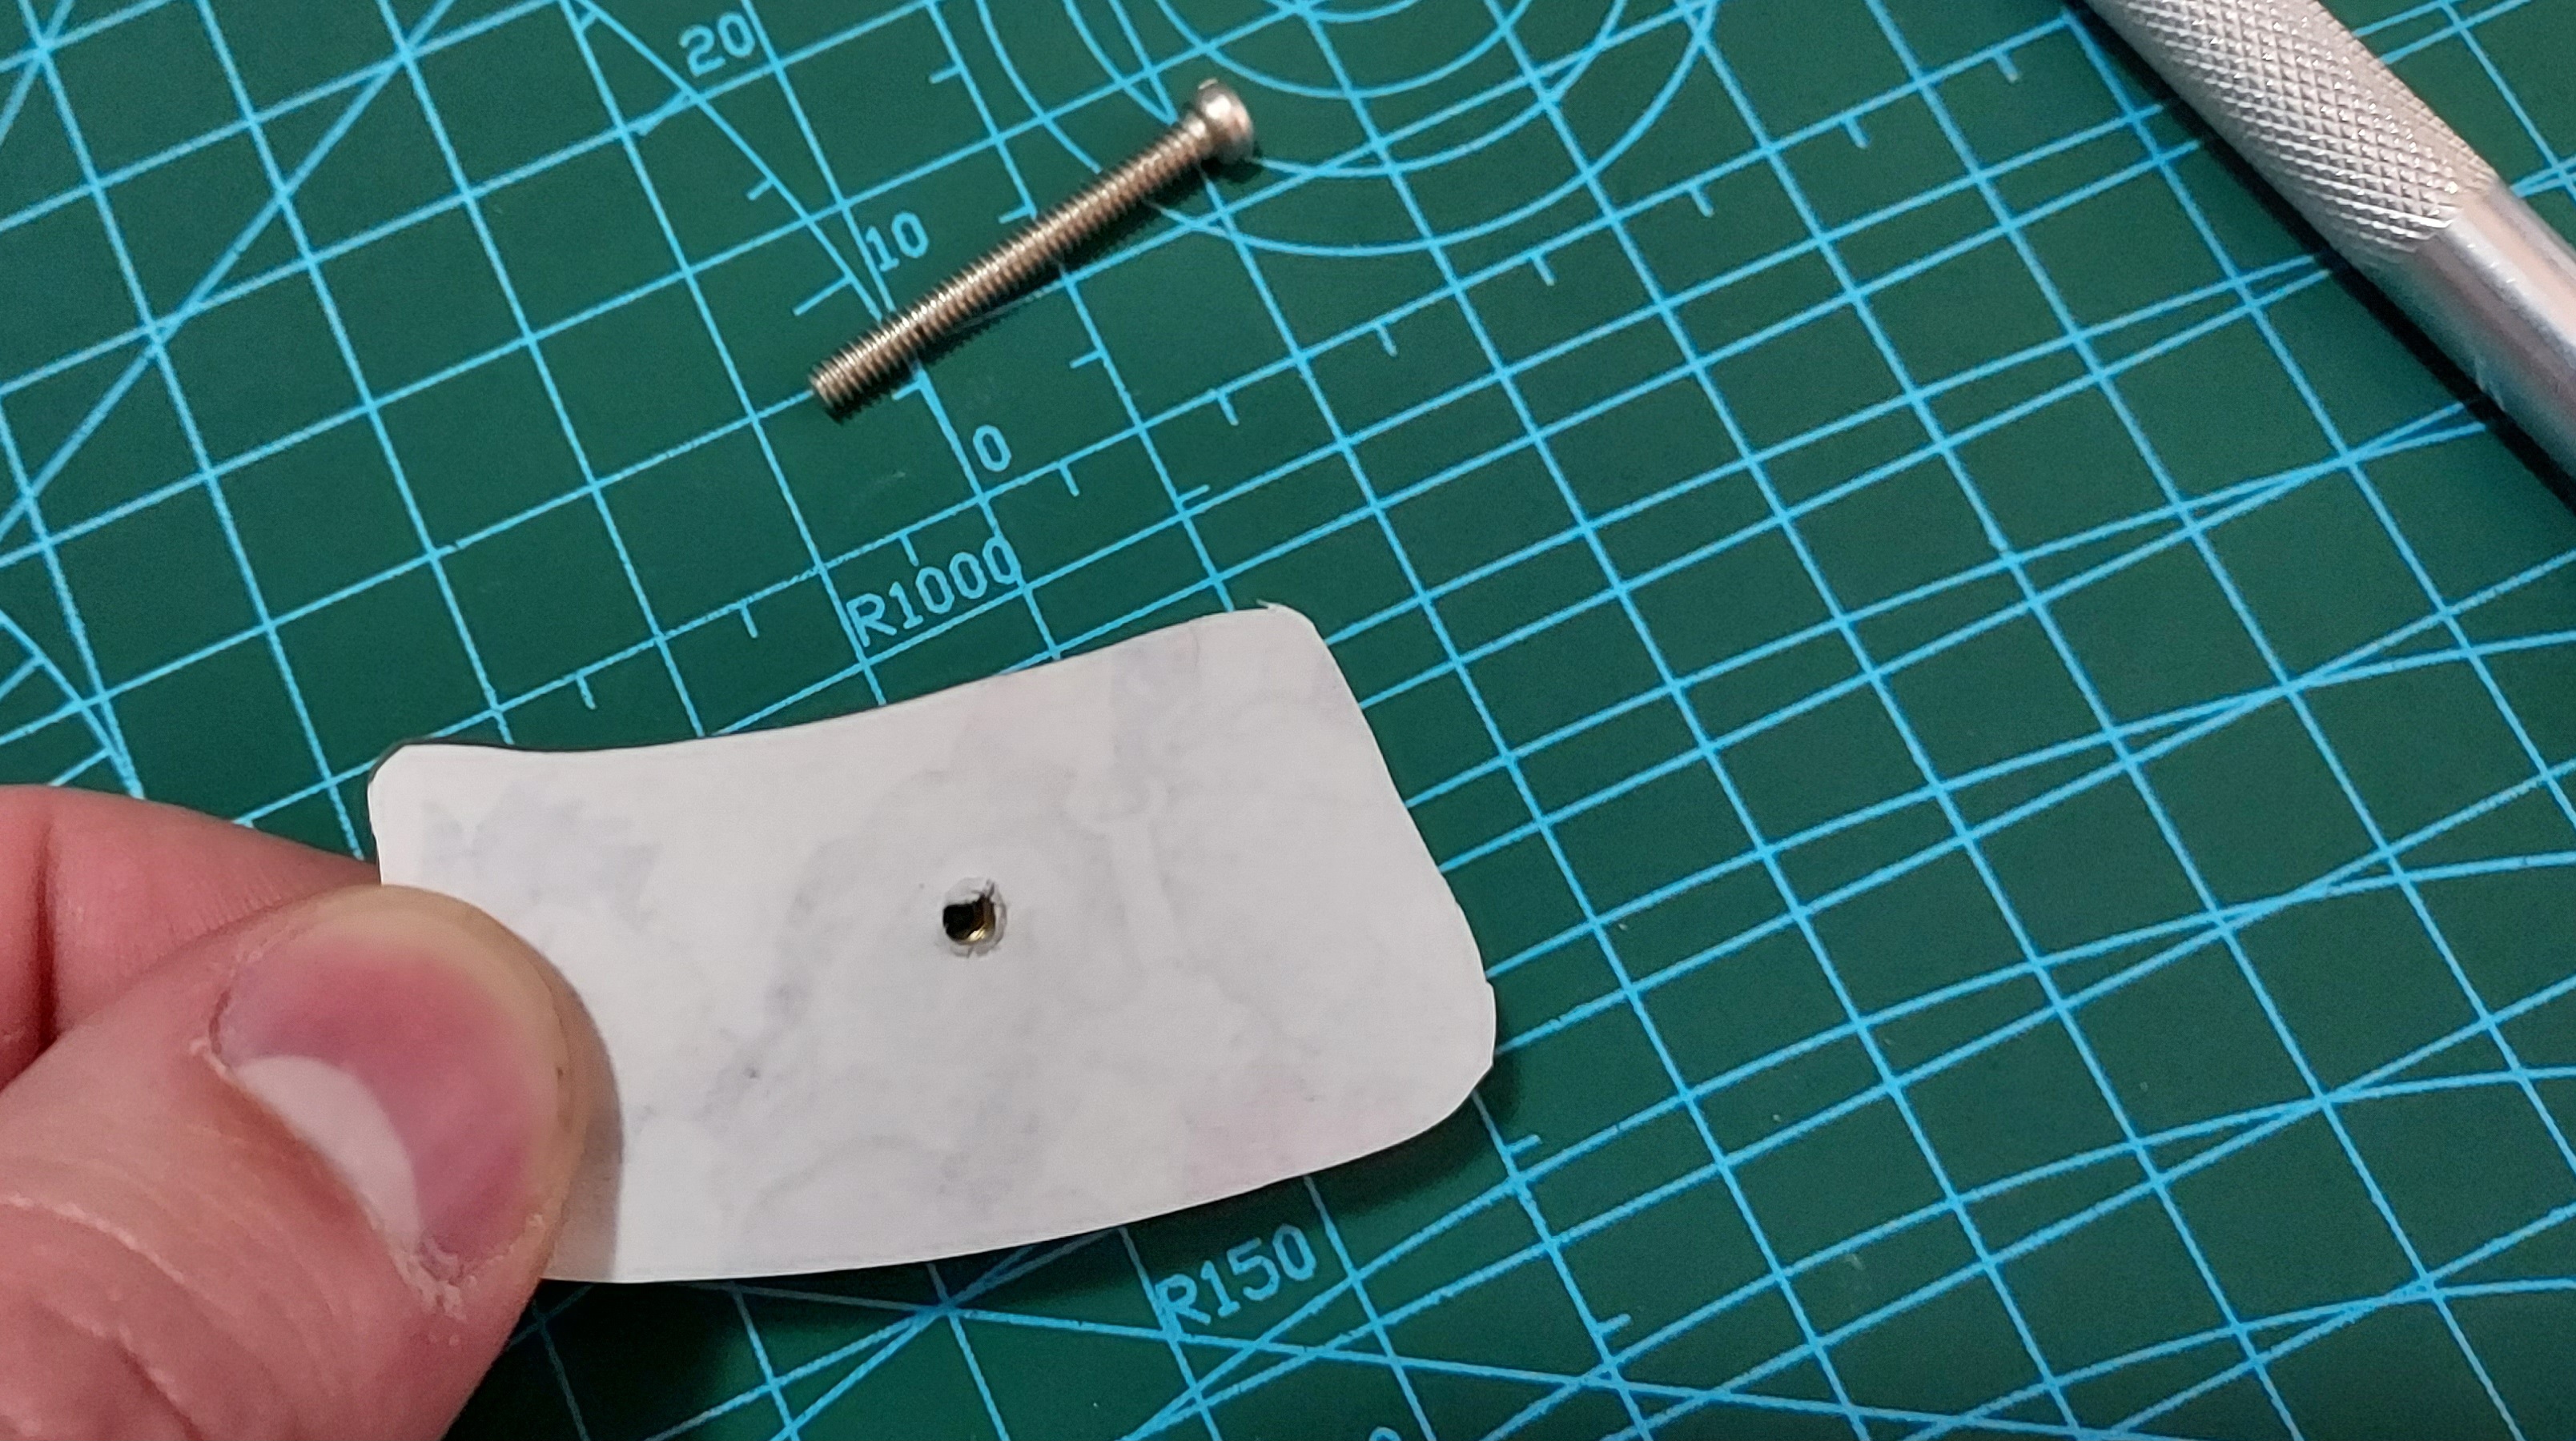
Now that you have the outlines matched up well, it's time to drill the escutcheon hole. First, you will want to mark where your hole is going. Mate the original panel on top of the plexiglass panel and use the ultra fine tip sharpie to mark the middle of the hole.
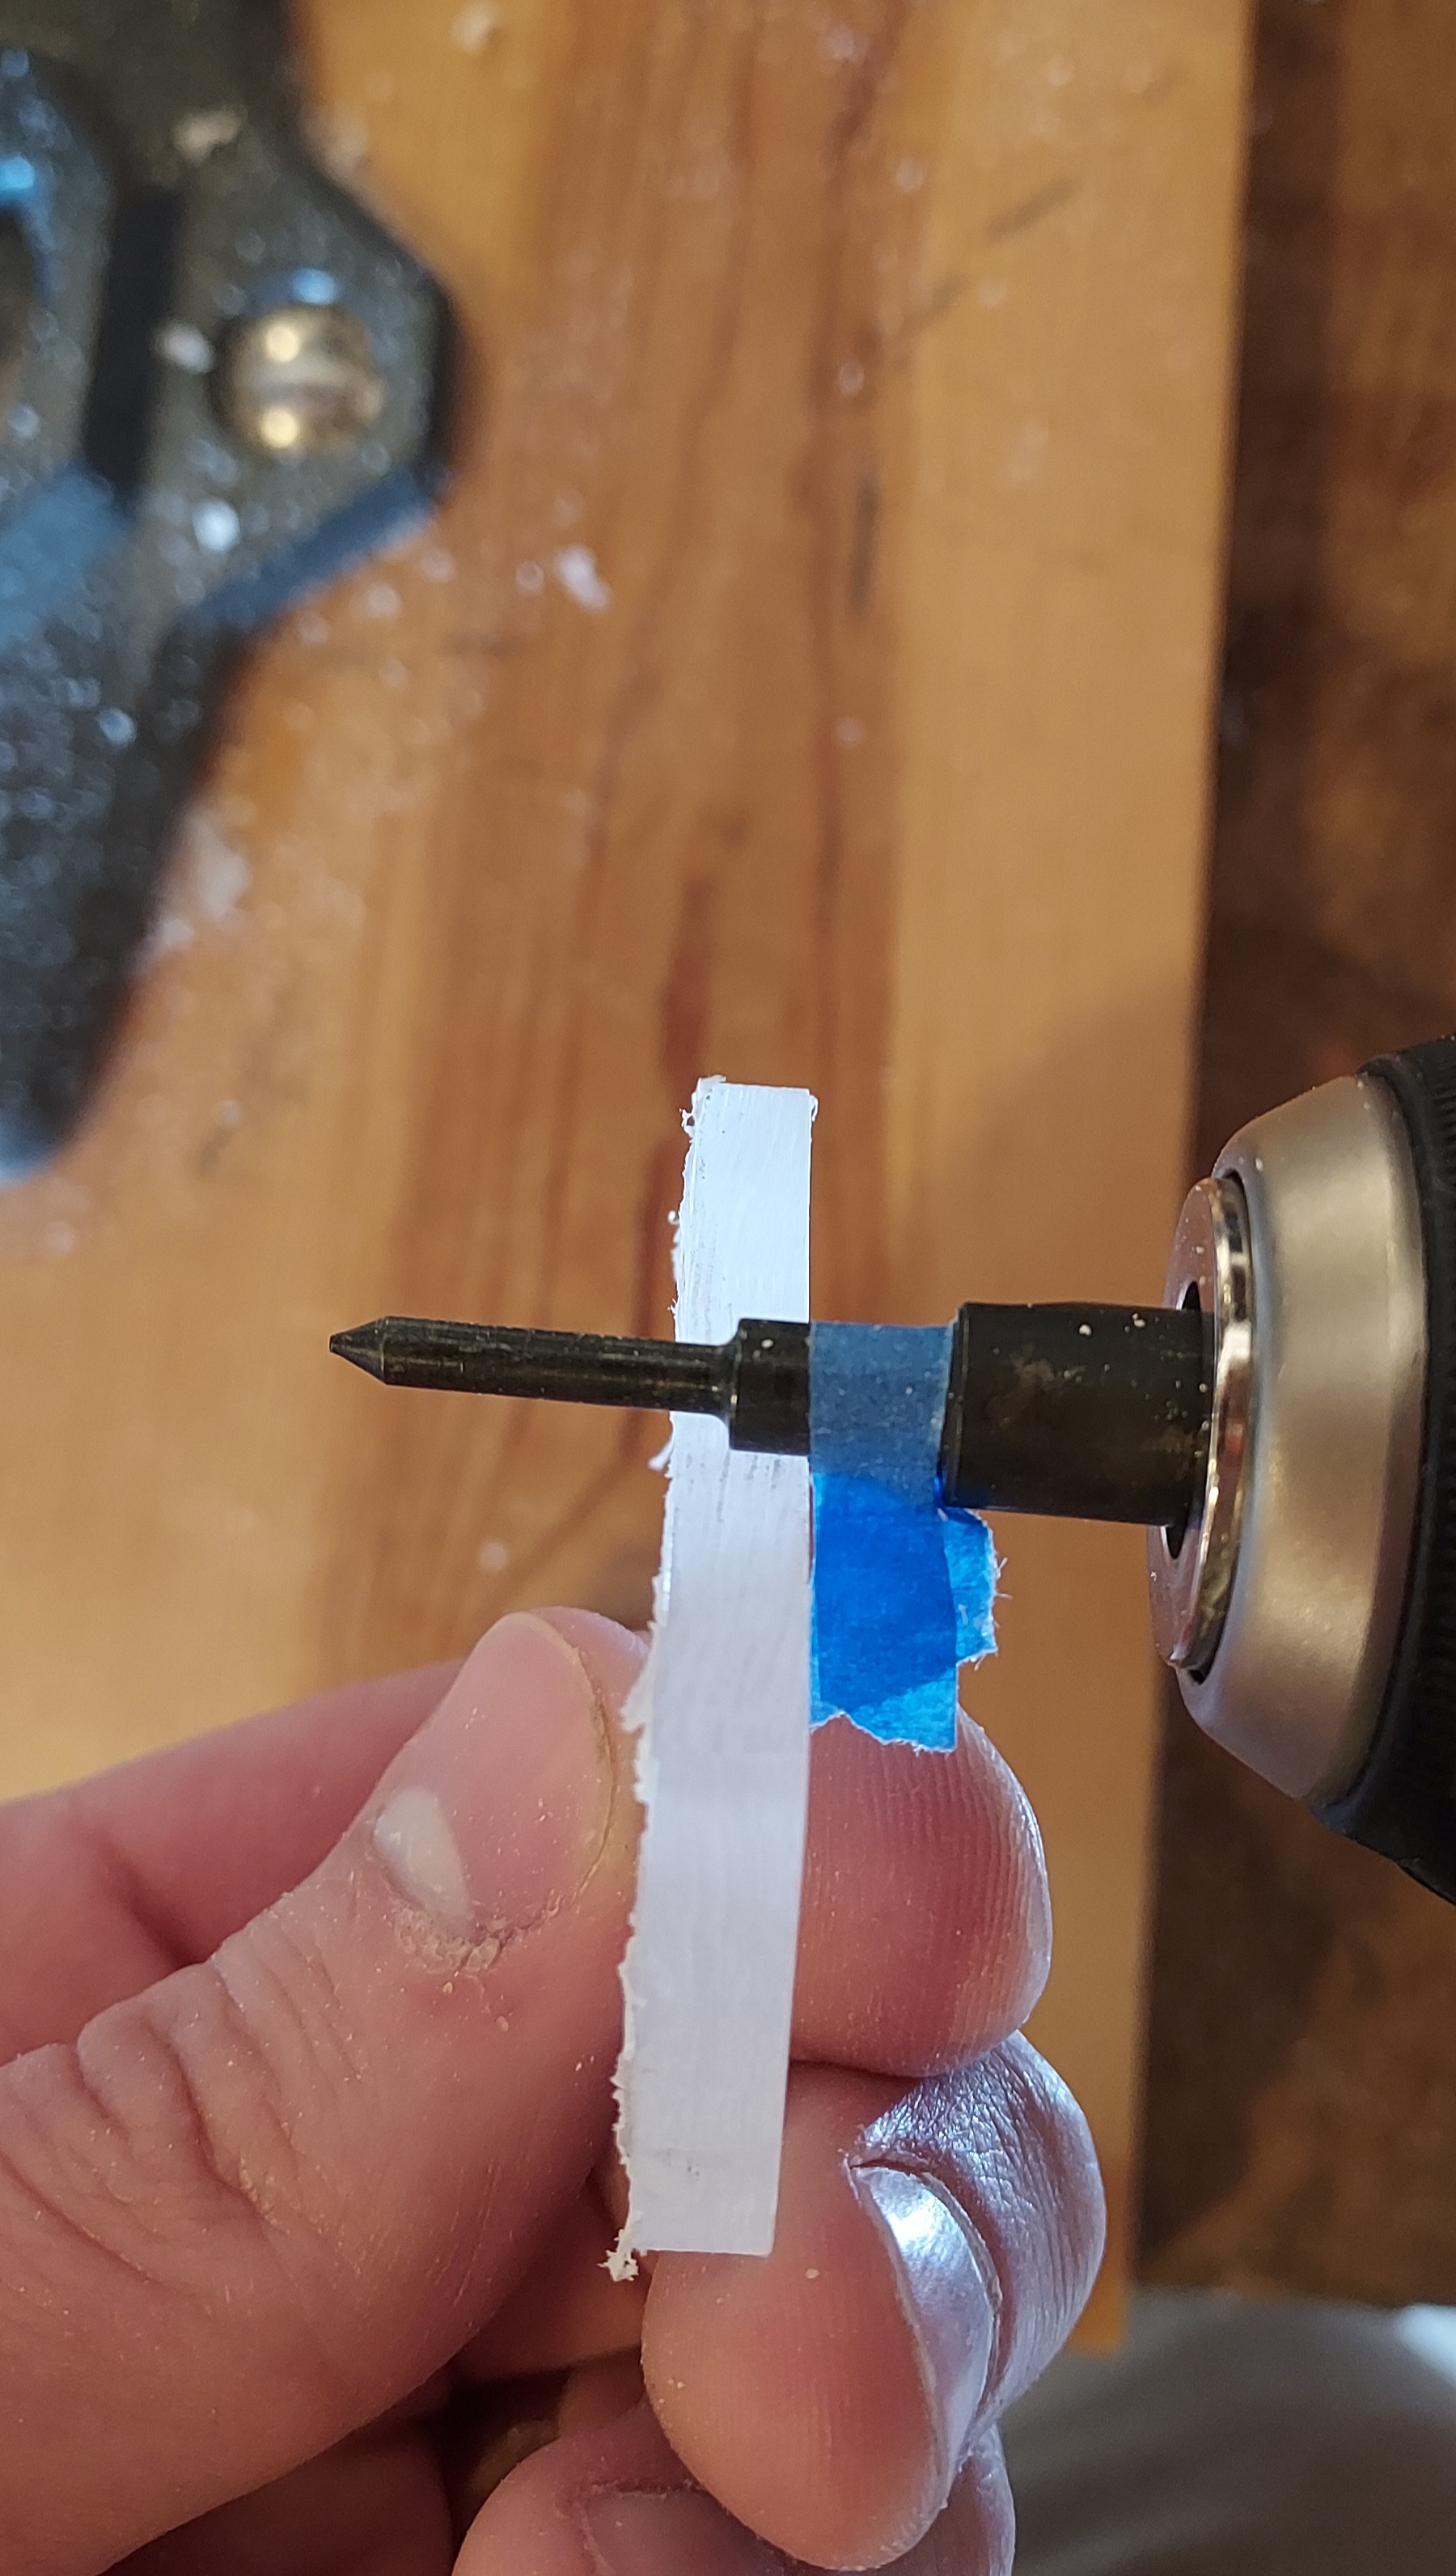
Mark your drilling depth on the bit with tape. You will want to drill enough to get the escutcheon deep enough into the grip but leave enough material between the escutcheon and the inside of the panel so that you don't have to worry about the panel cracking. Once you've marked the depth, give it a quick check on the panel so you know how far down you are going.

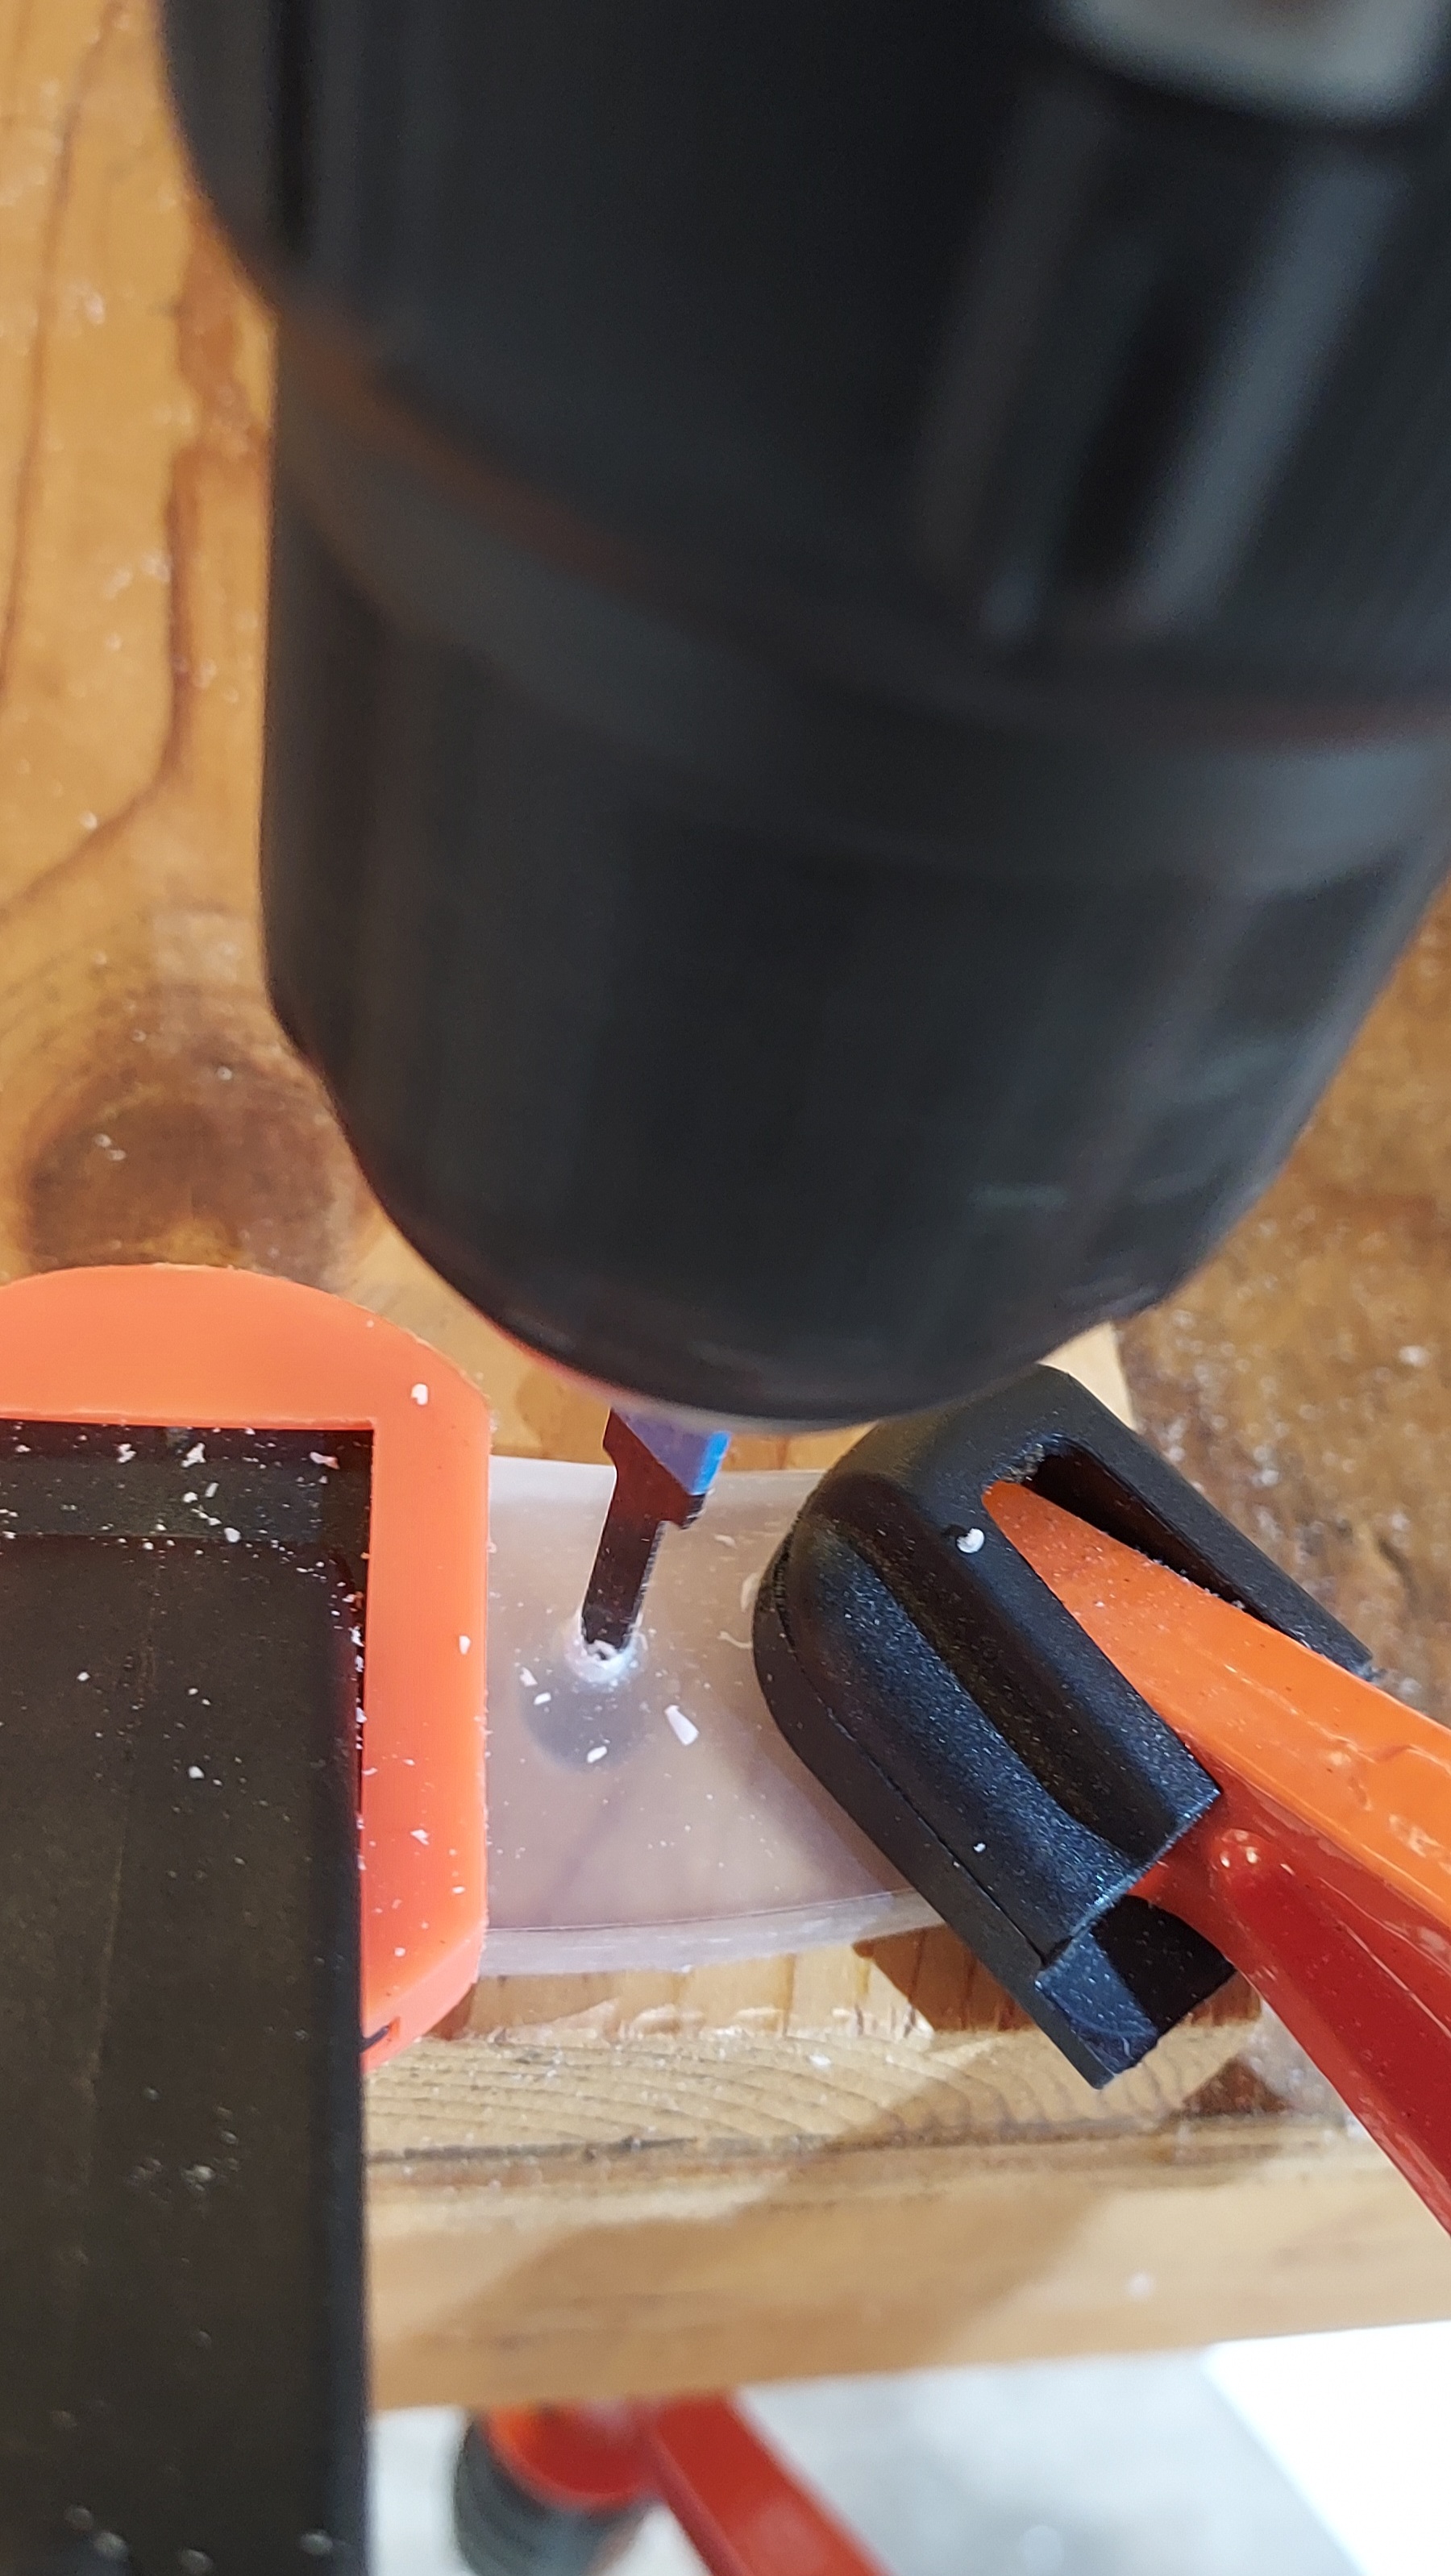
Once that's done, secure the grip with your clamps for drilling.
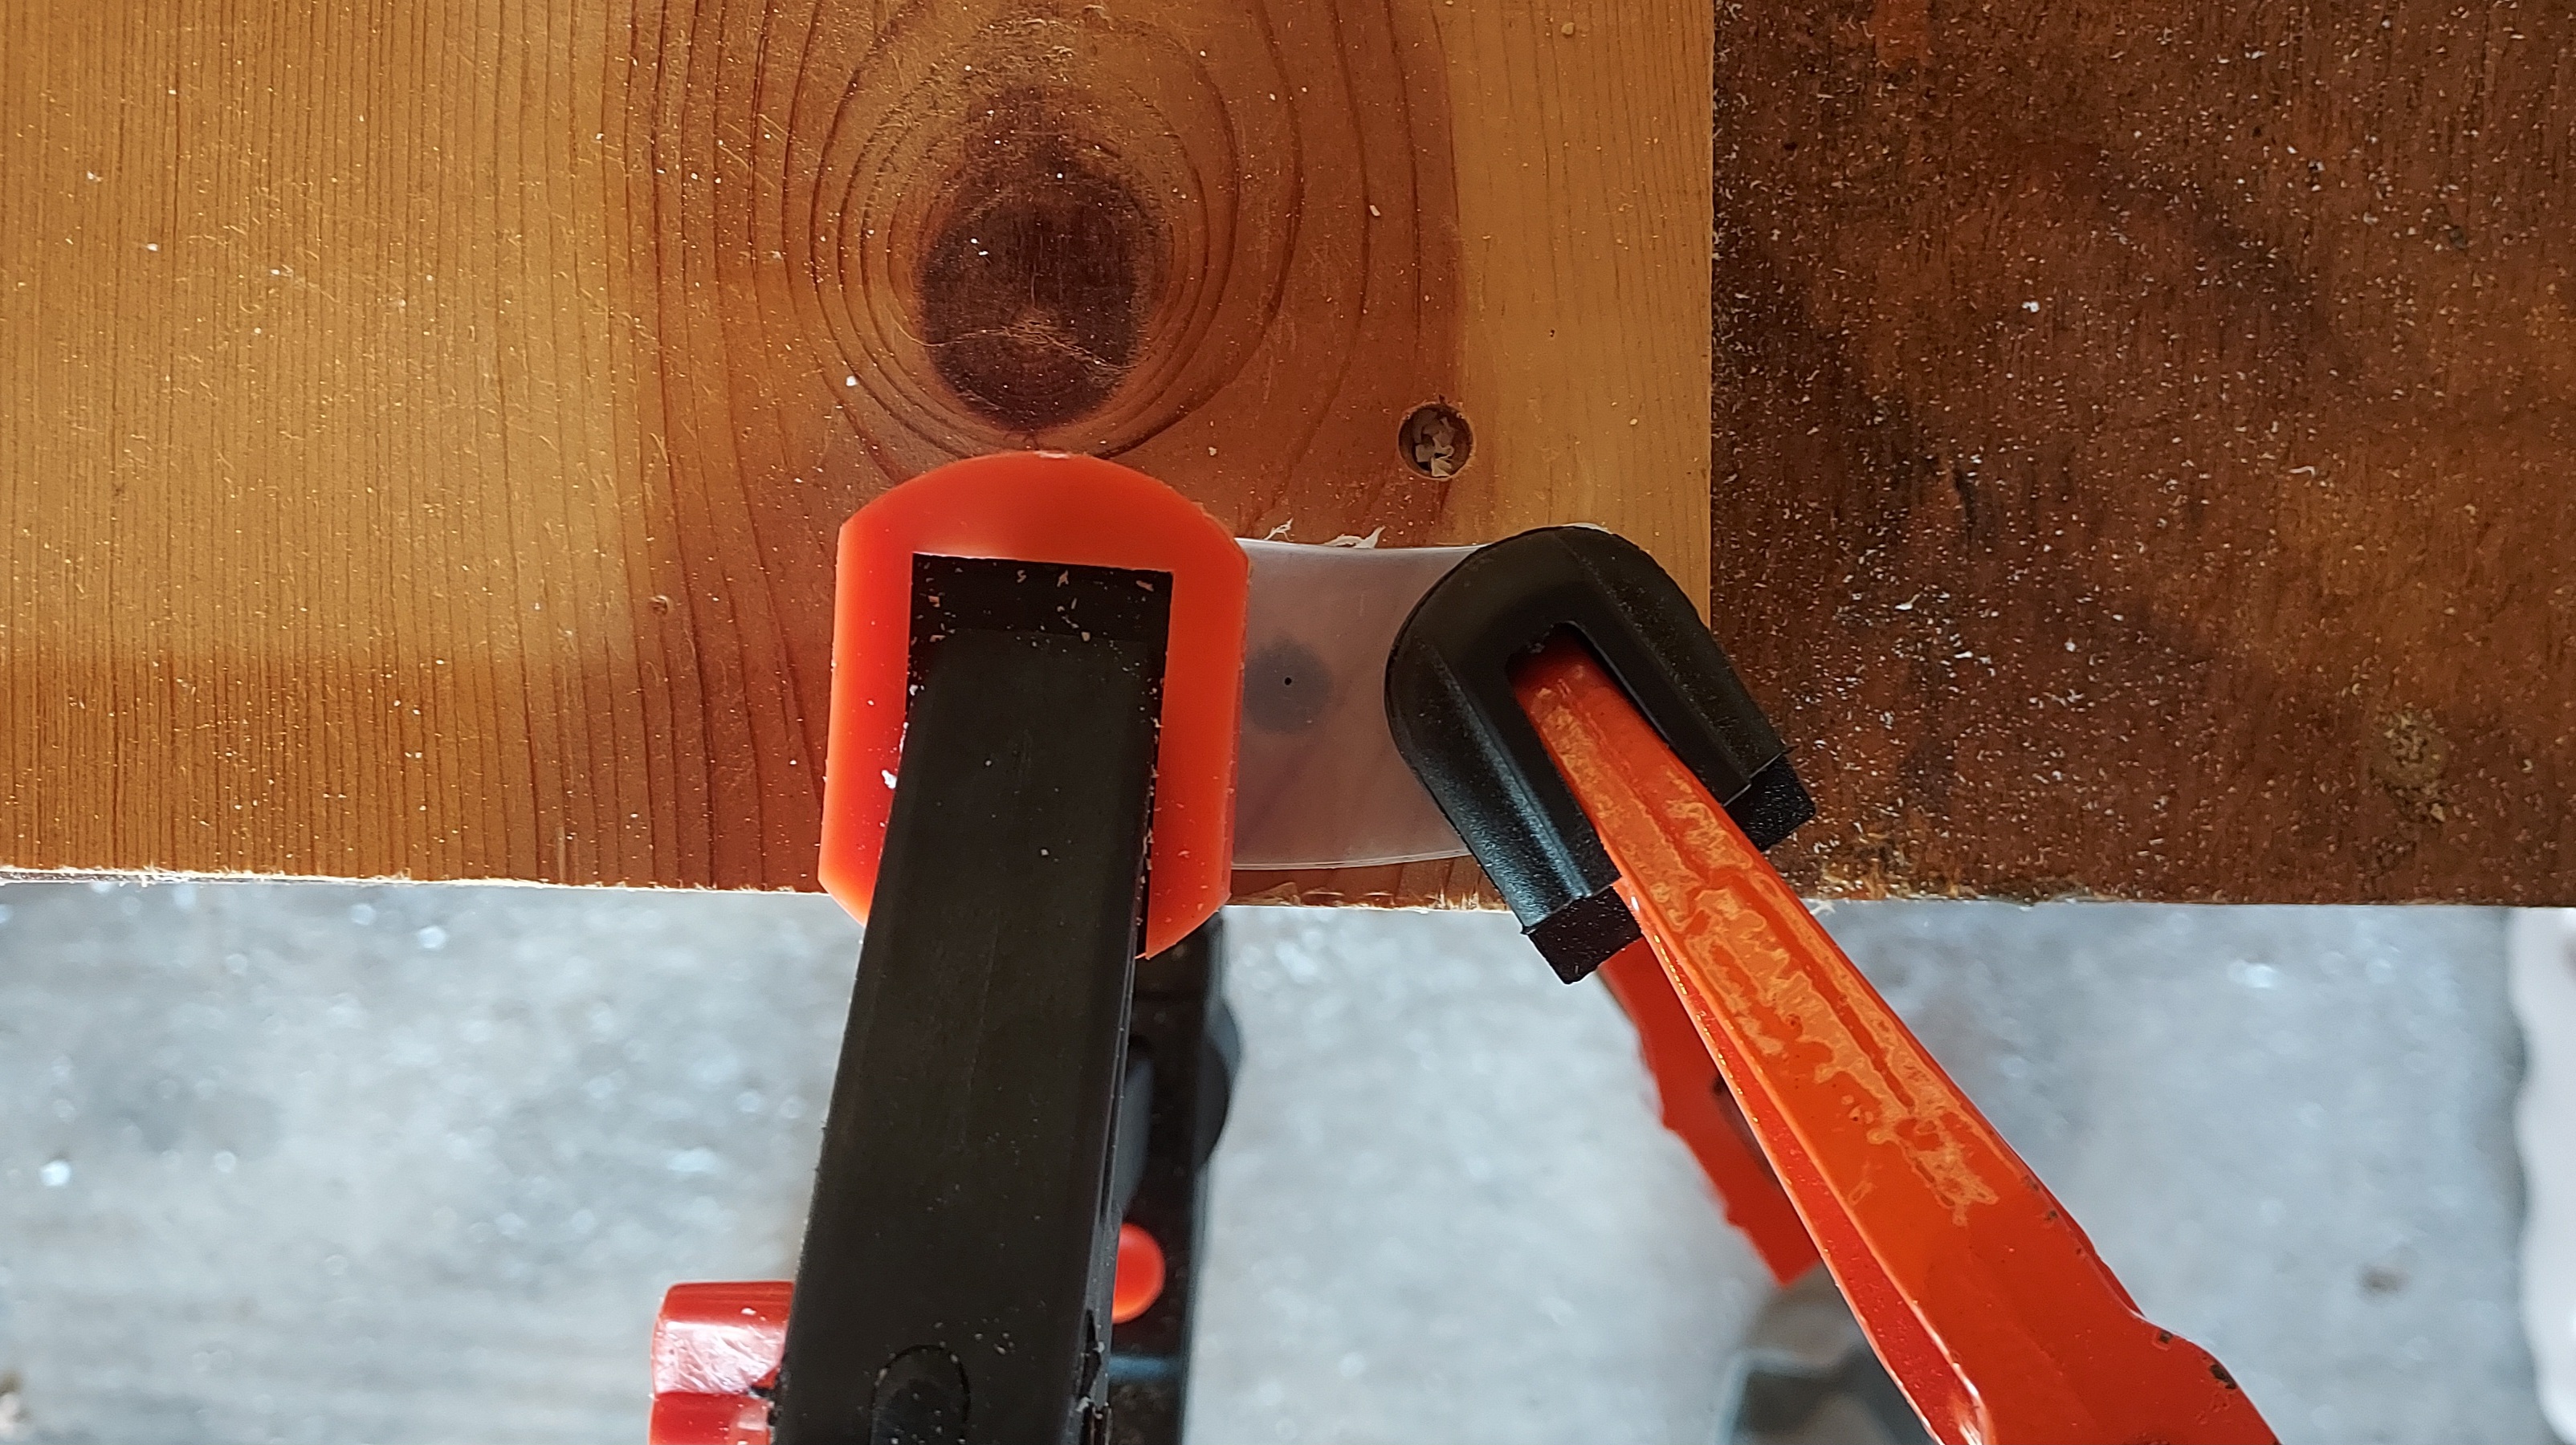
A drill press would be a much better option here, but I don't have access to one. Using a cordless drill can work if you are careful to keep it perpendicular to the grip. My method is to lean over top of the drill, looking down and back at what I'm drilling. This is a technique I learned from my dad when working on our deck and it works pretty good. Now, drill to the depth marked on the bit.
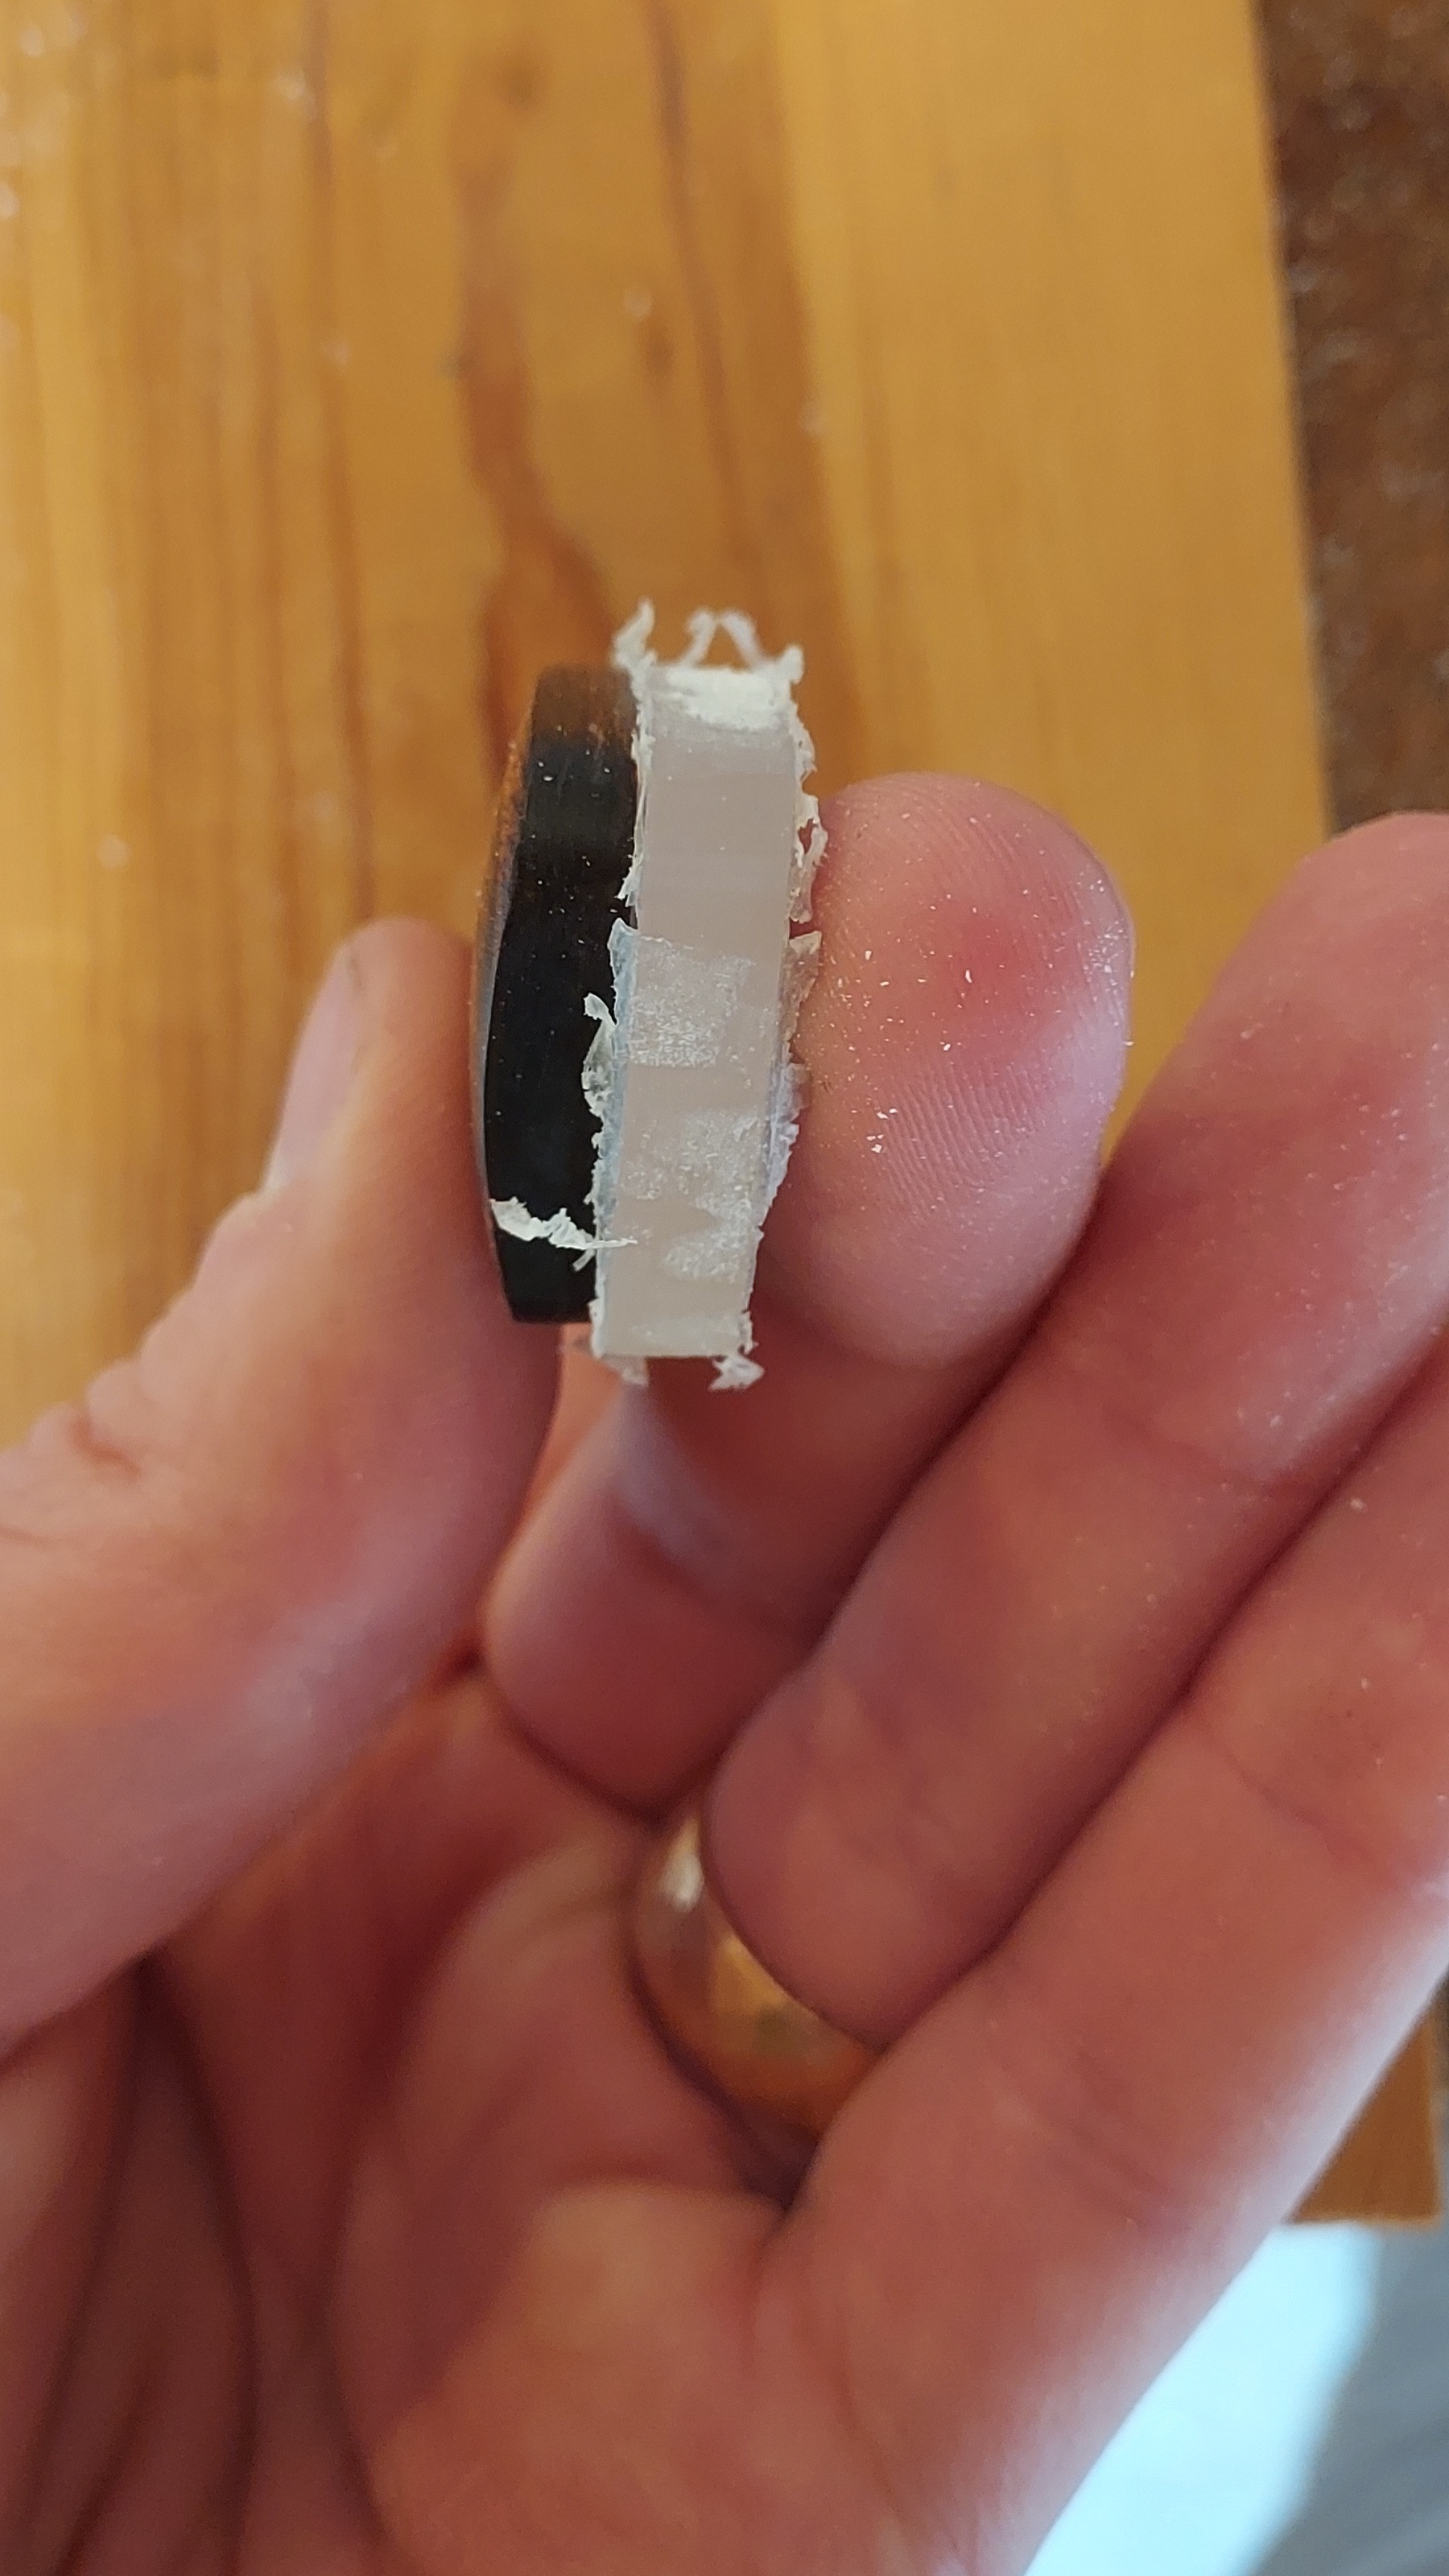
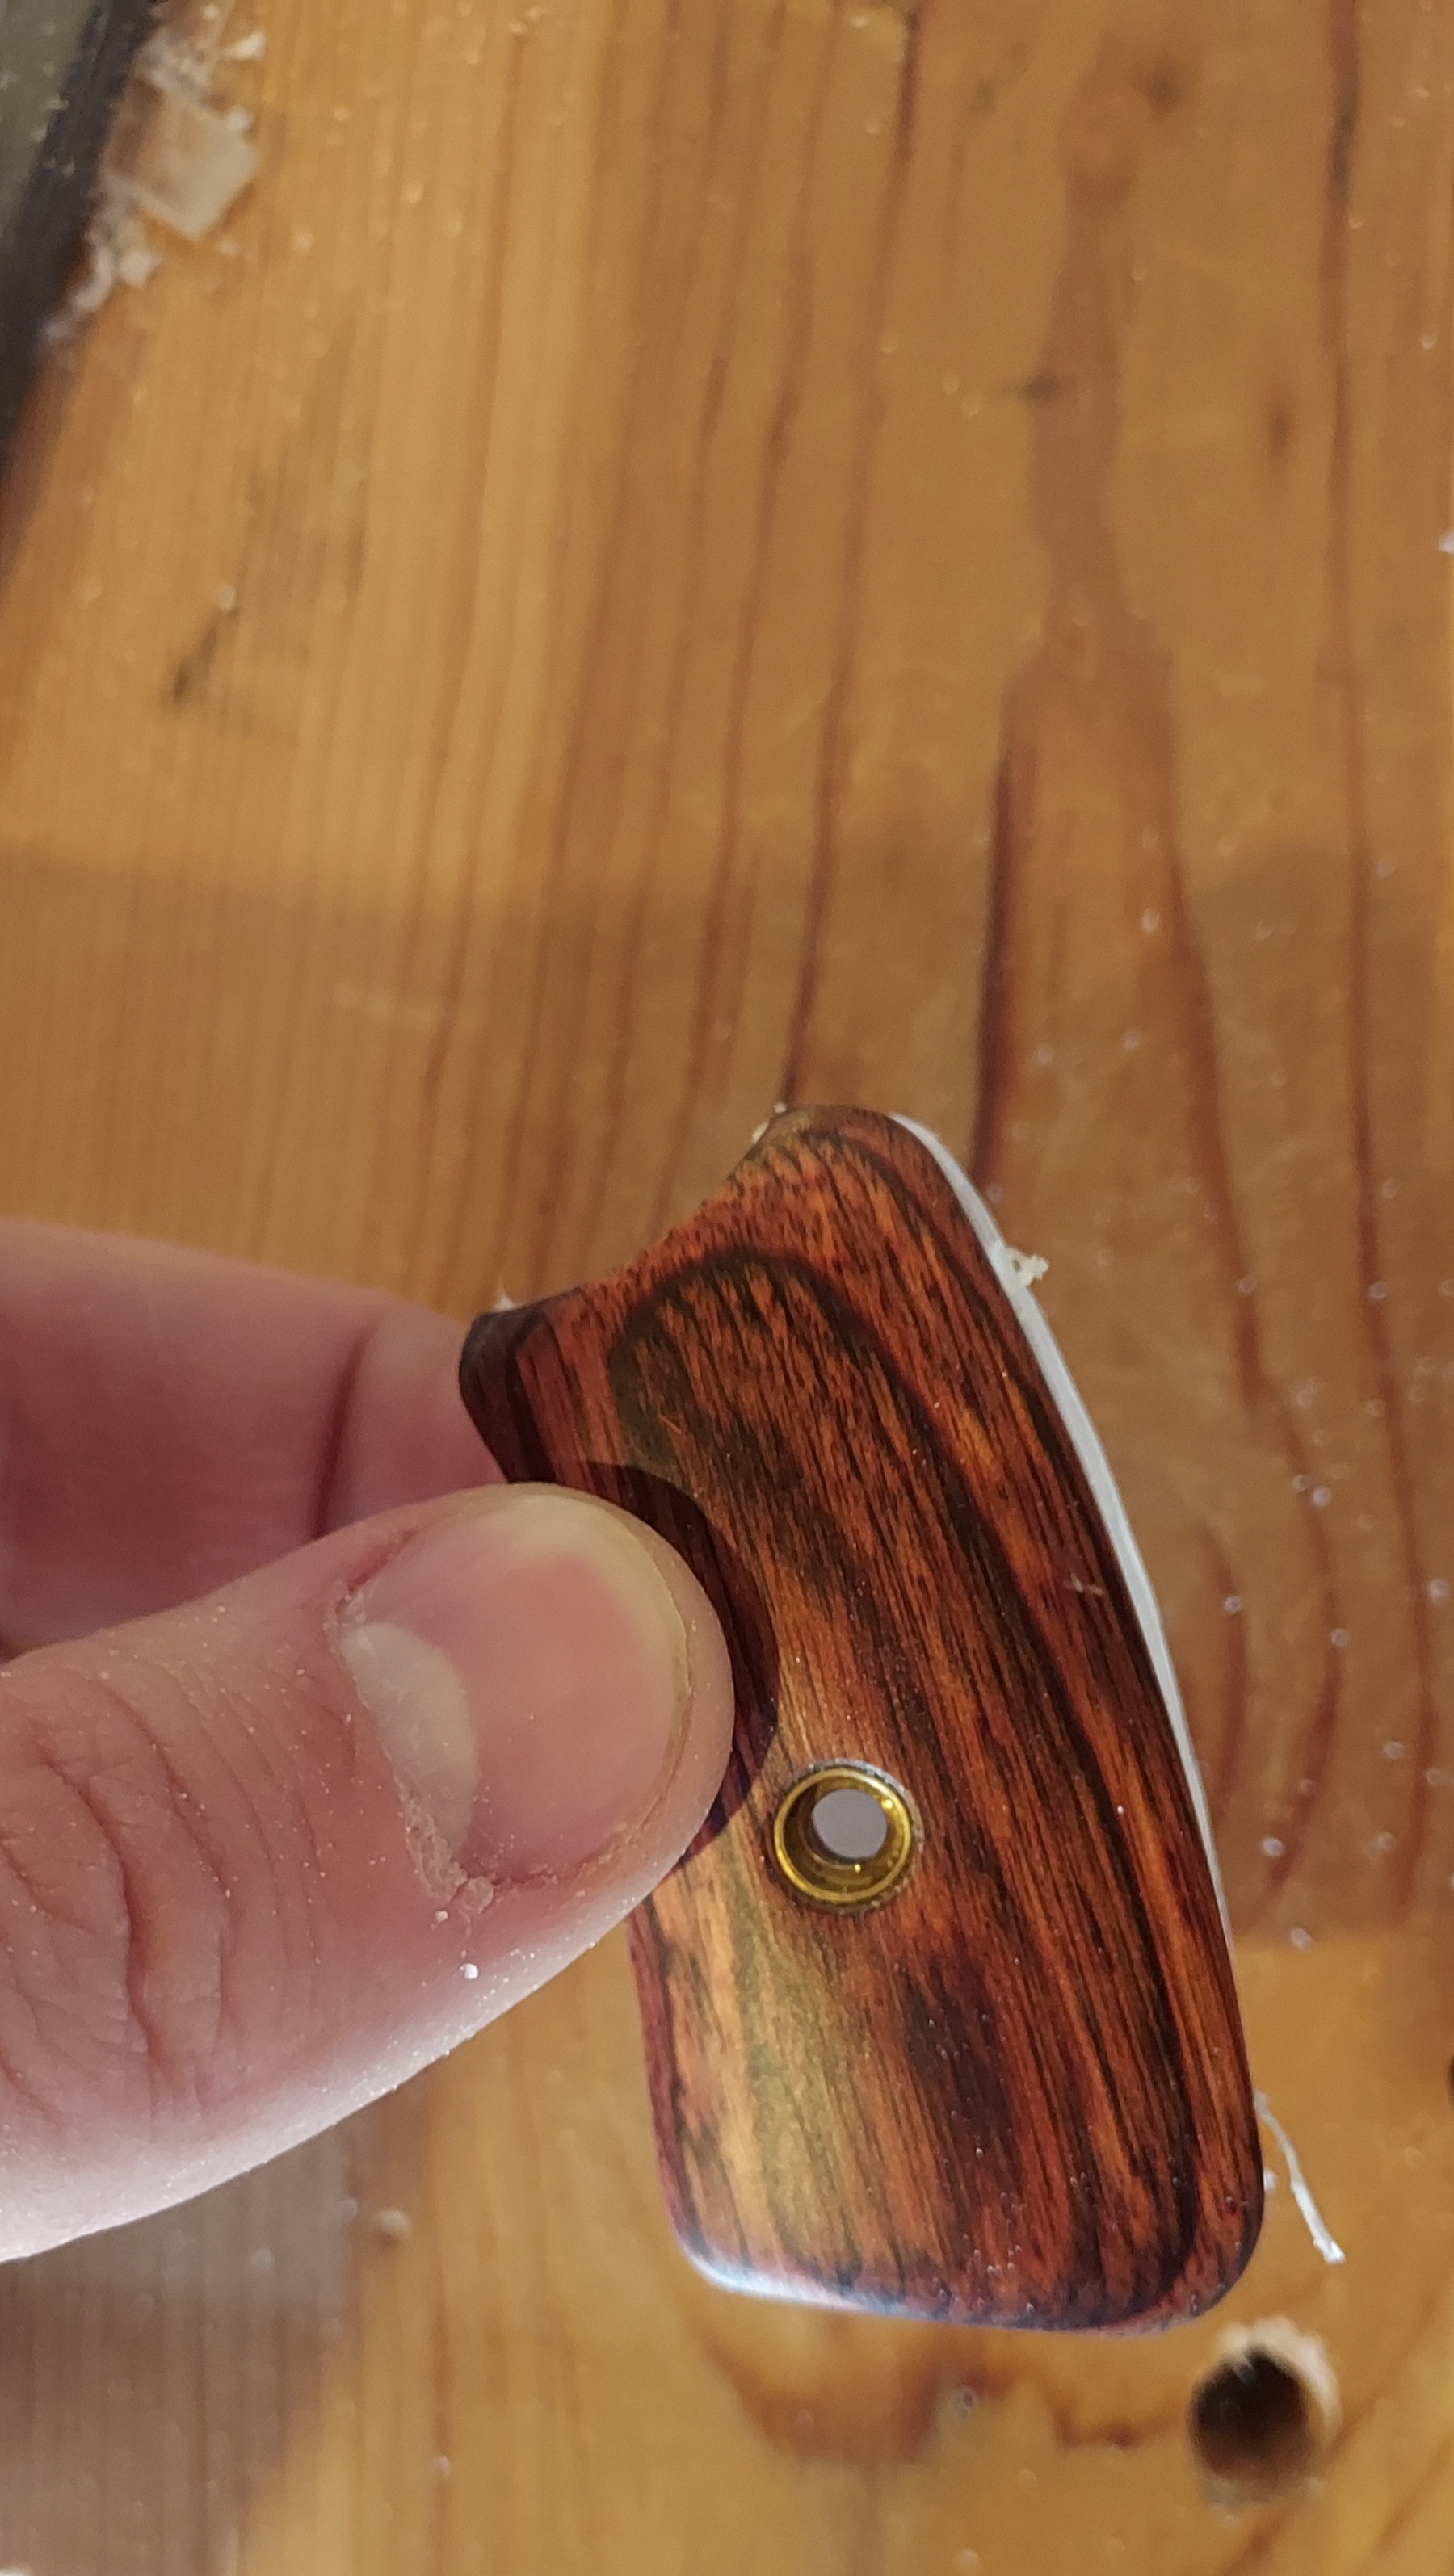
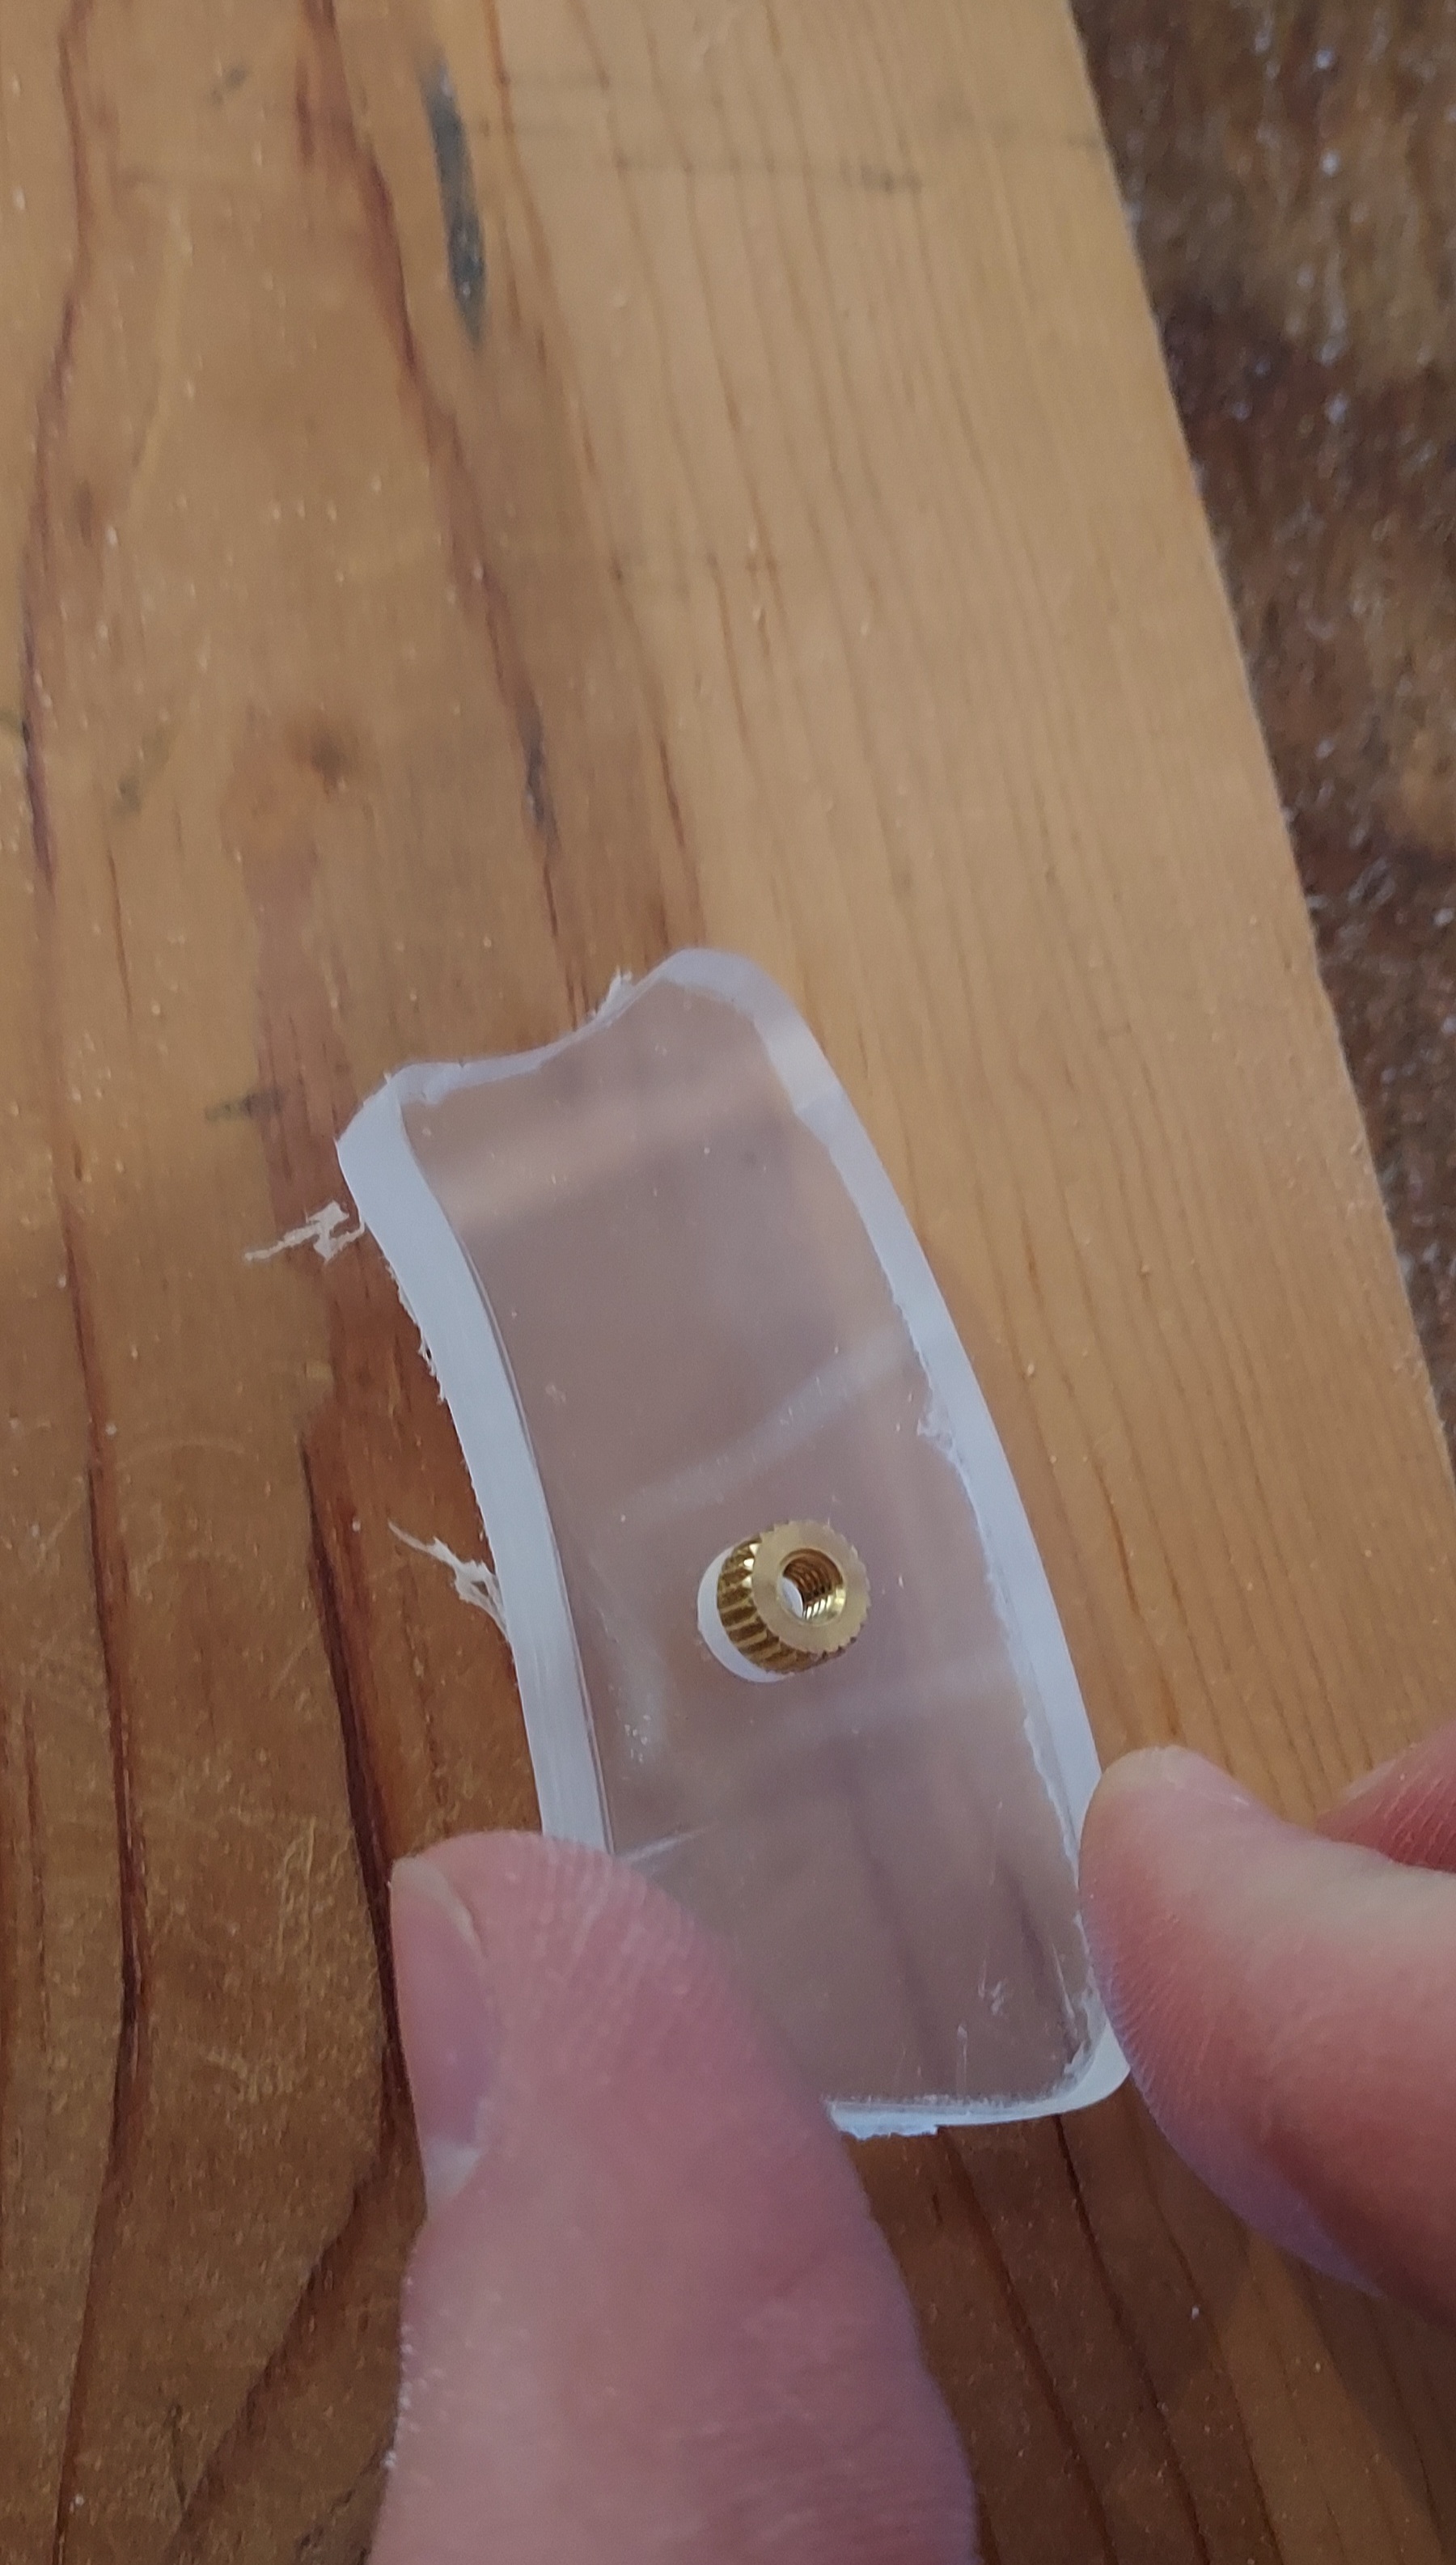
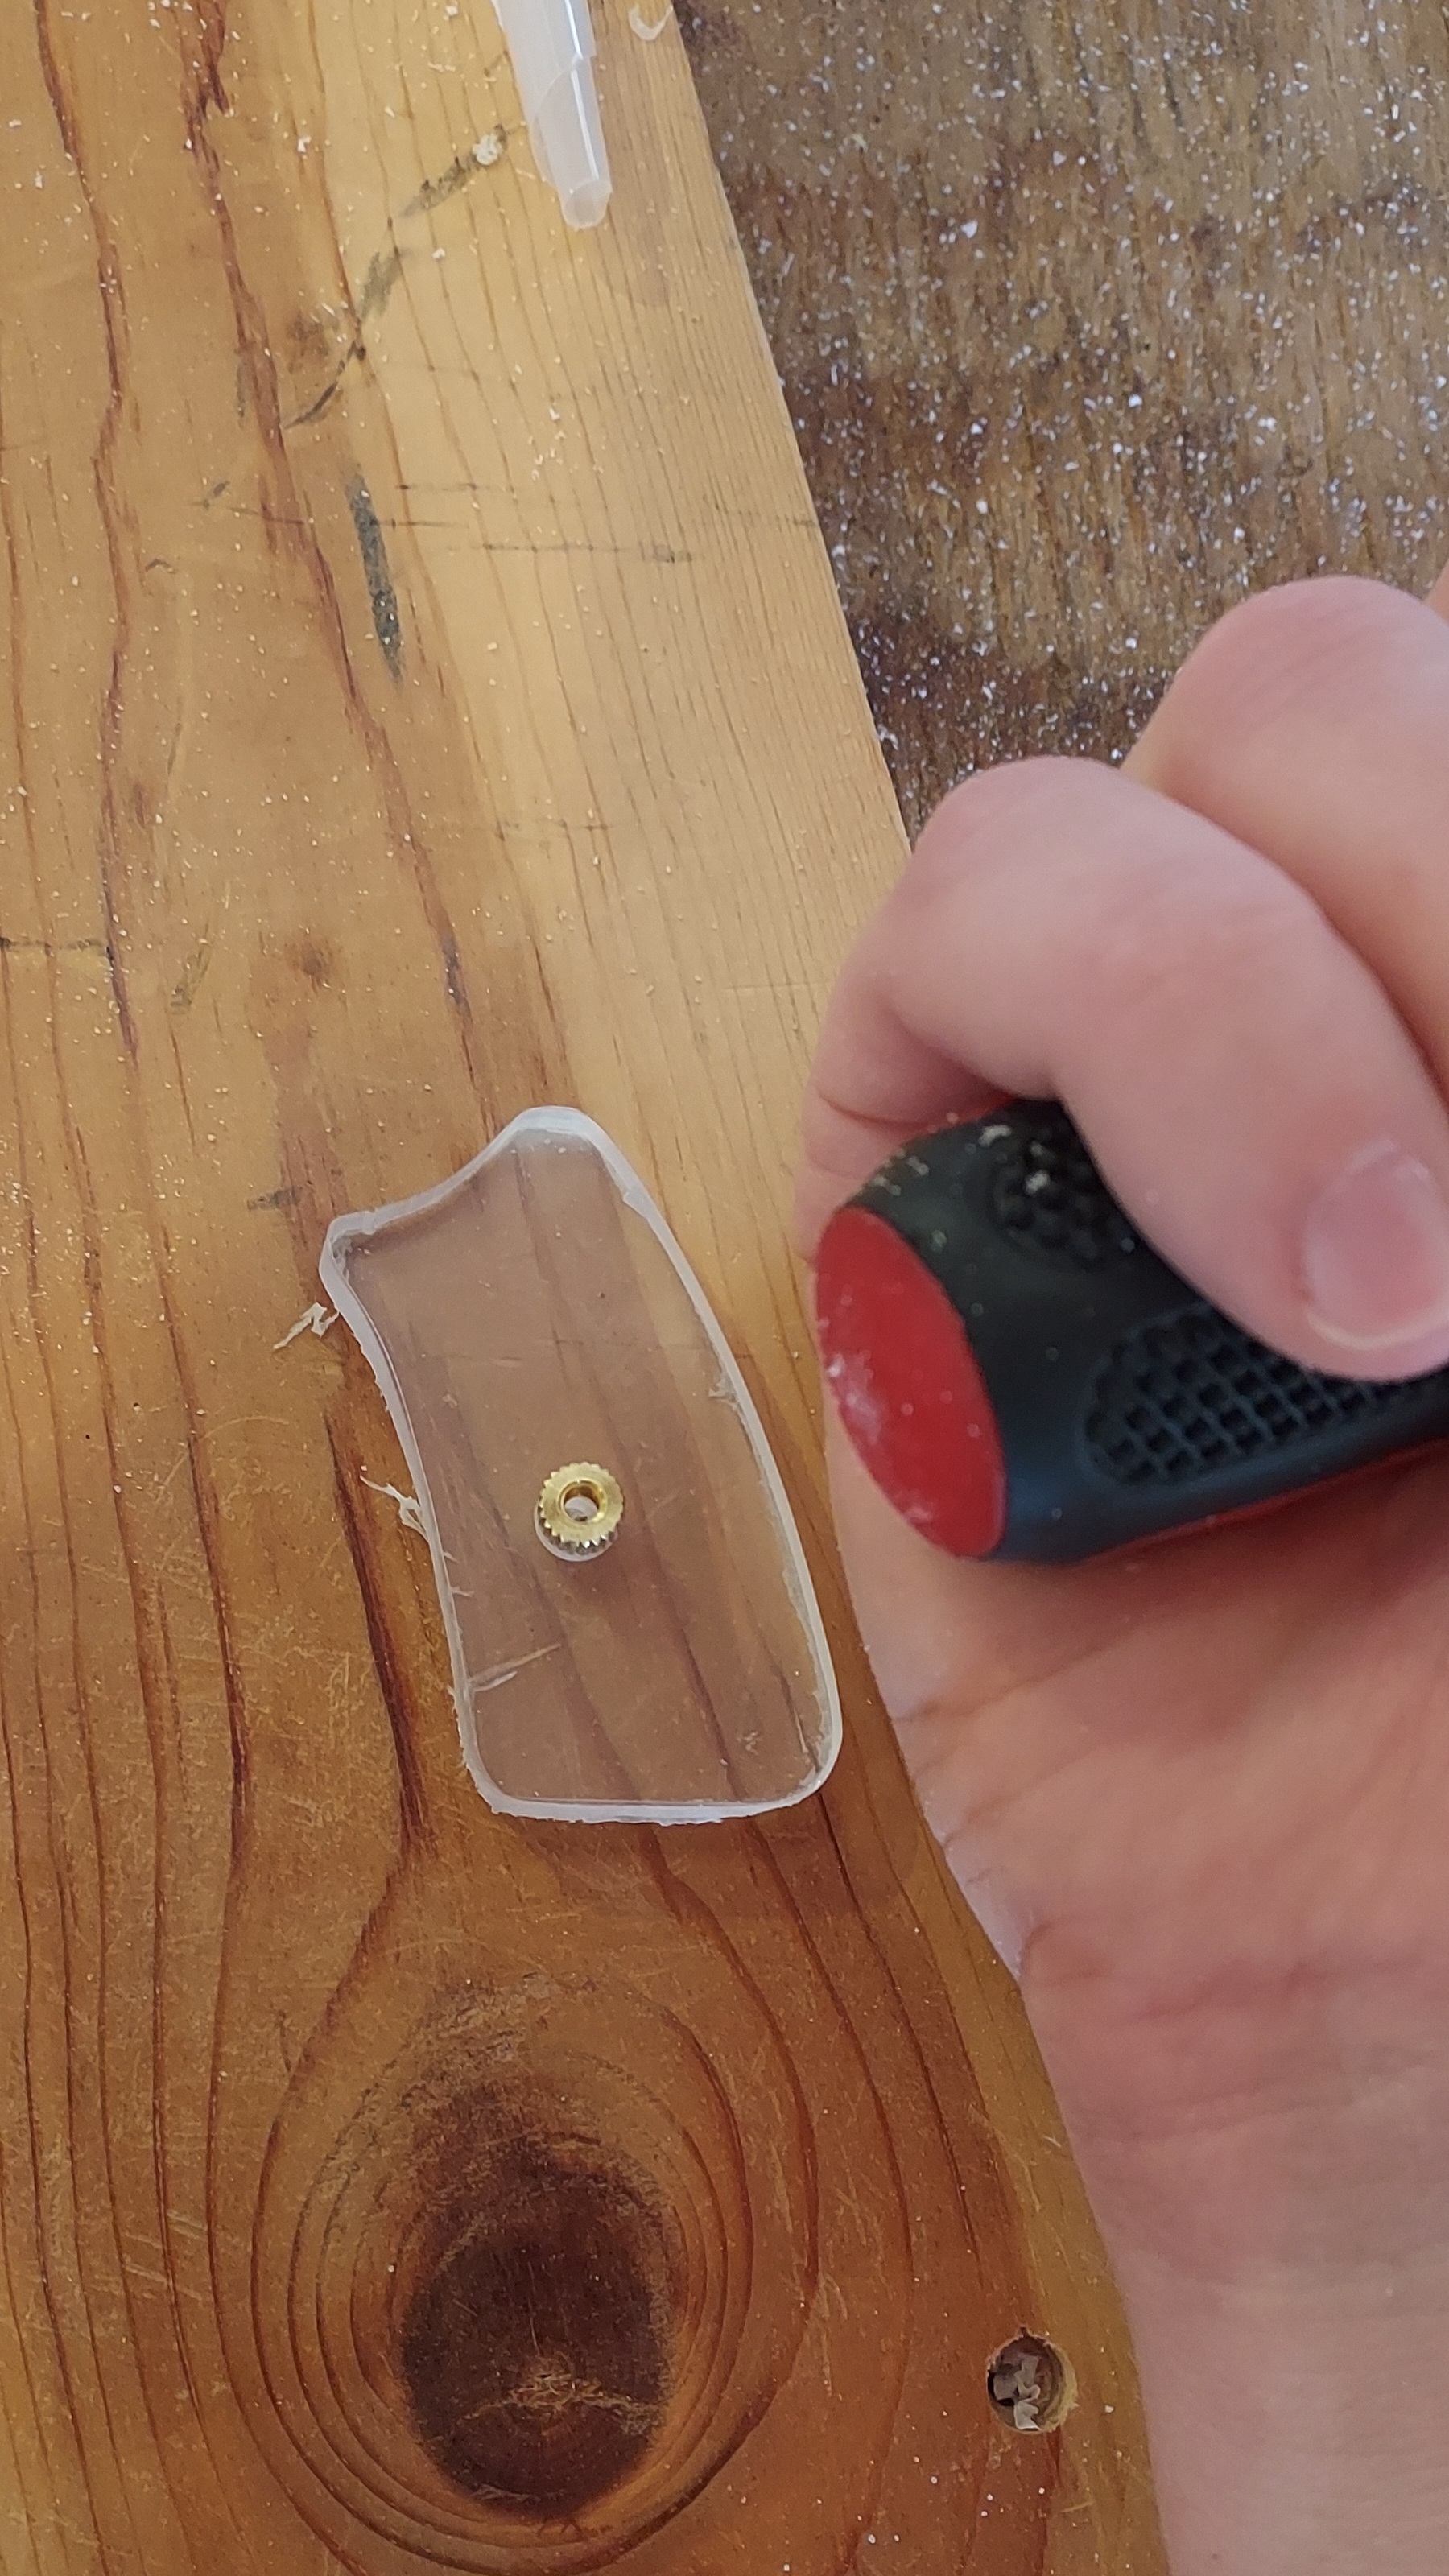
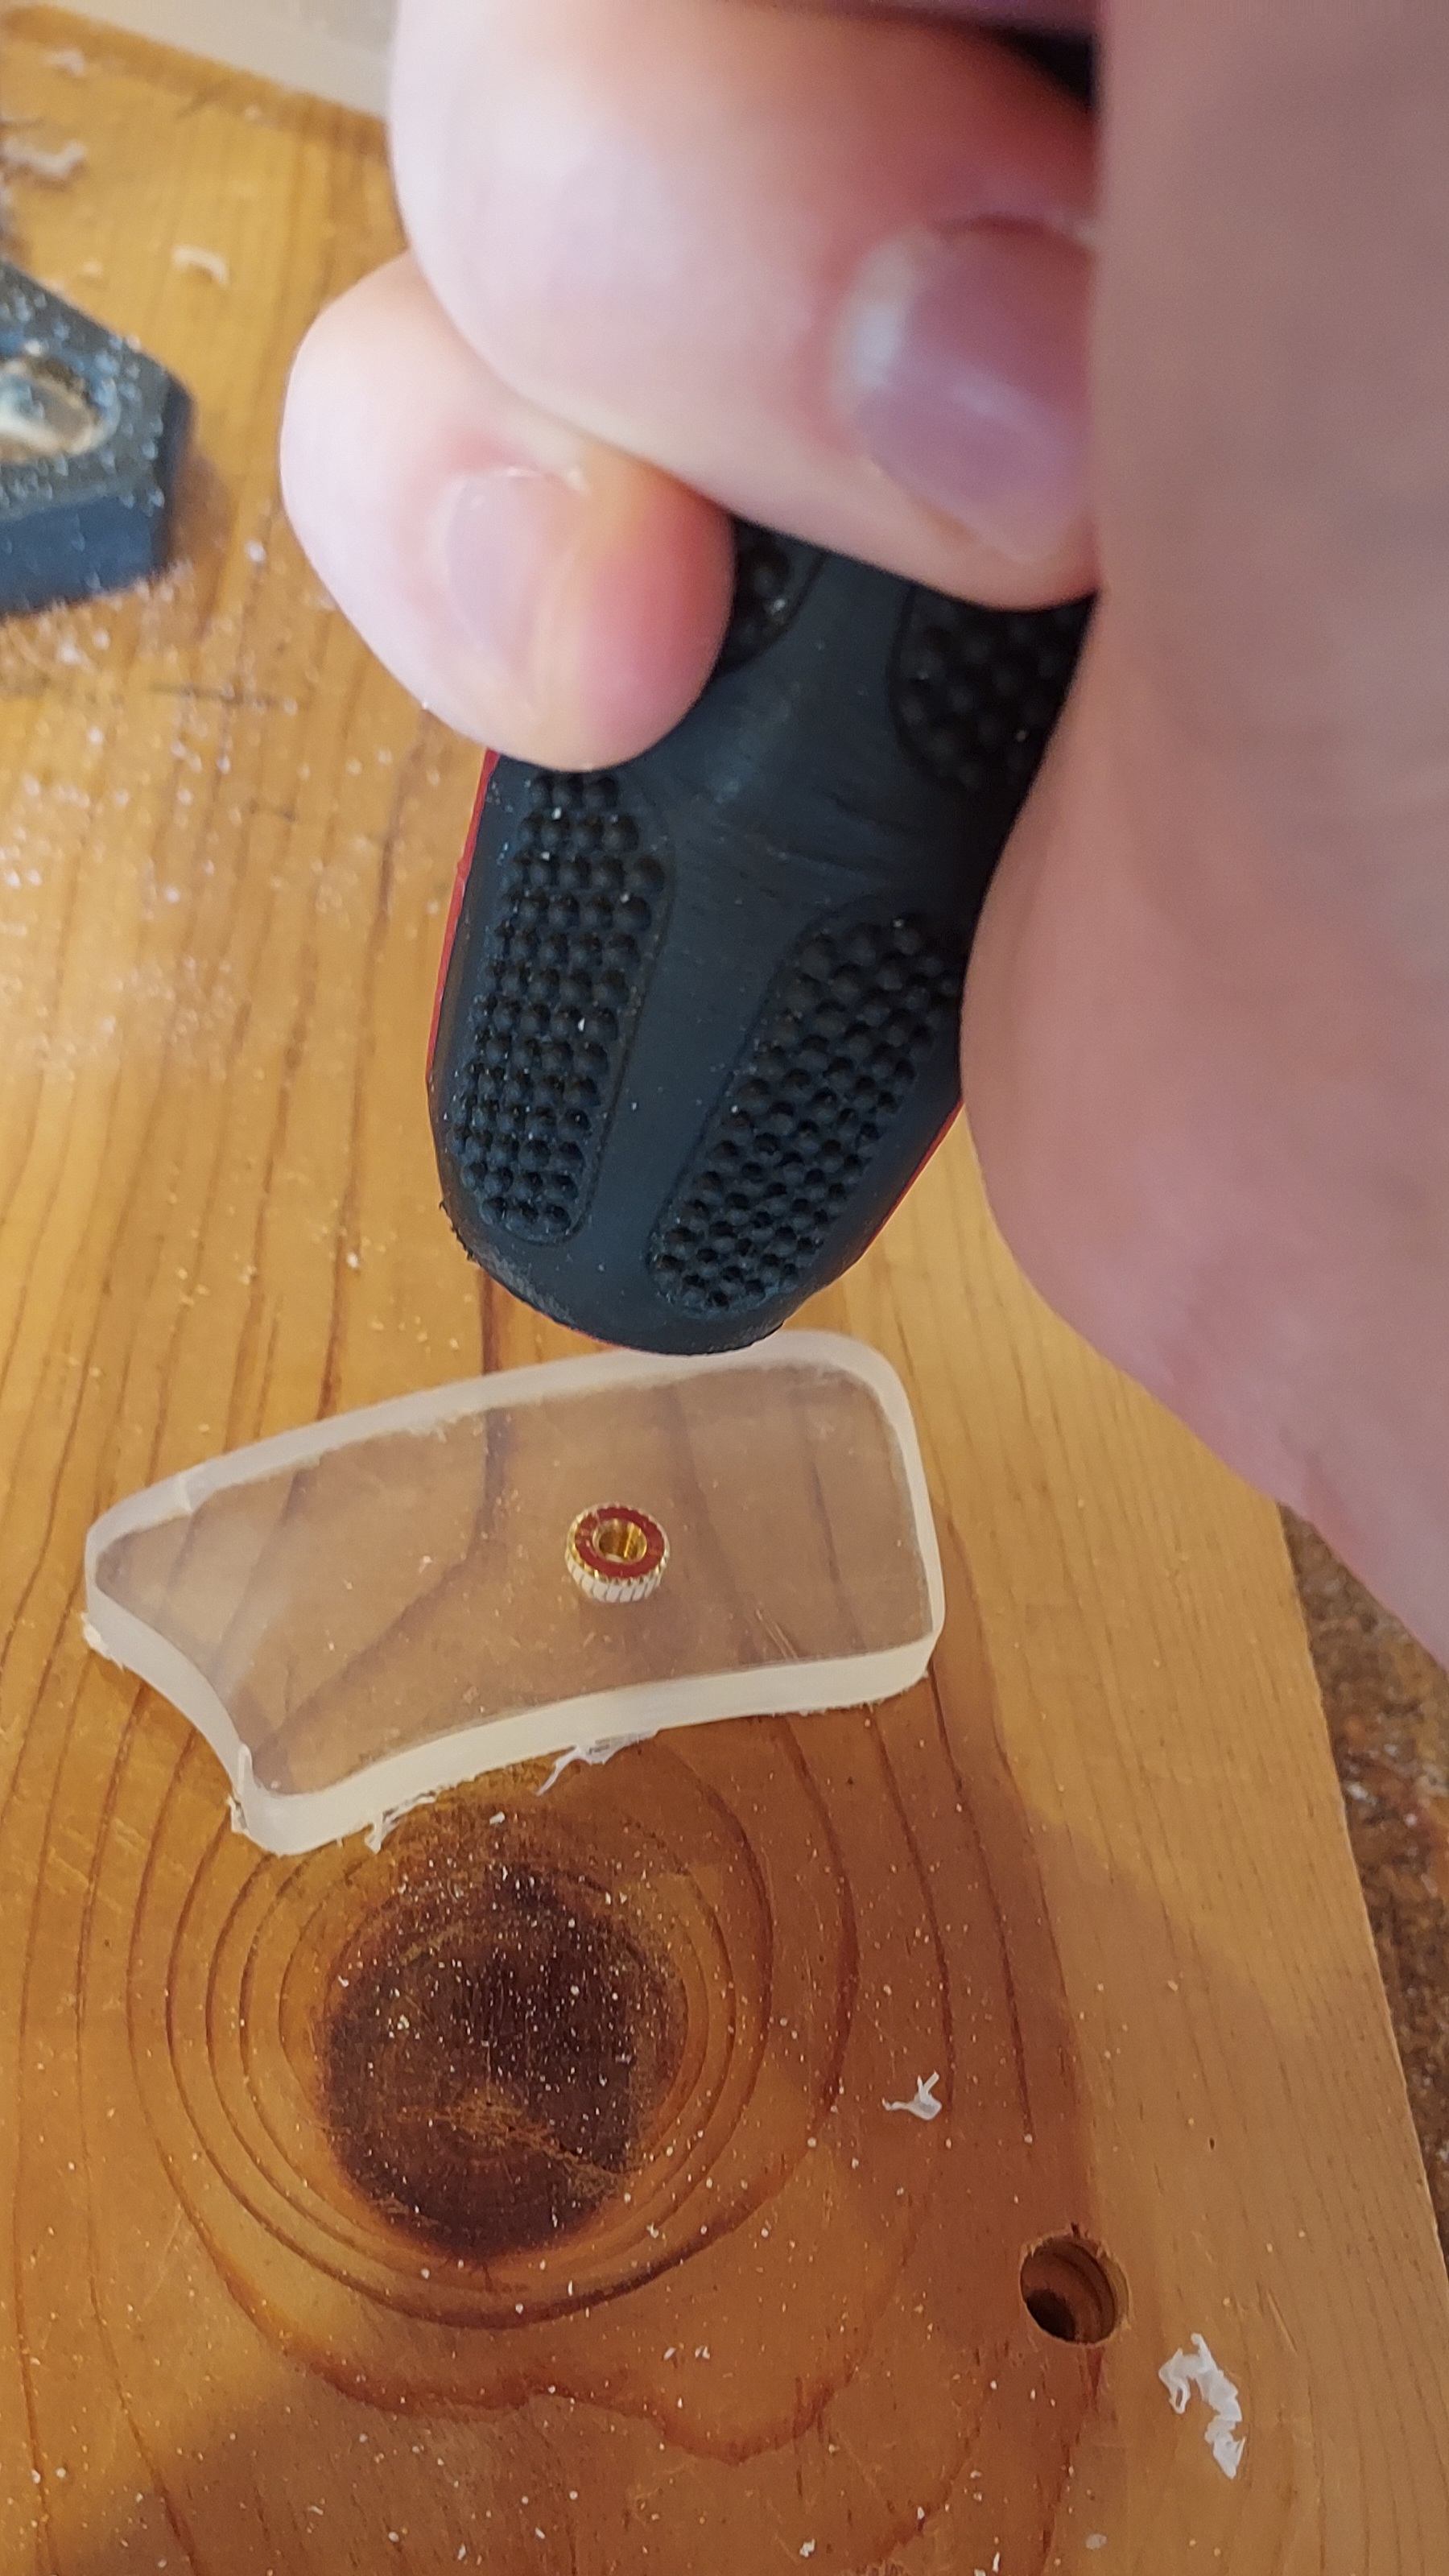
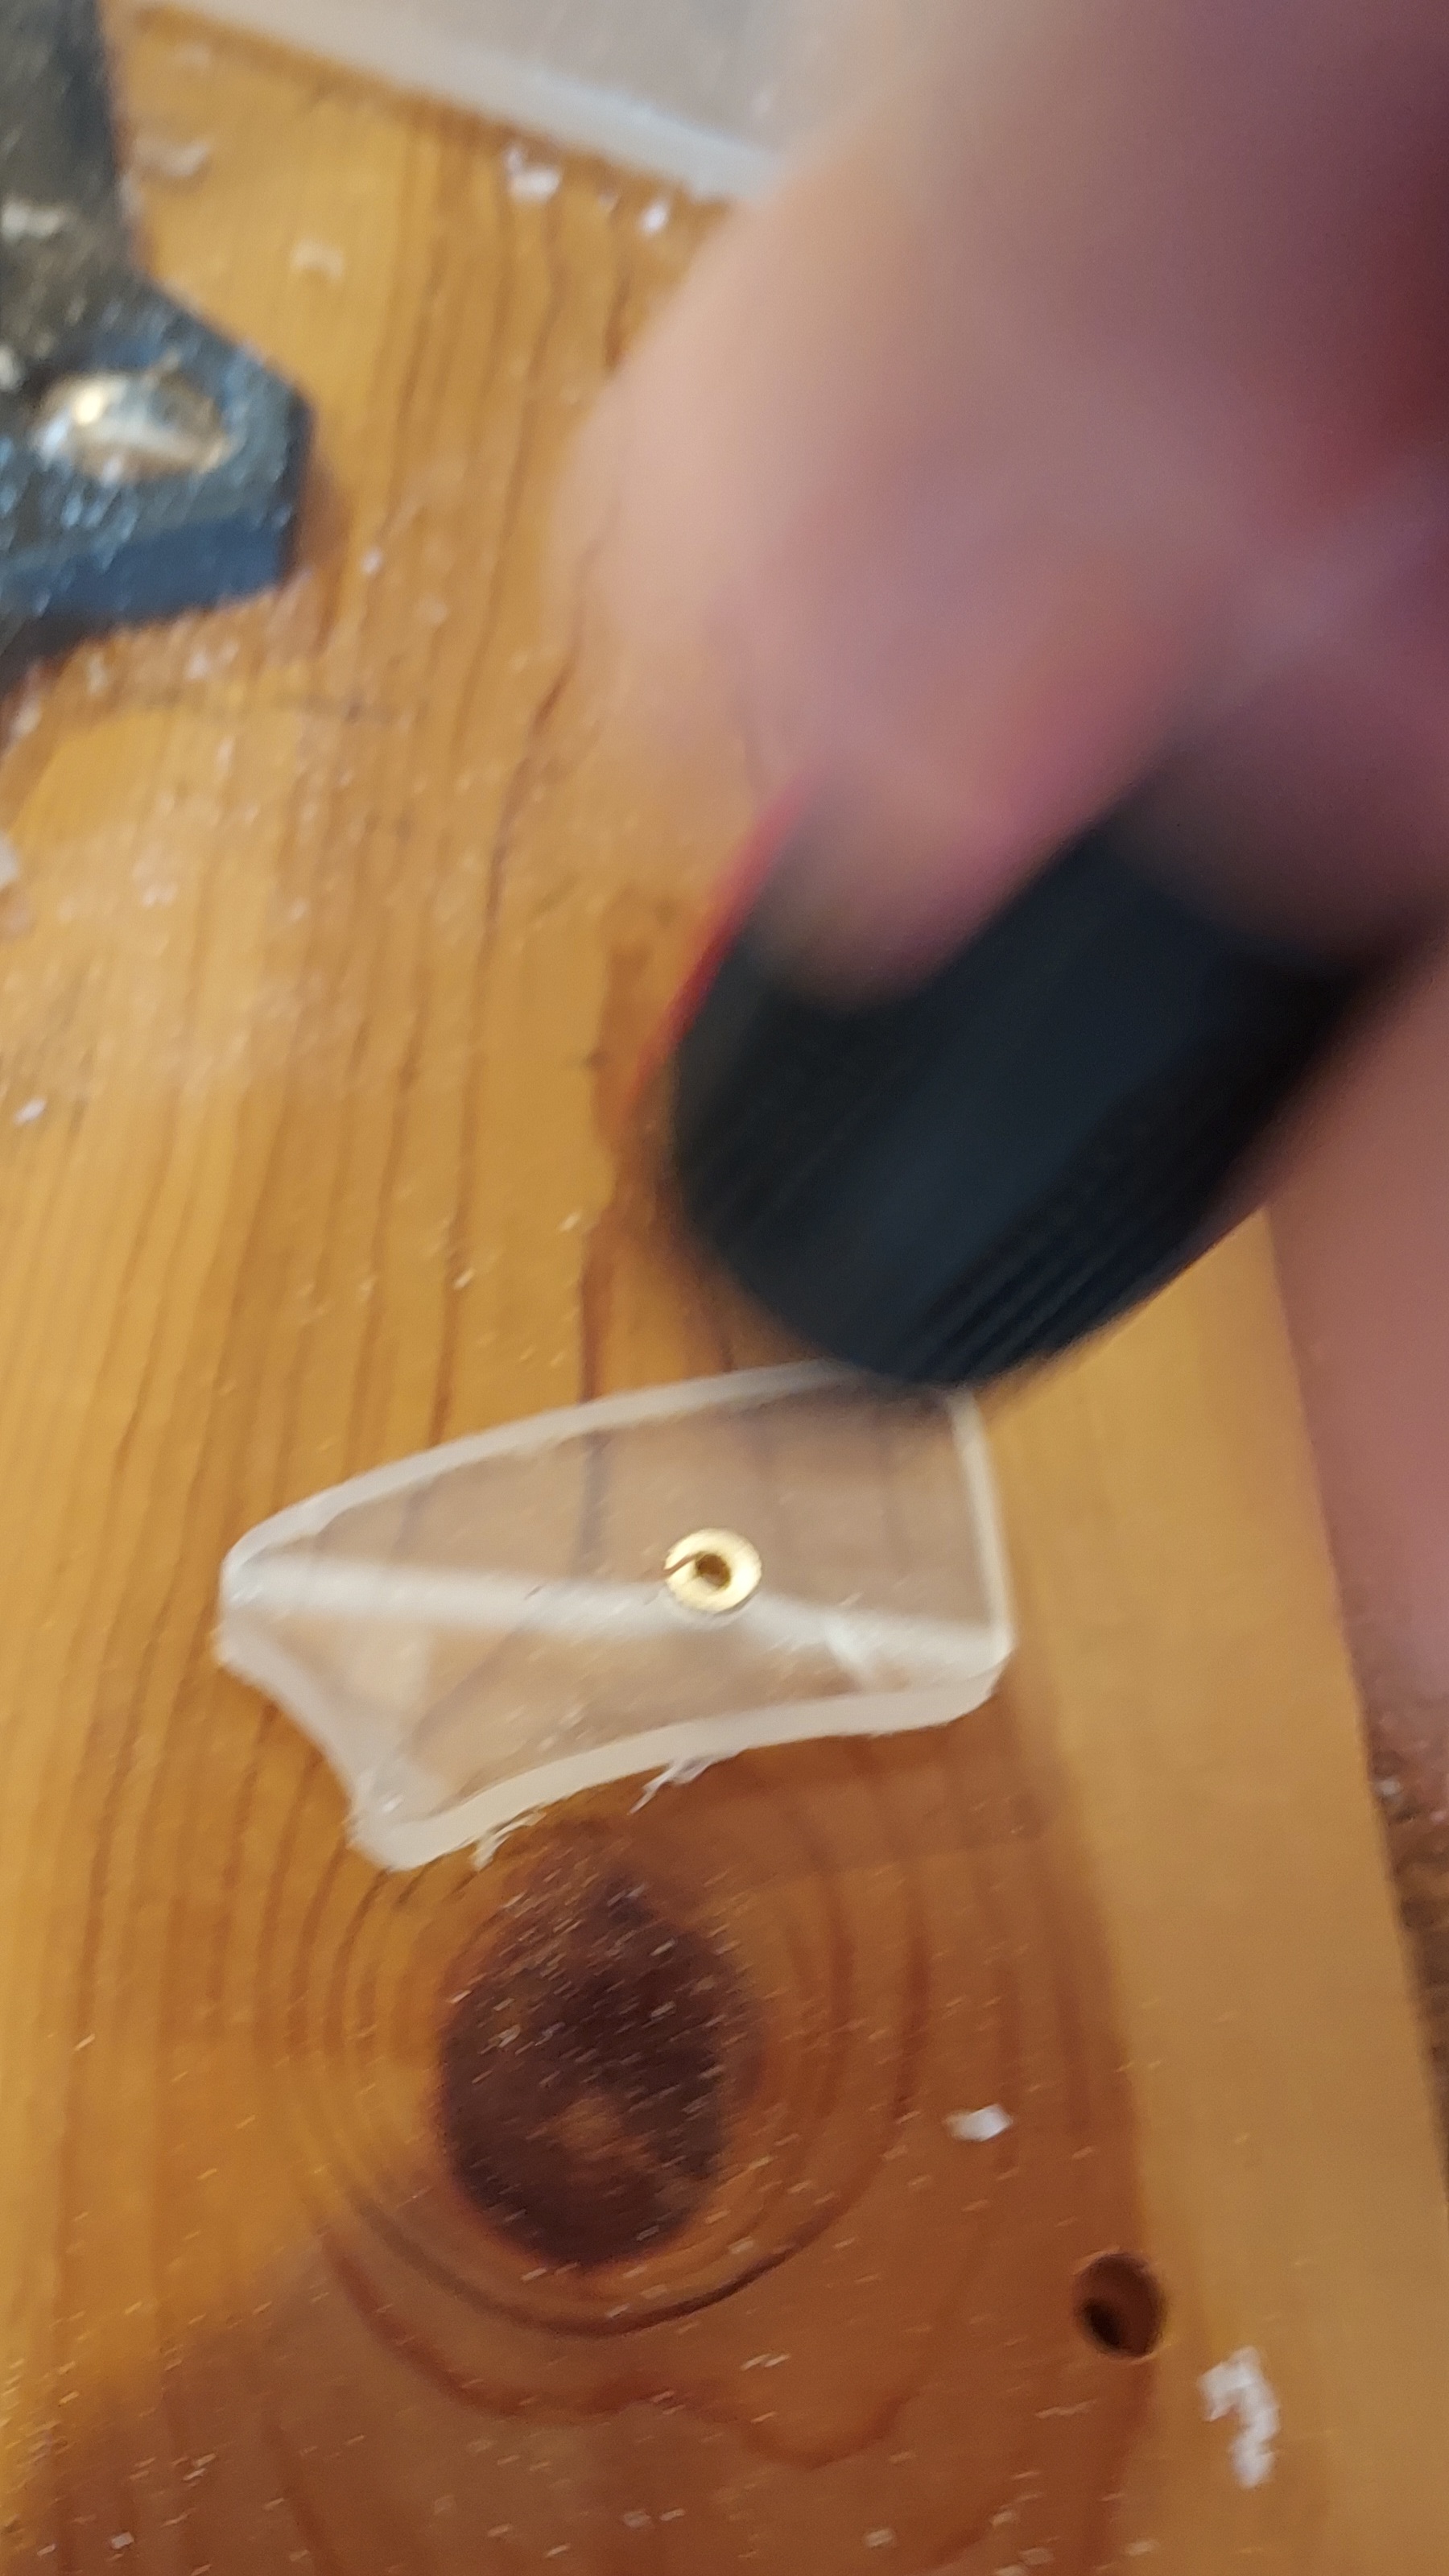
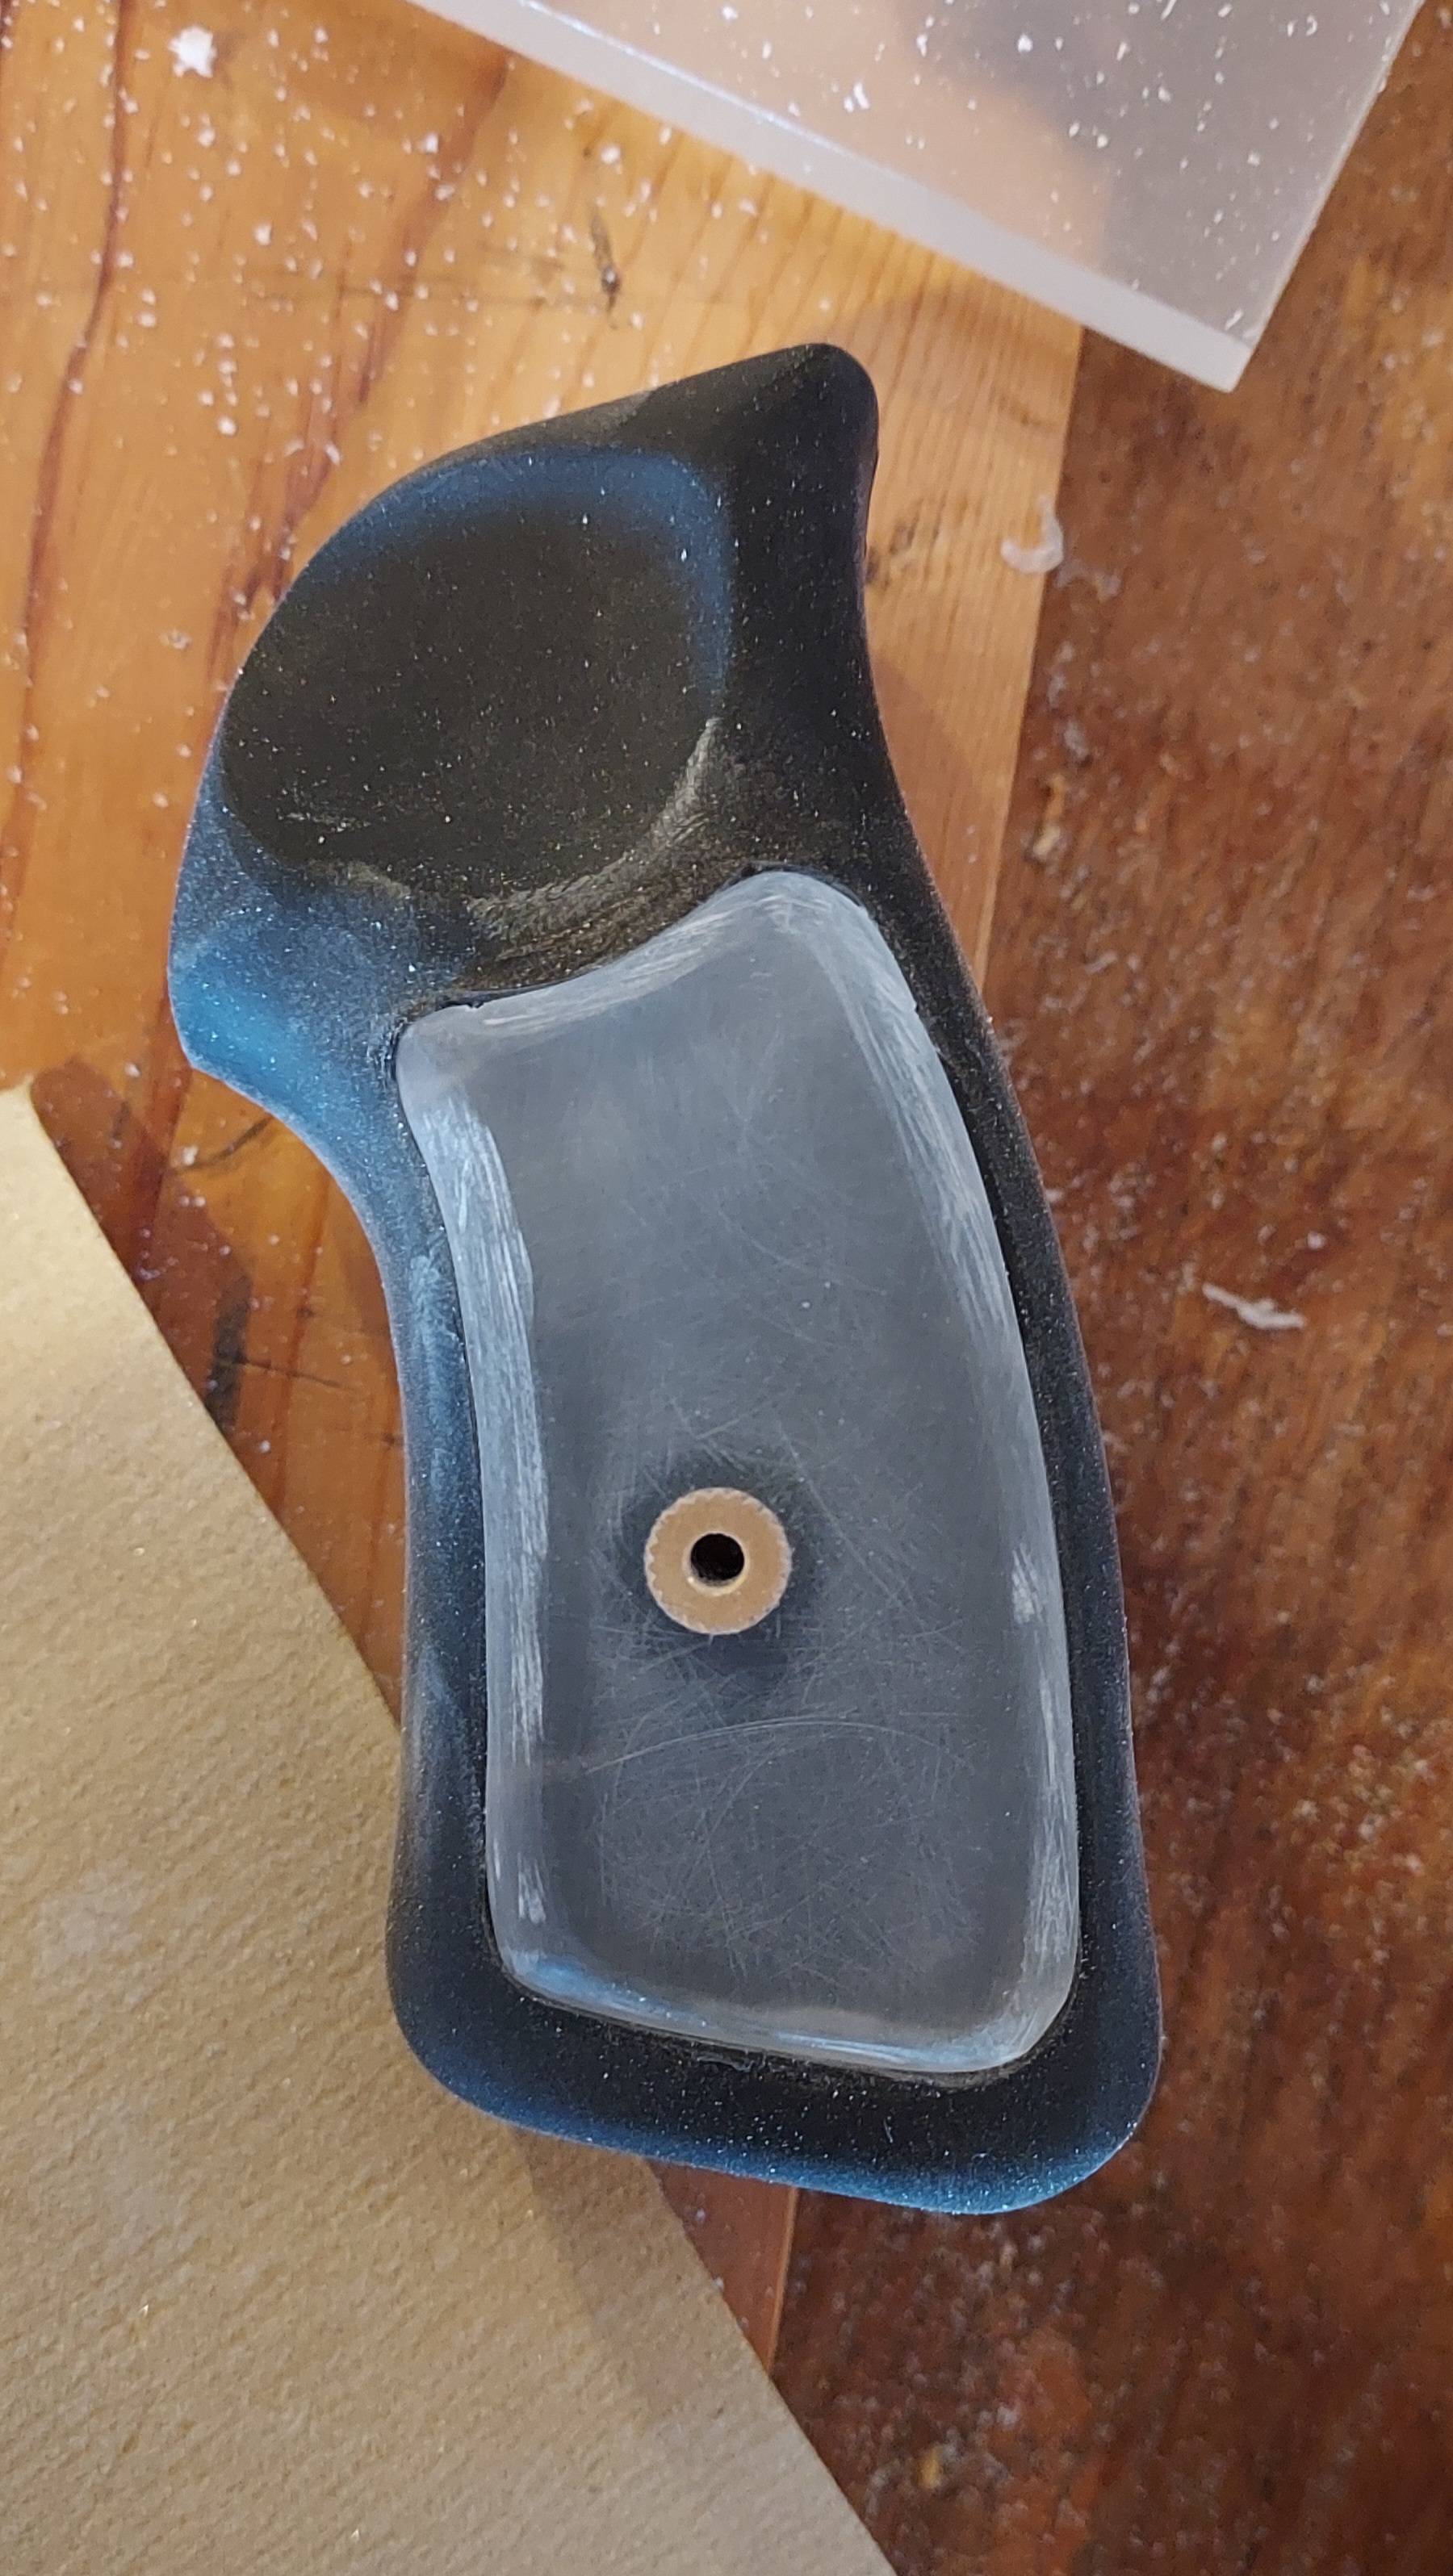
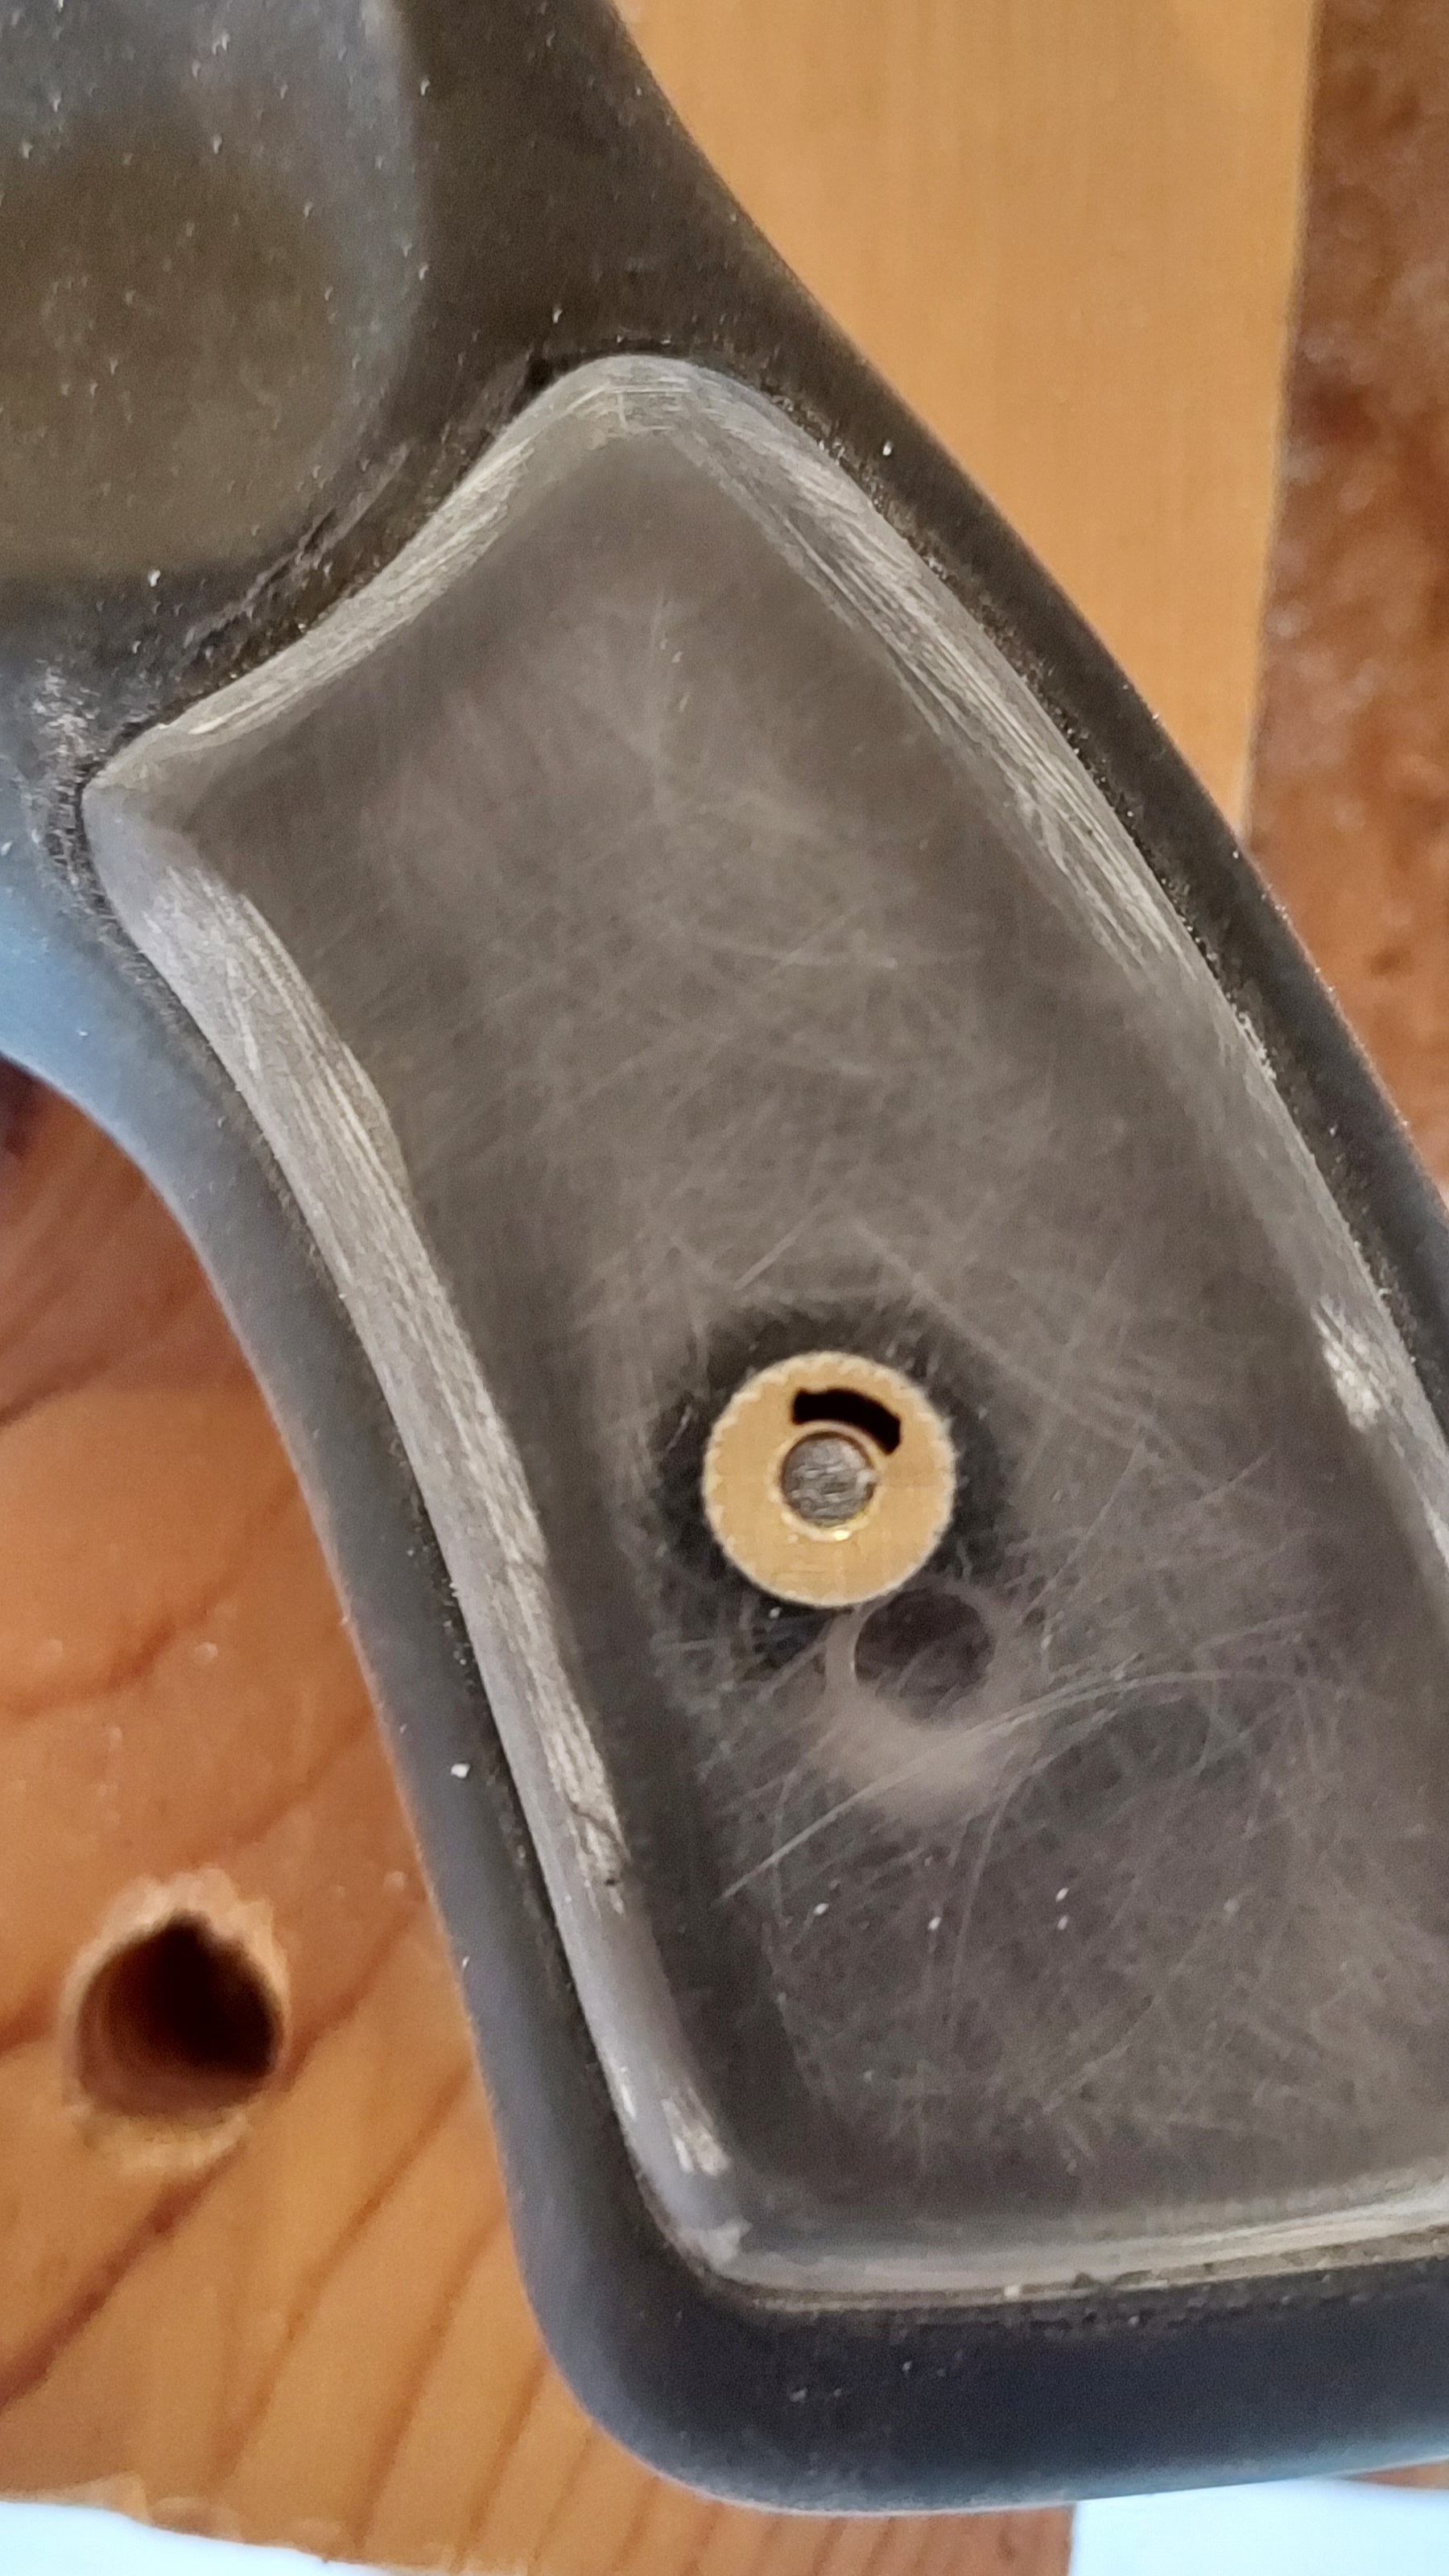
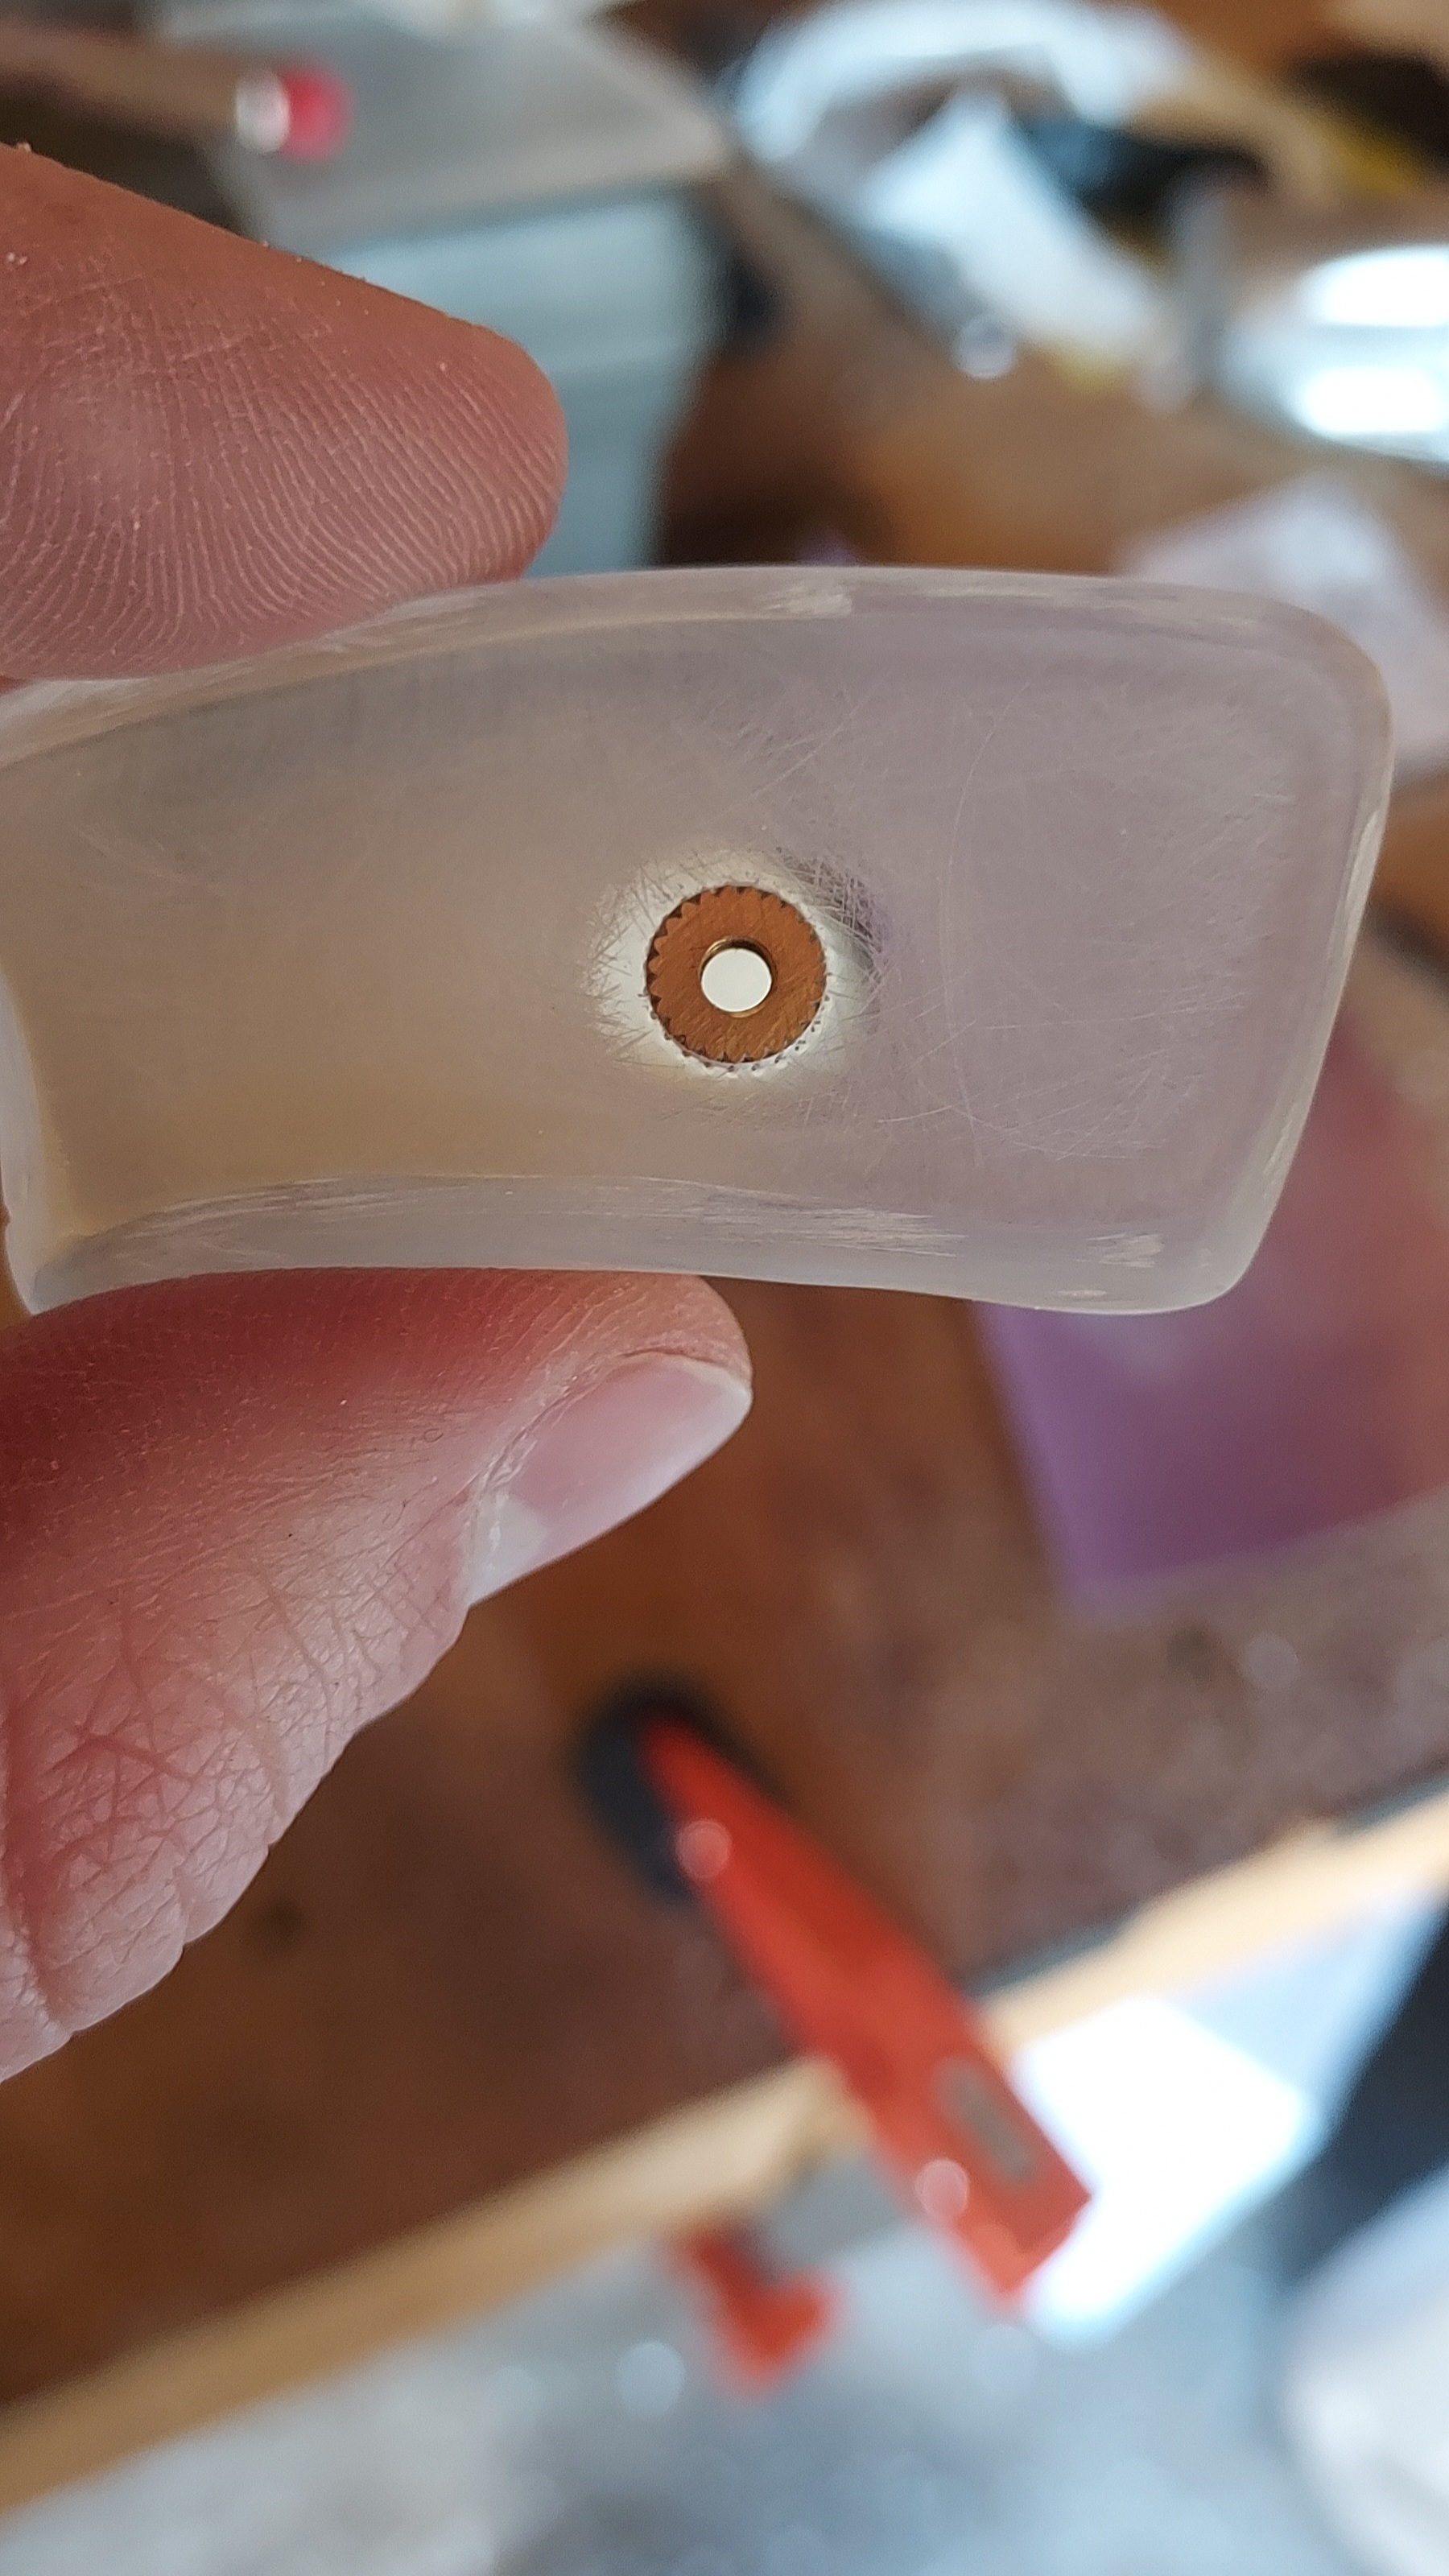
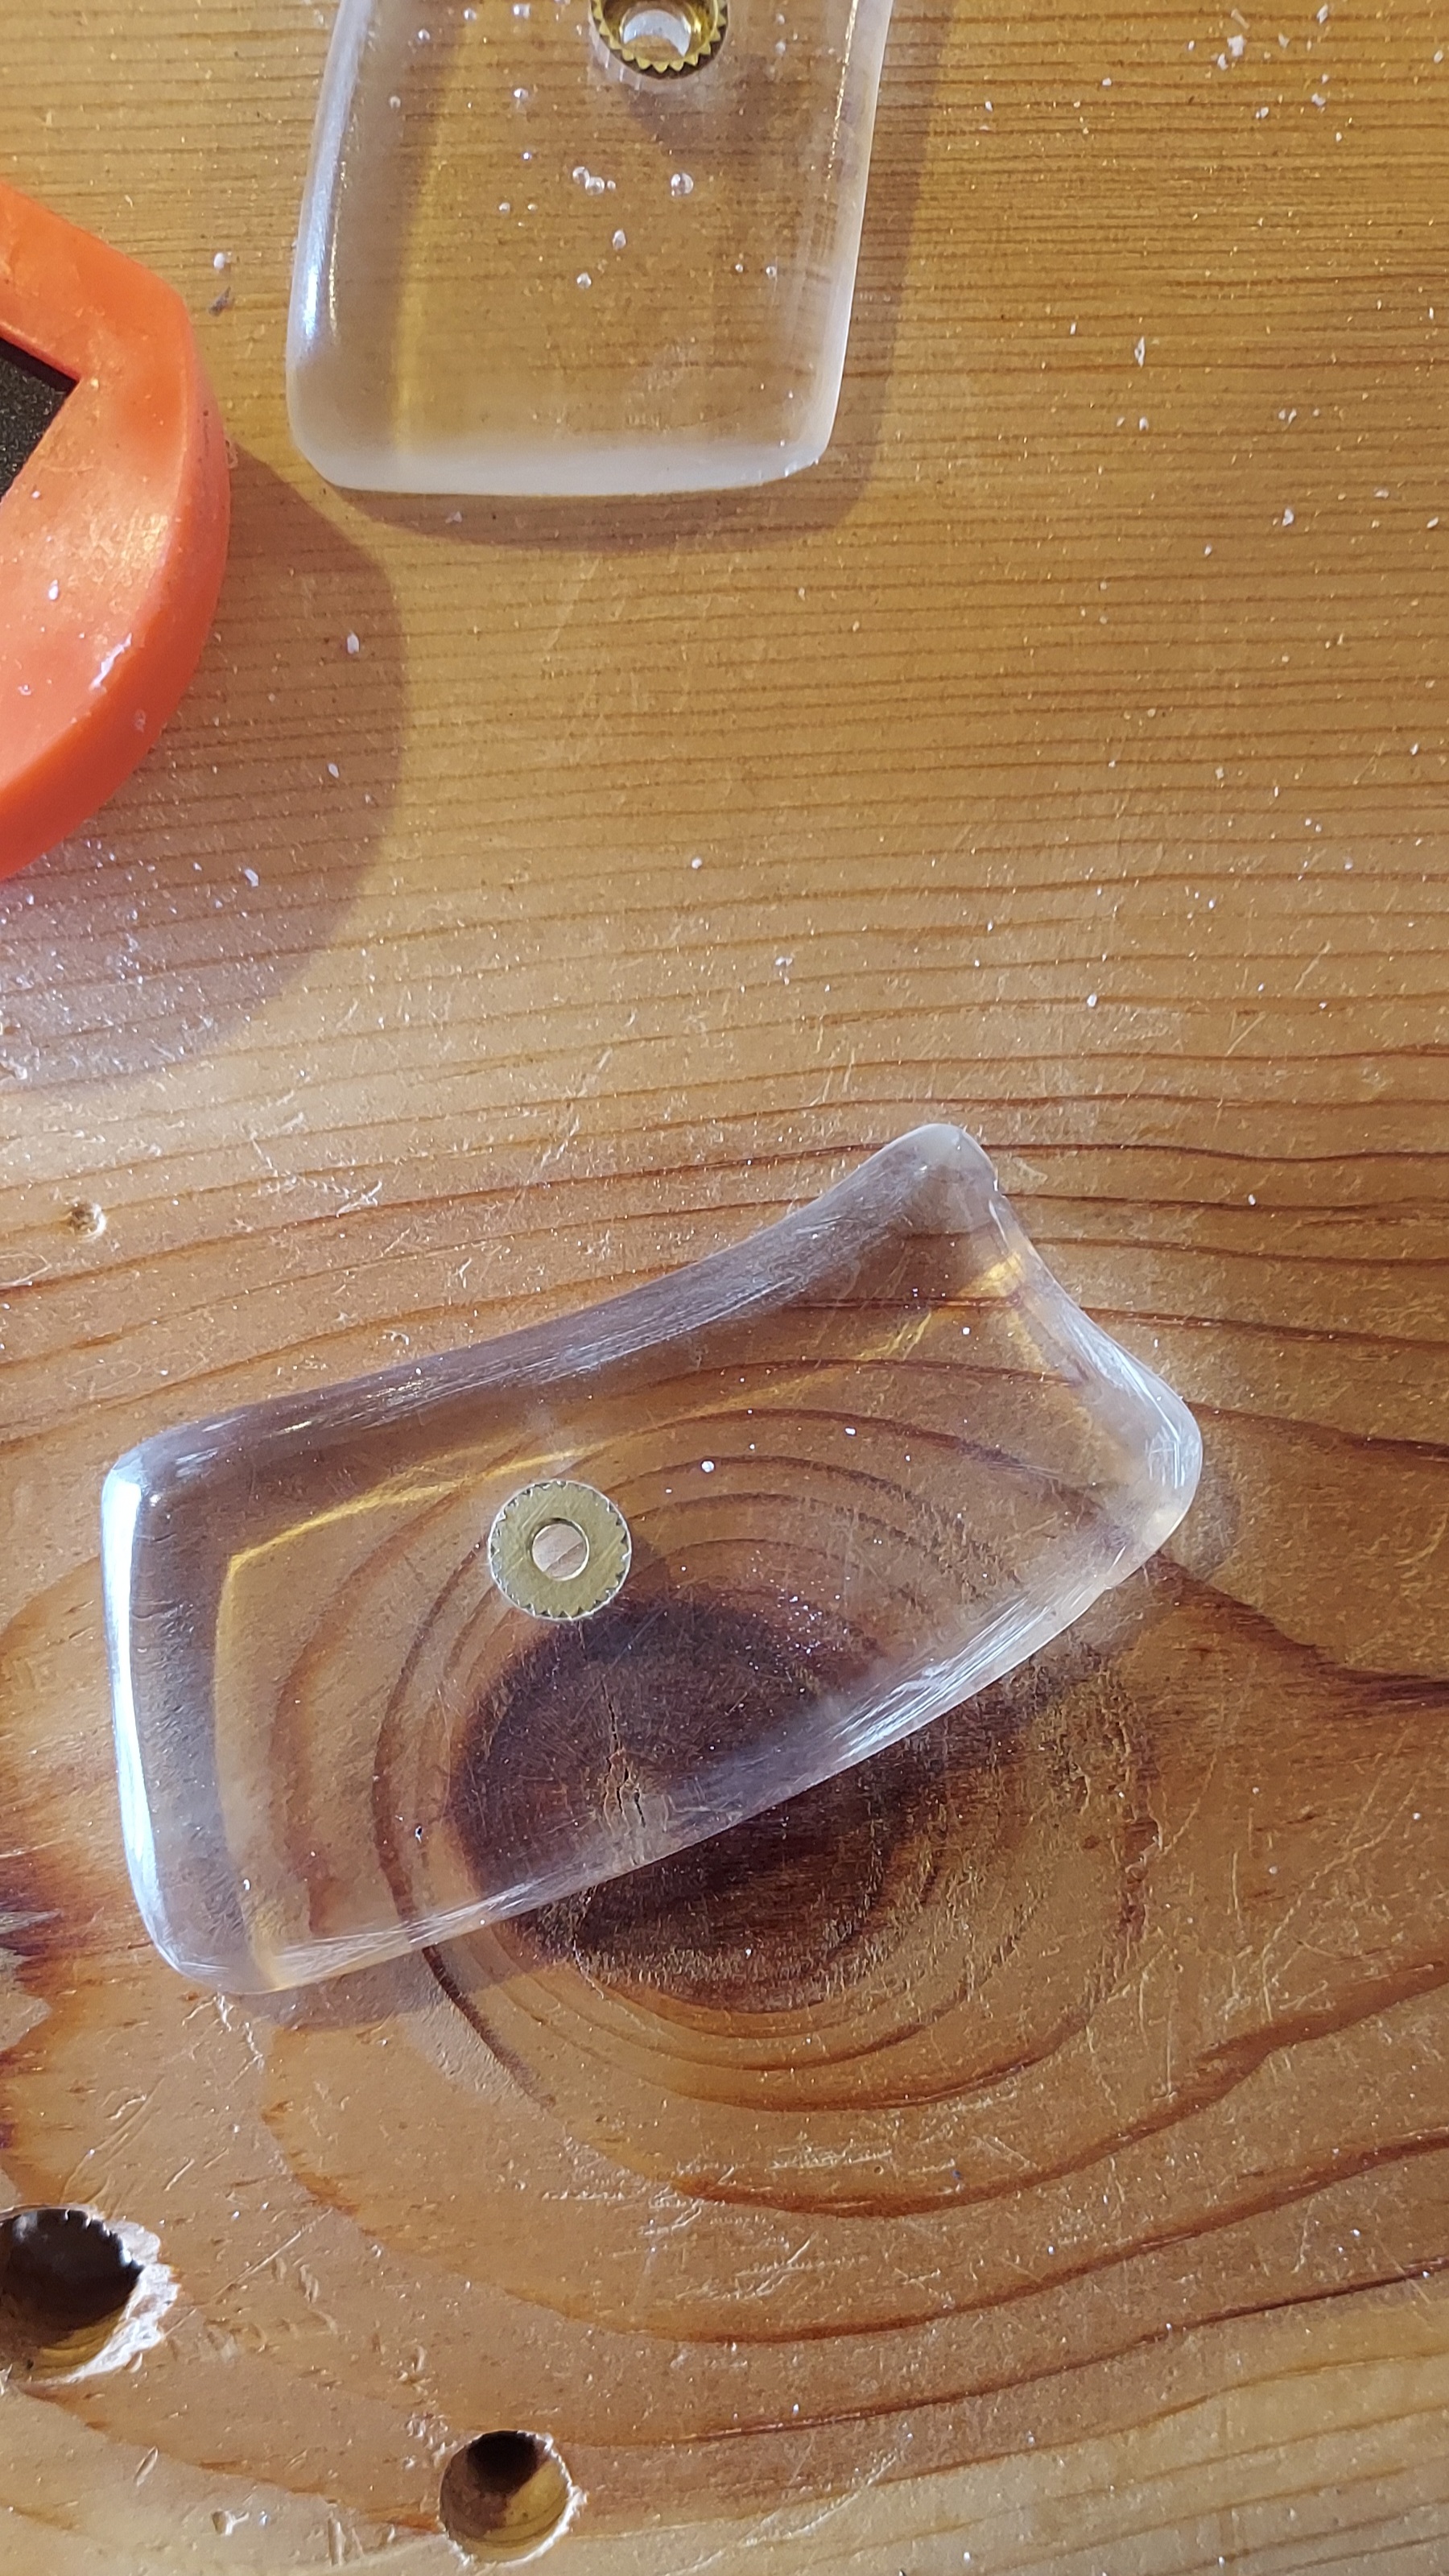
Once you have drilled deep enough, use an exacto knife to trim away any bits of plastic on the inside of the grip and insert the escutcheon. Get it started with your fingers and then pound it in with your poinding tool. I used a plastic handled screwdriver, but a plastic mallet would be a better option. Do not use anything that could mar the acrylic like a carpenter's hammer or a ball peen because if you mar the grip, you might have to restart the whole process.

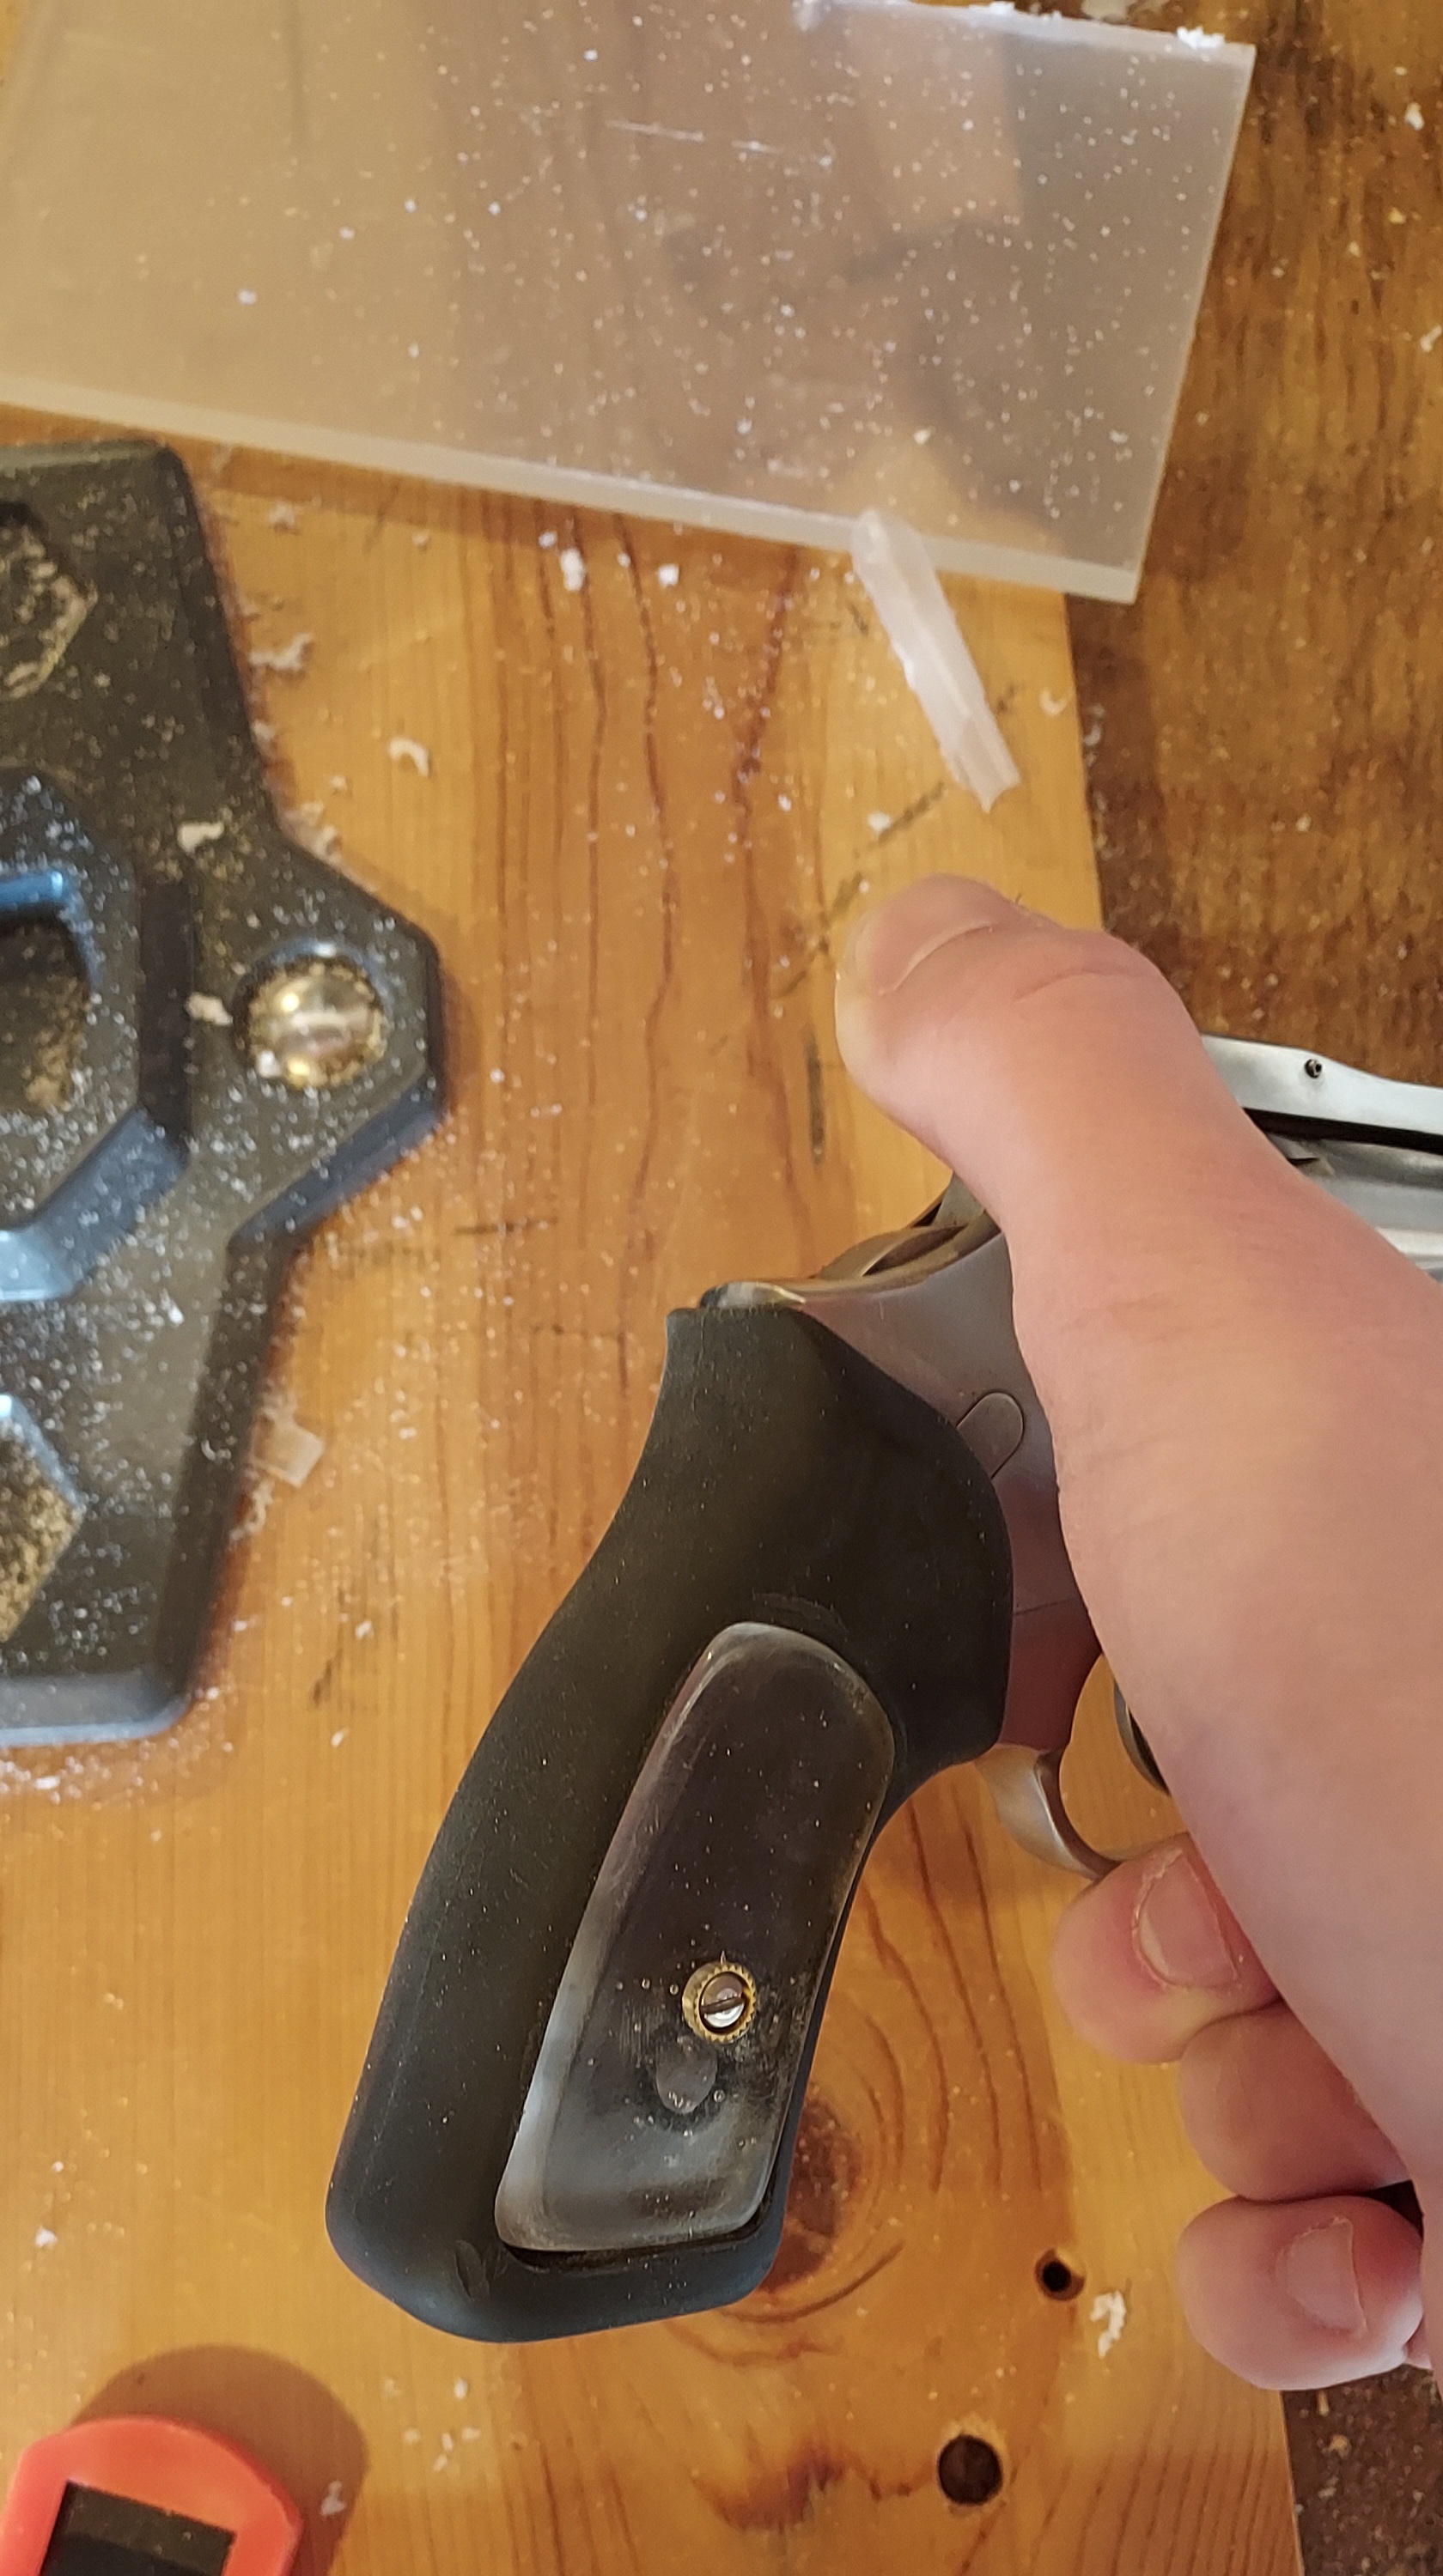
Once you have both panels roughed out and with the escutcheons in place, give them a quick test fit in the rubber grip when it's on the gun. If you drilled in the right spot, they should fit correctly. Insert the grip screw and check for any misalignment. If it's misaligned, you might have to restart. Assuming everything lines up fine, it's time to sand.
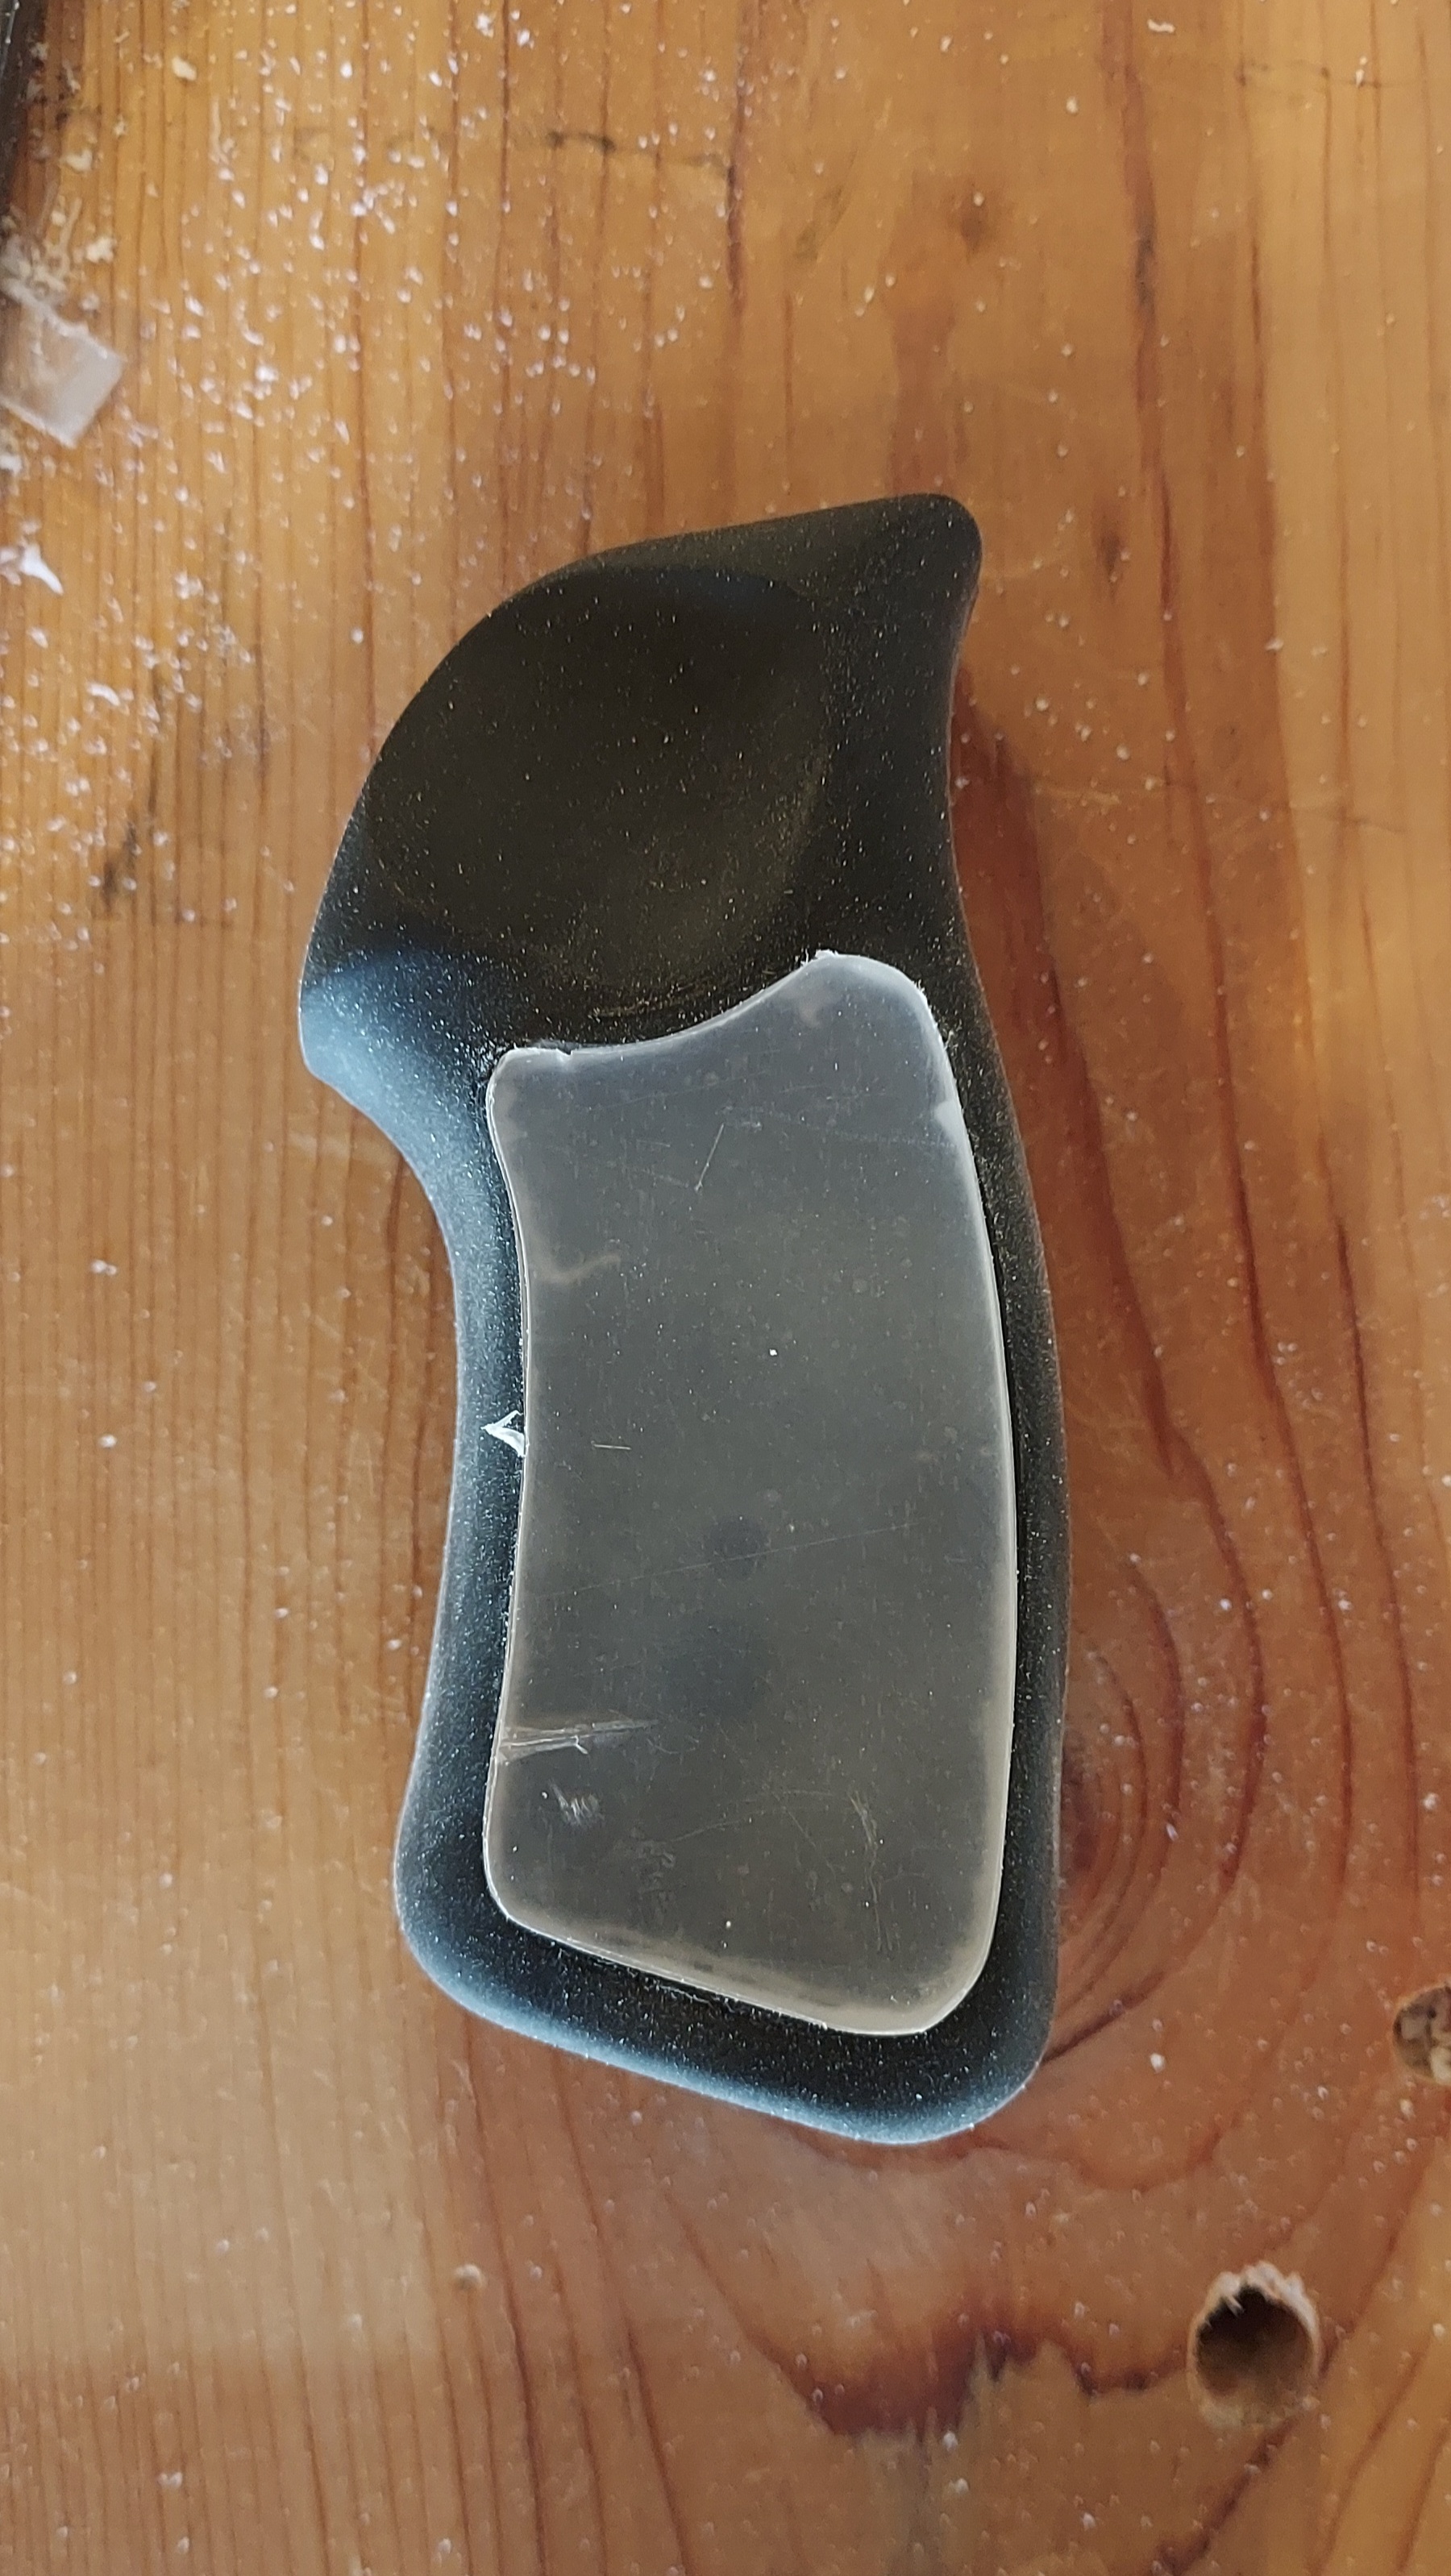
Since the grip panels on the SP101 are flat on the inside, do not sand that side at all, it will save you time. Start by sanding the outside face of the grip with 60 grit so that if your escutcheon sticks out, it will be sanded flat and in-line with the rest of the panel. Remove the protective film from the top side and use the 60 grit to contour the panel. You can also use your rotary tool with the sanding head again for the angles, just be careful not to gouge the grip or you will have to remove a lot of material to fix the gouge. Remember to keep comparing the panel to the original and keep test fitting it into the rubber grip.
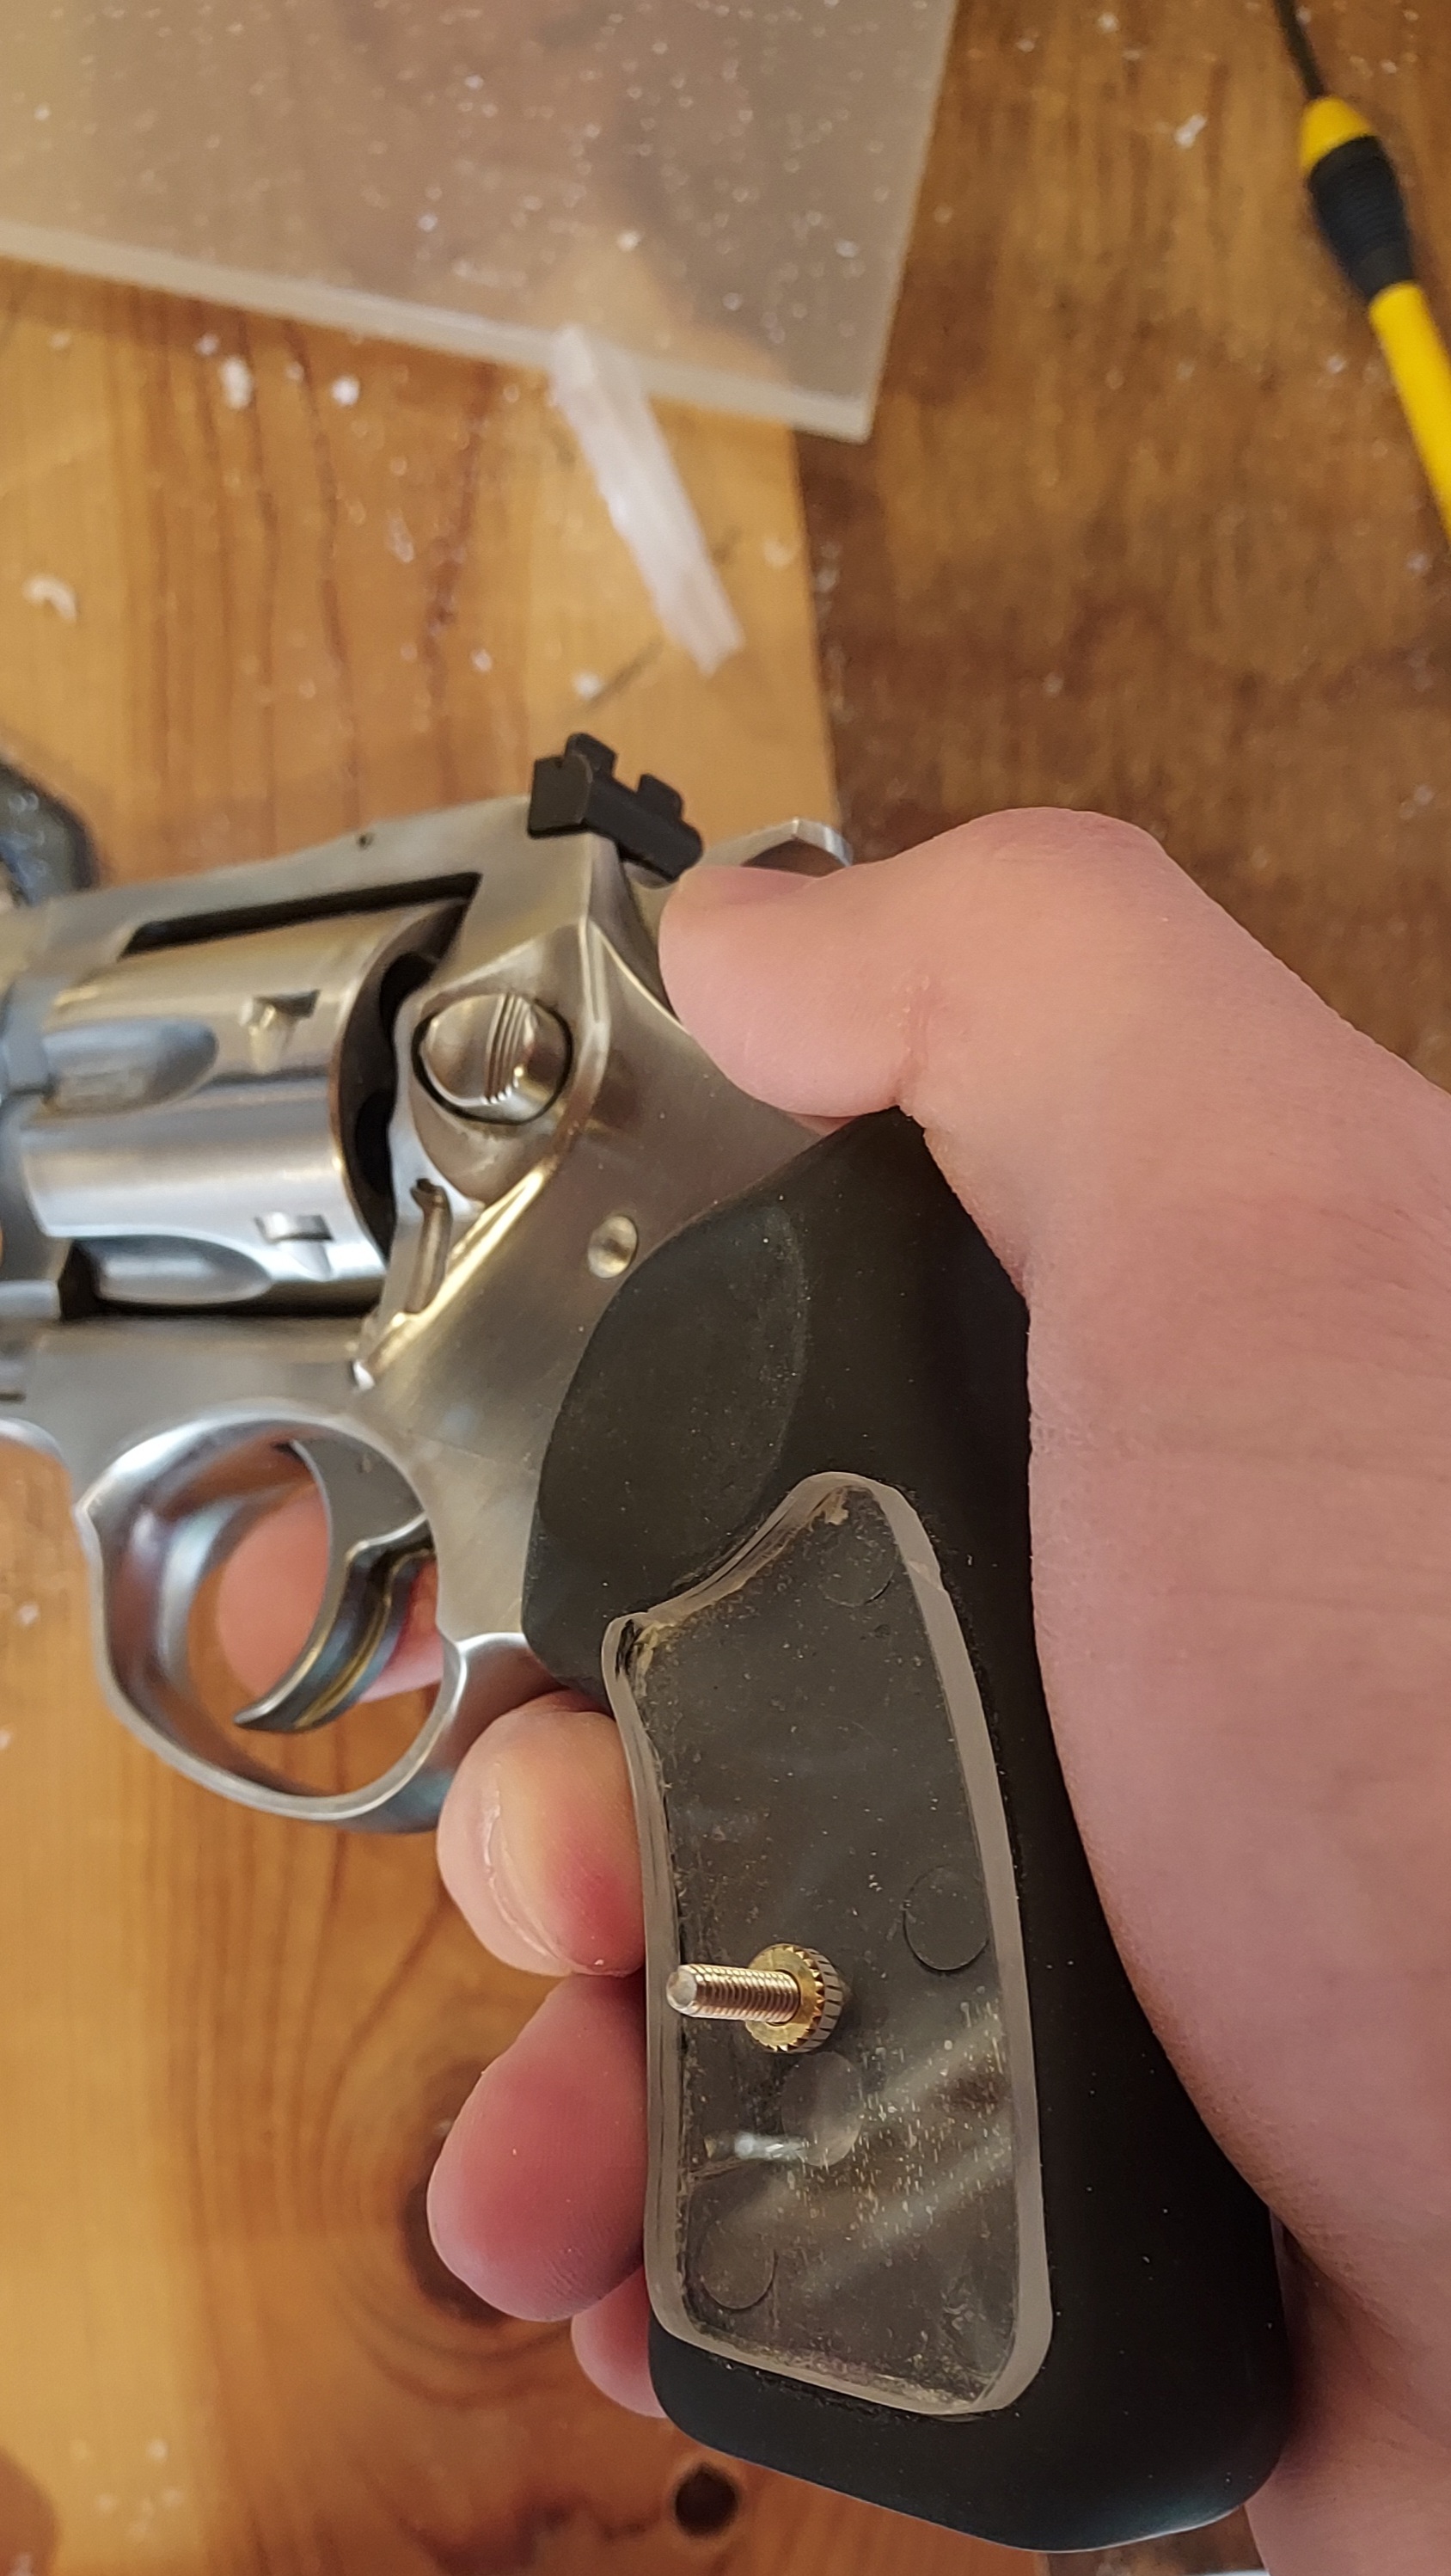
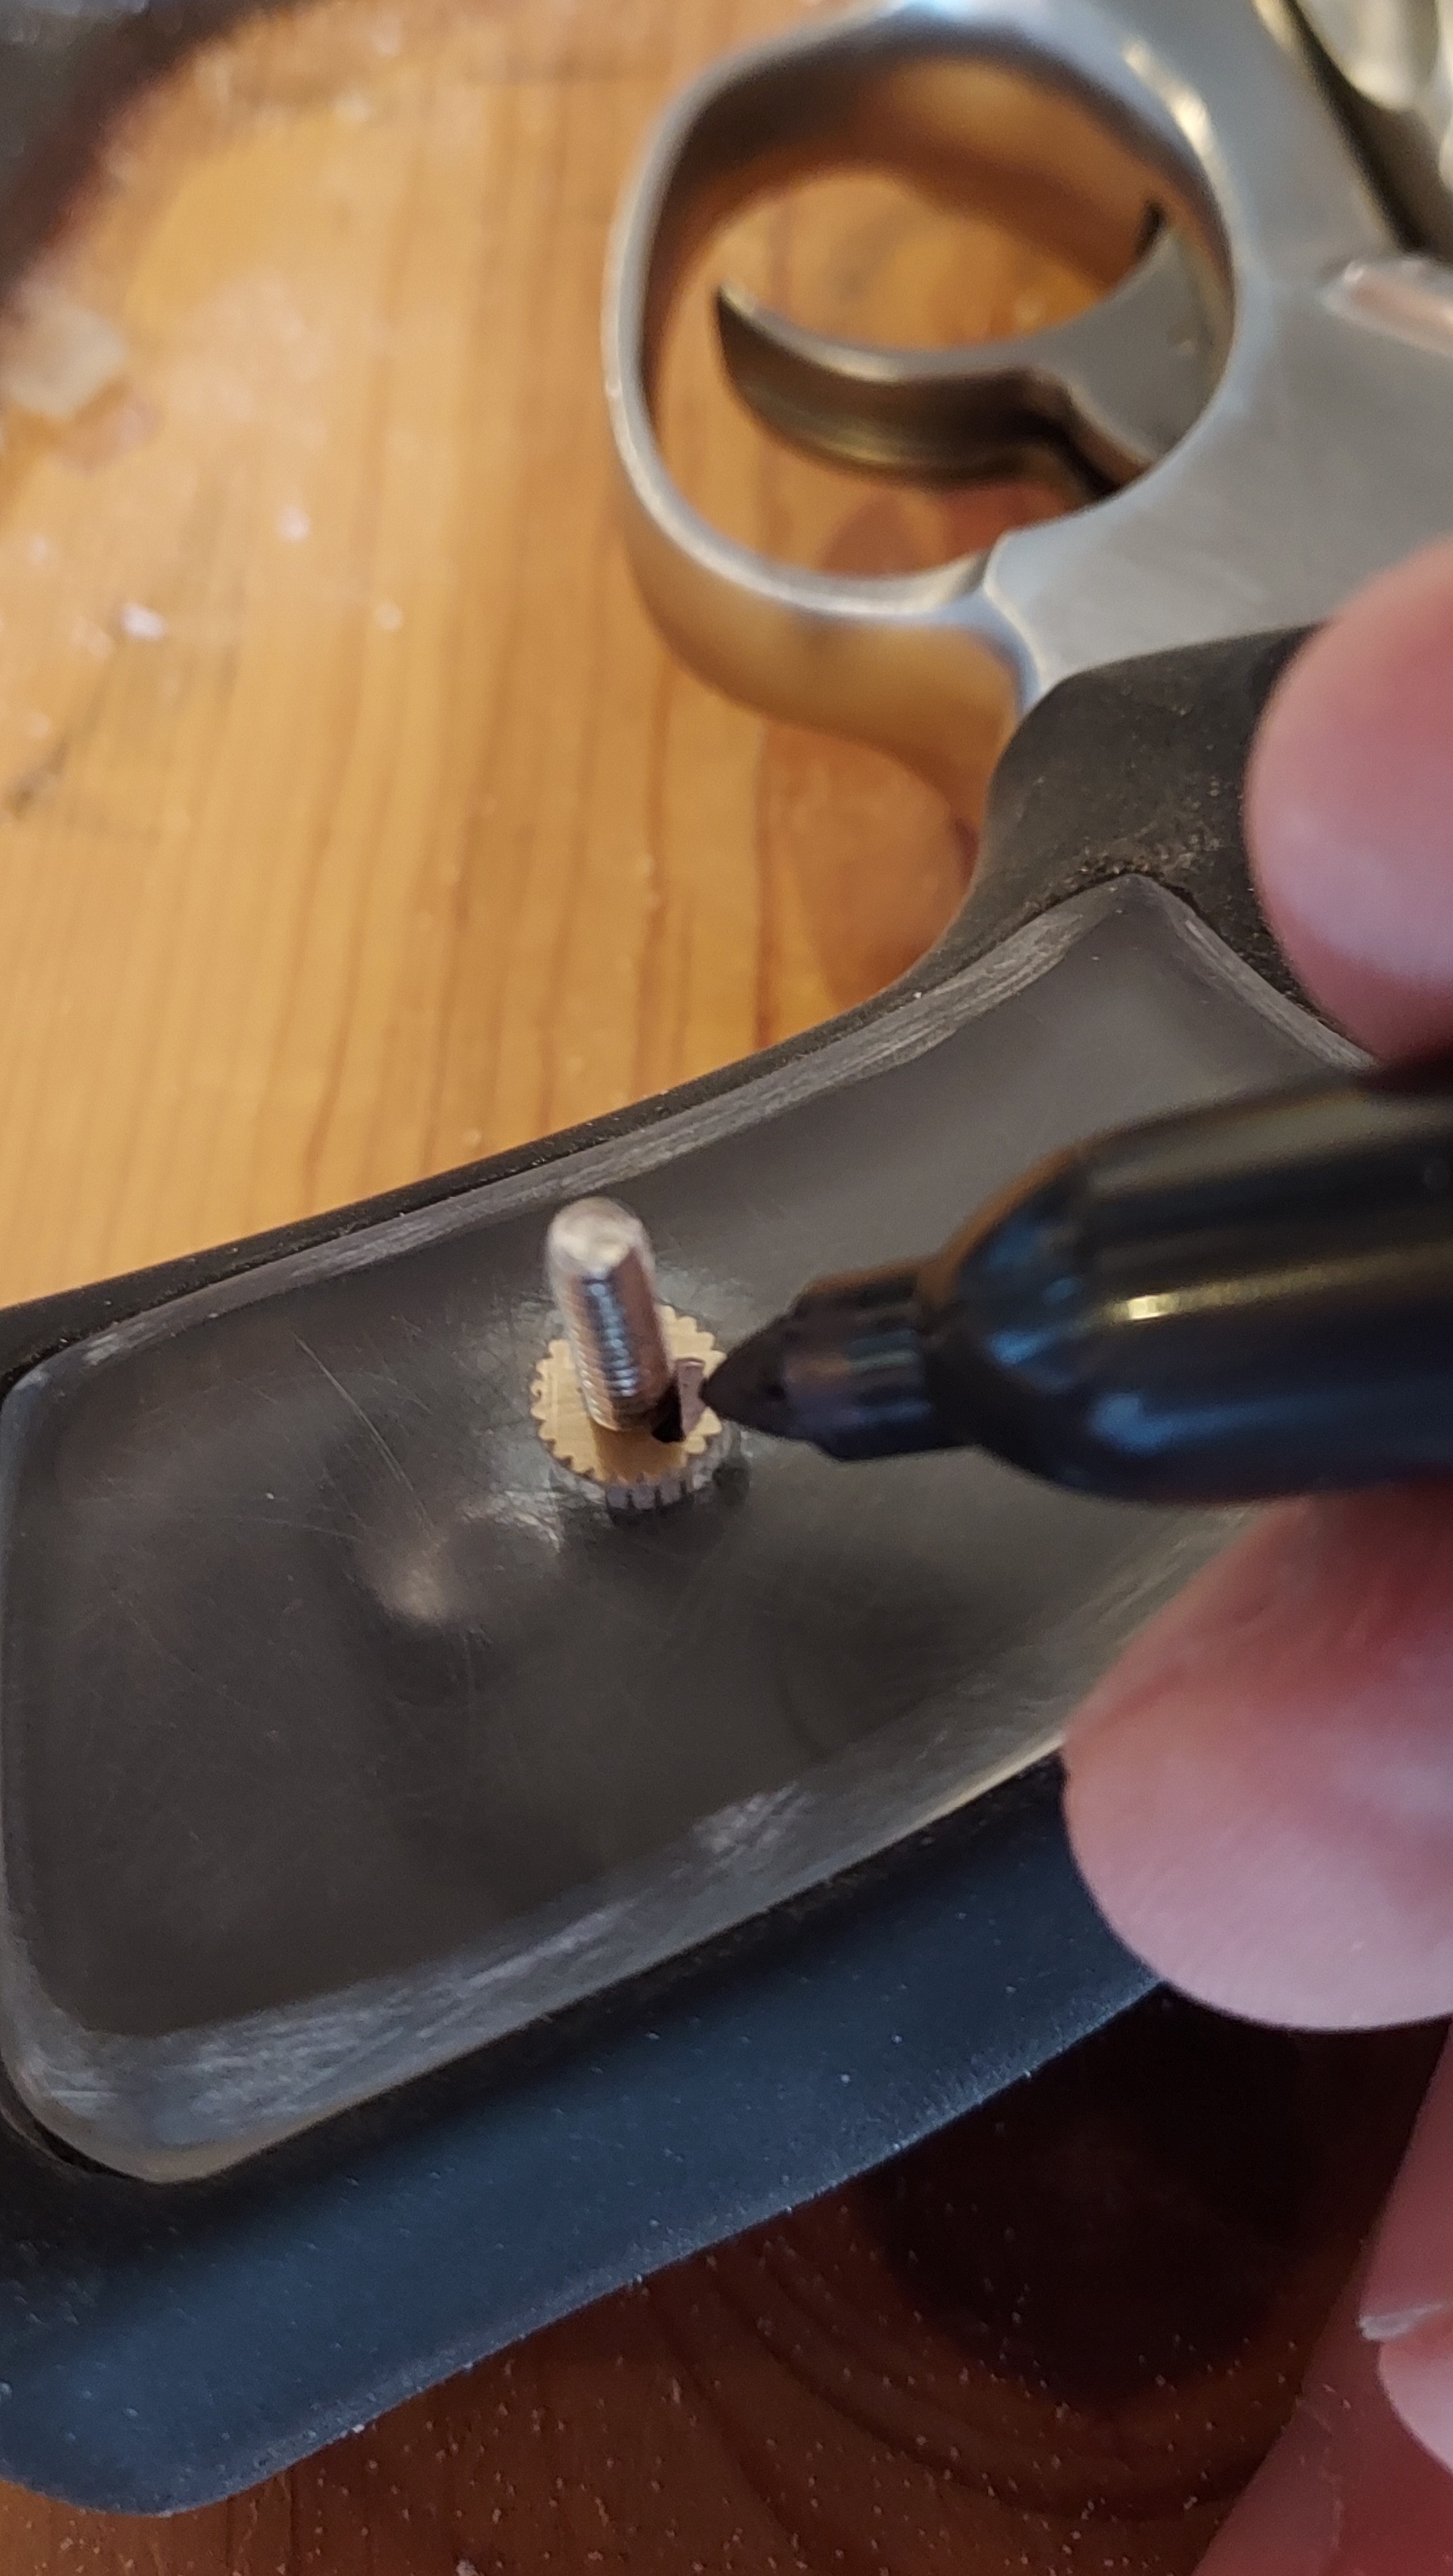
Once you have the general shape made, put the grips back on the revolver and insert the grip screw so that it is tight. Now mark where the screw sticks out with a sharpie. Don't worry if you got sharpie on the grip, you can lightly sand it off.
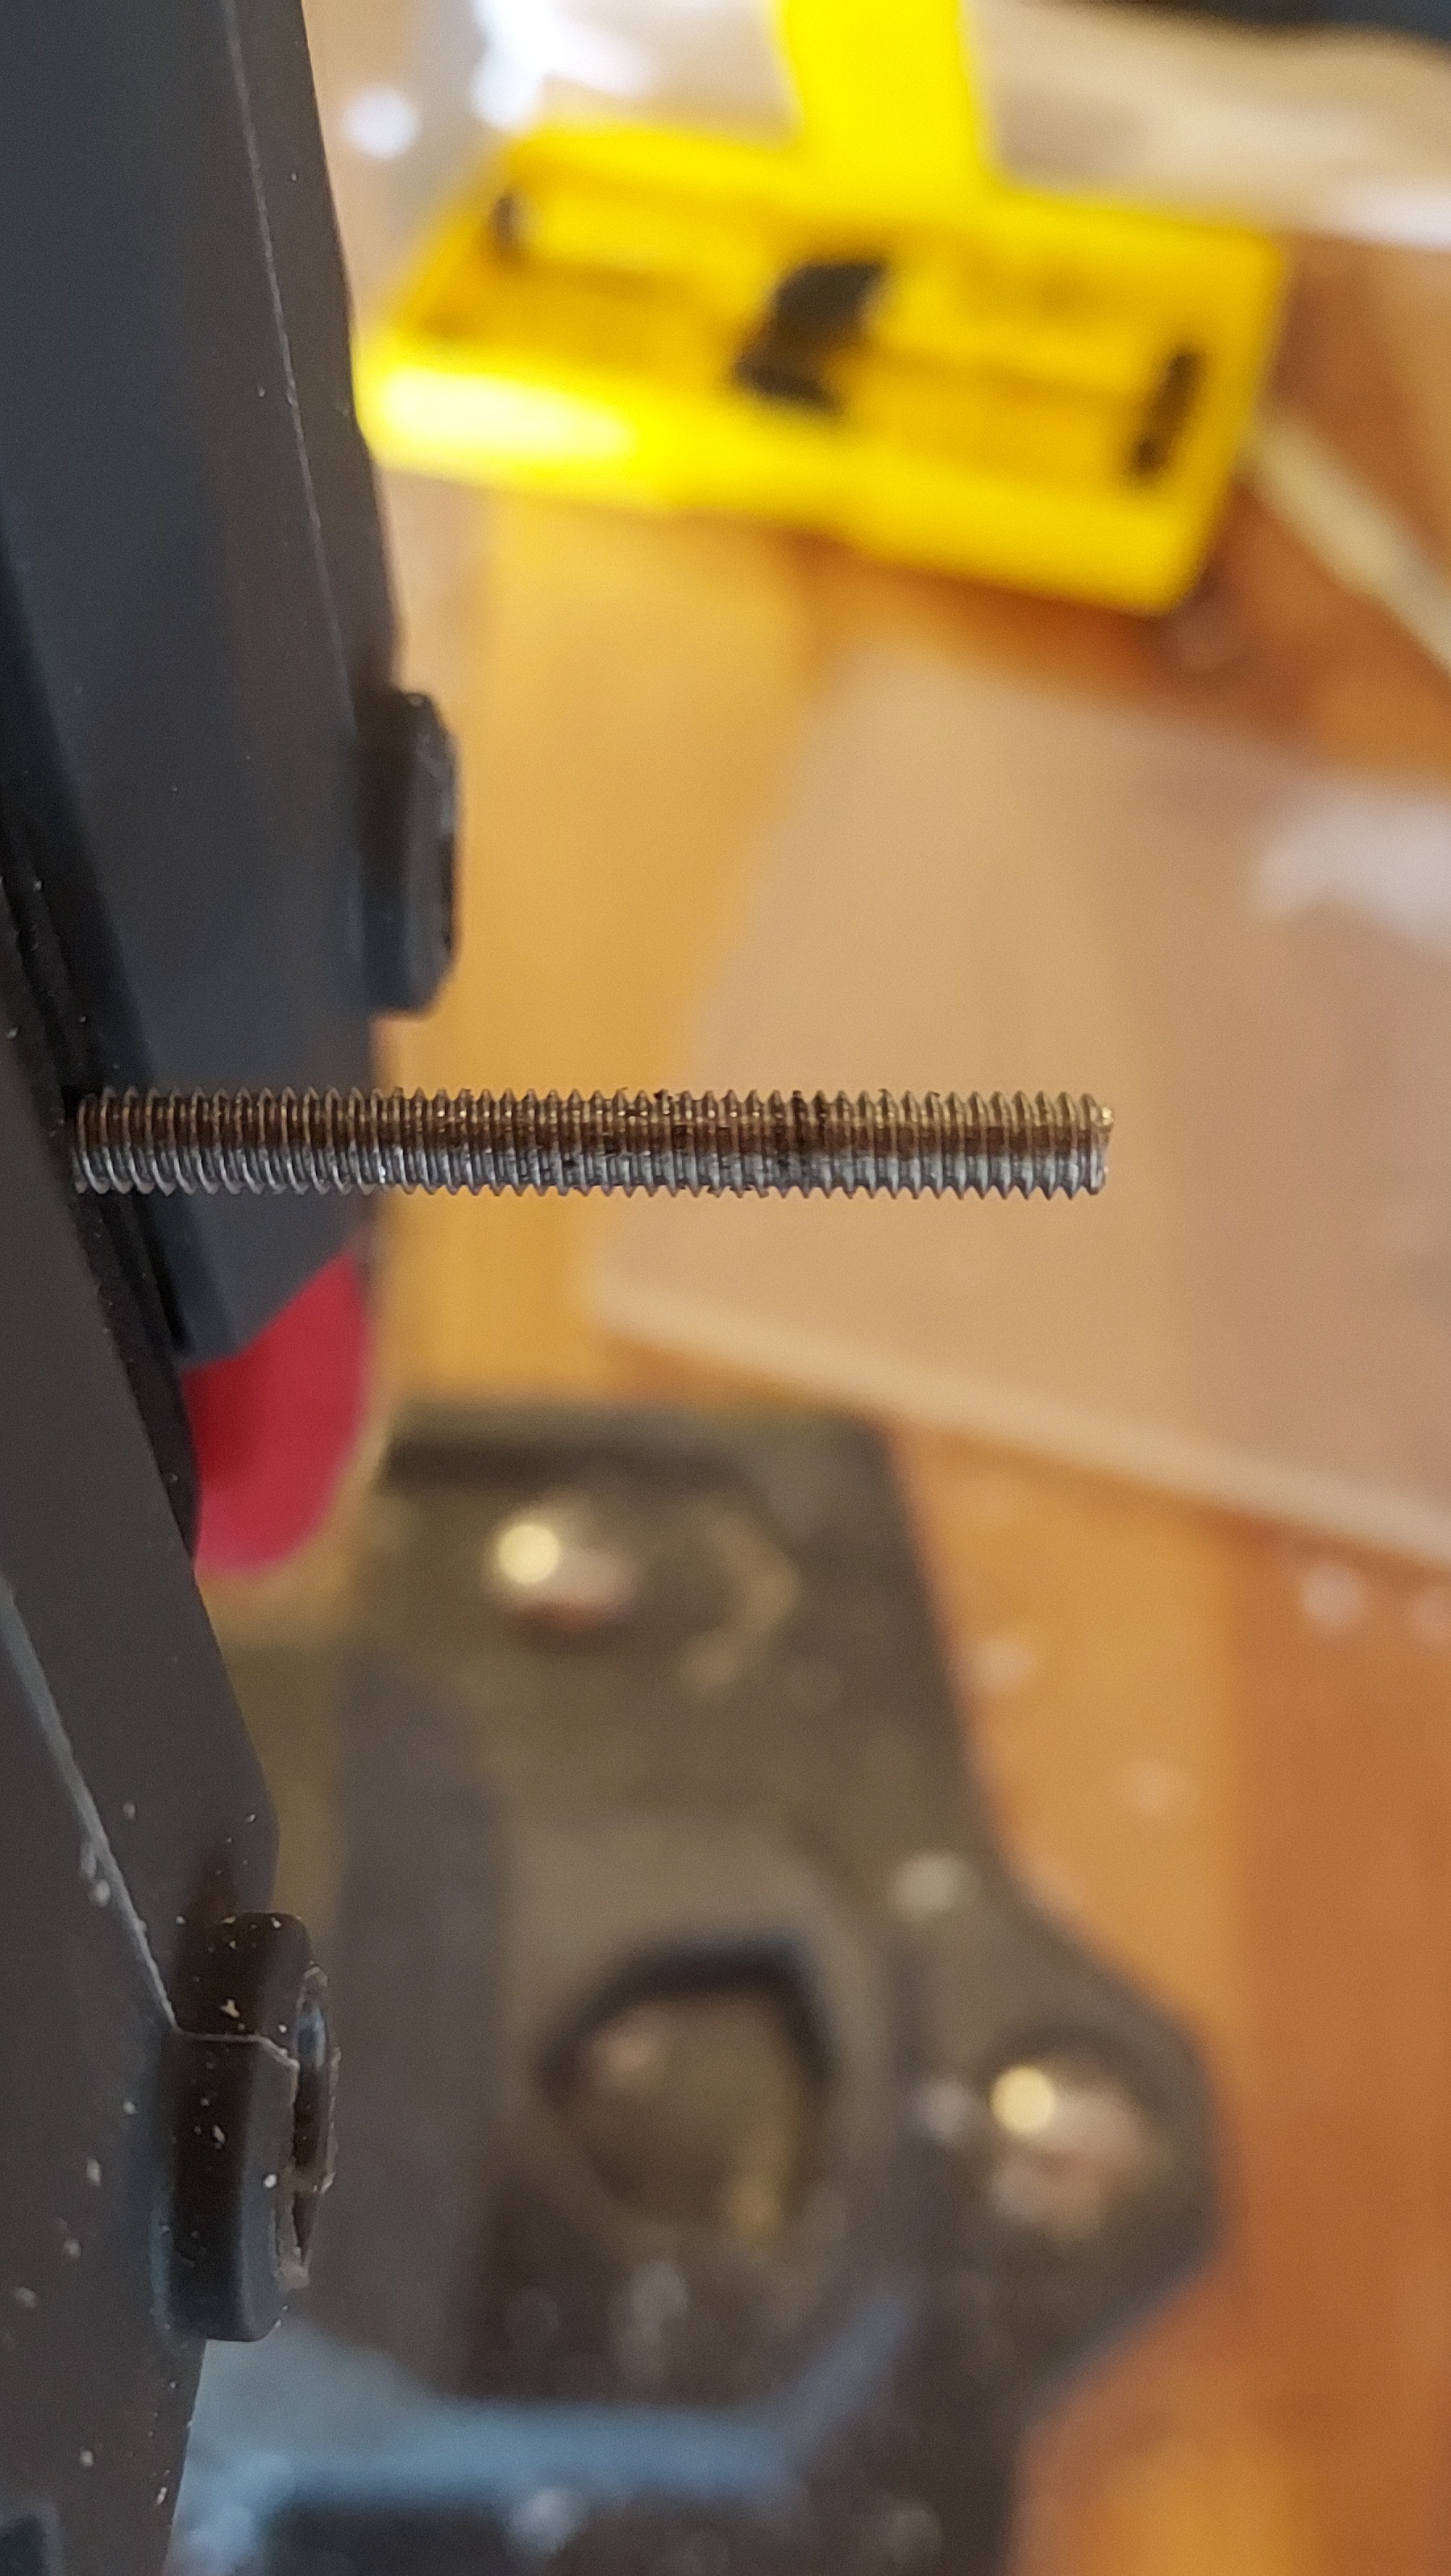
Take the screw back out and secure it in your vise. Use the rotary tool with a grinding head to cut the screw to length. Be careful afterwards because the screw will be very hot.
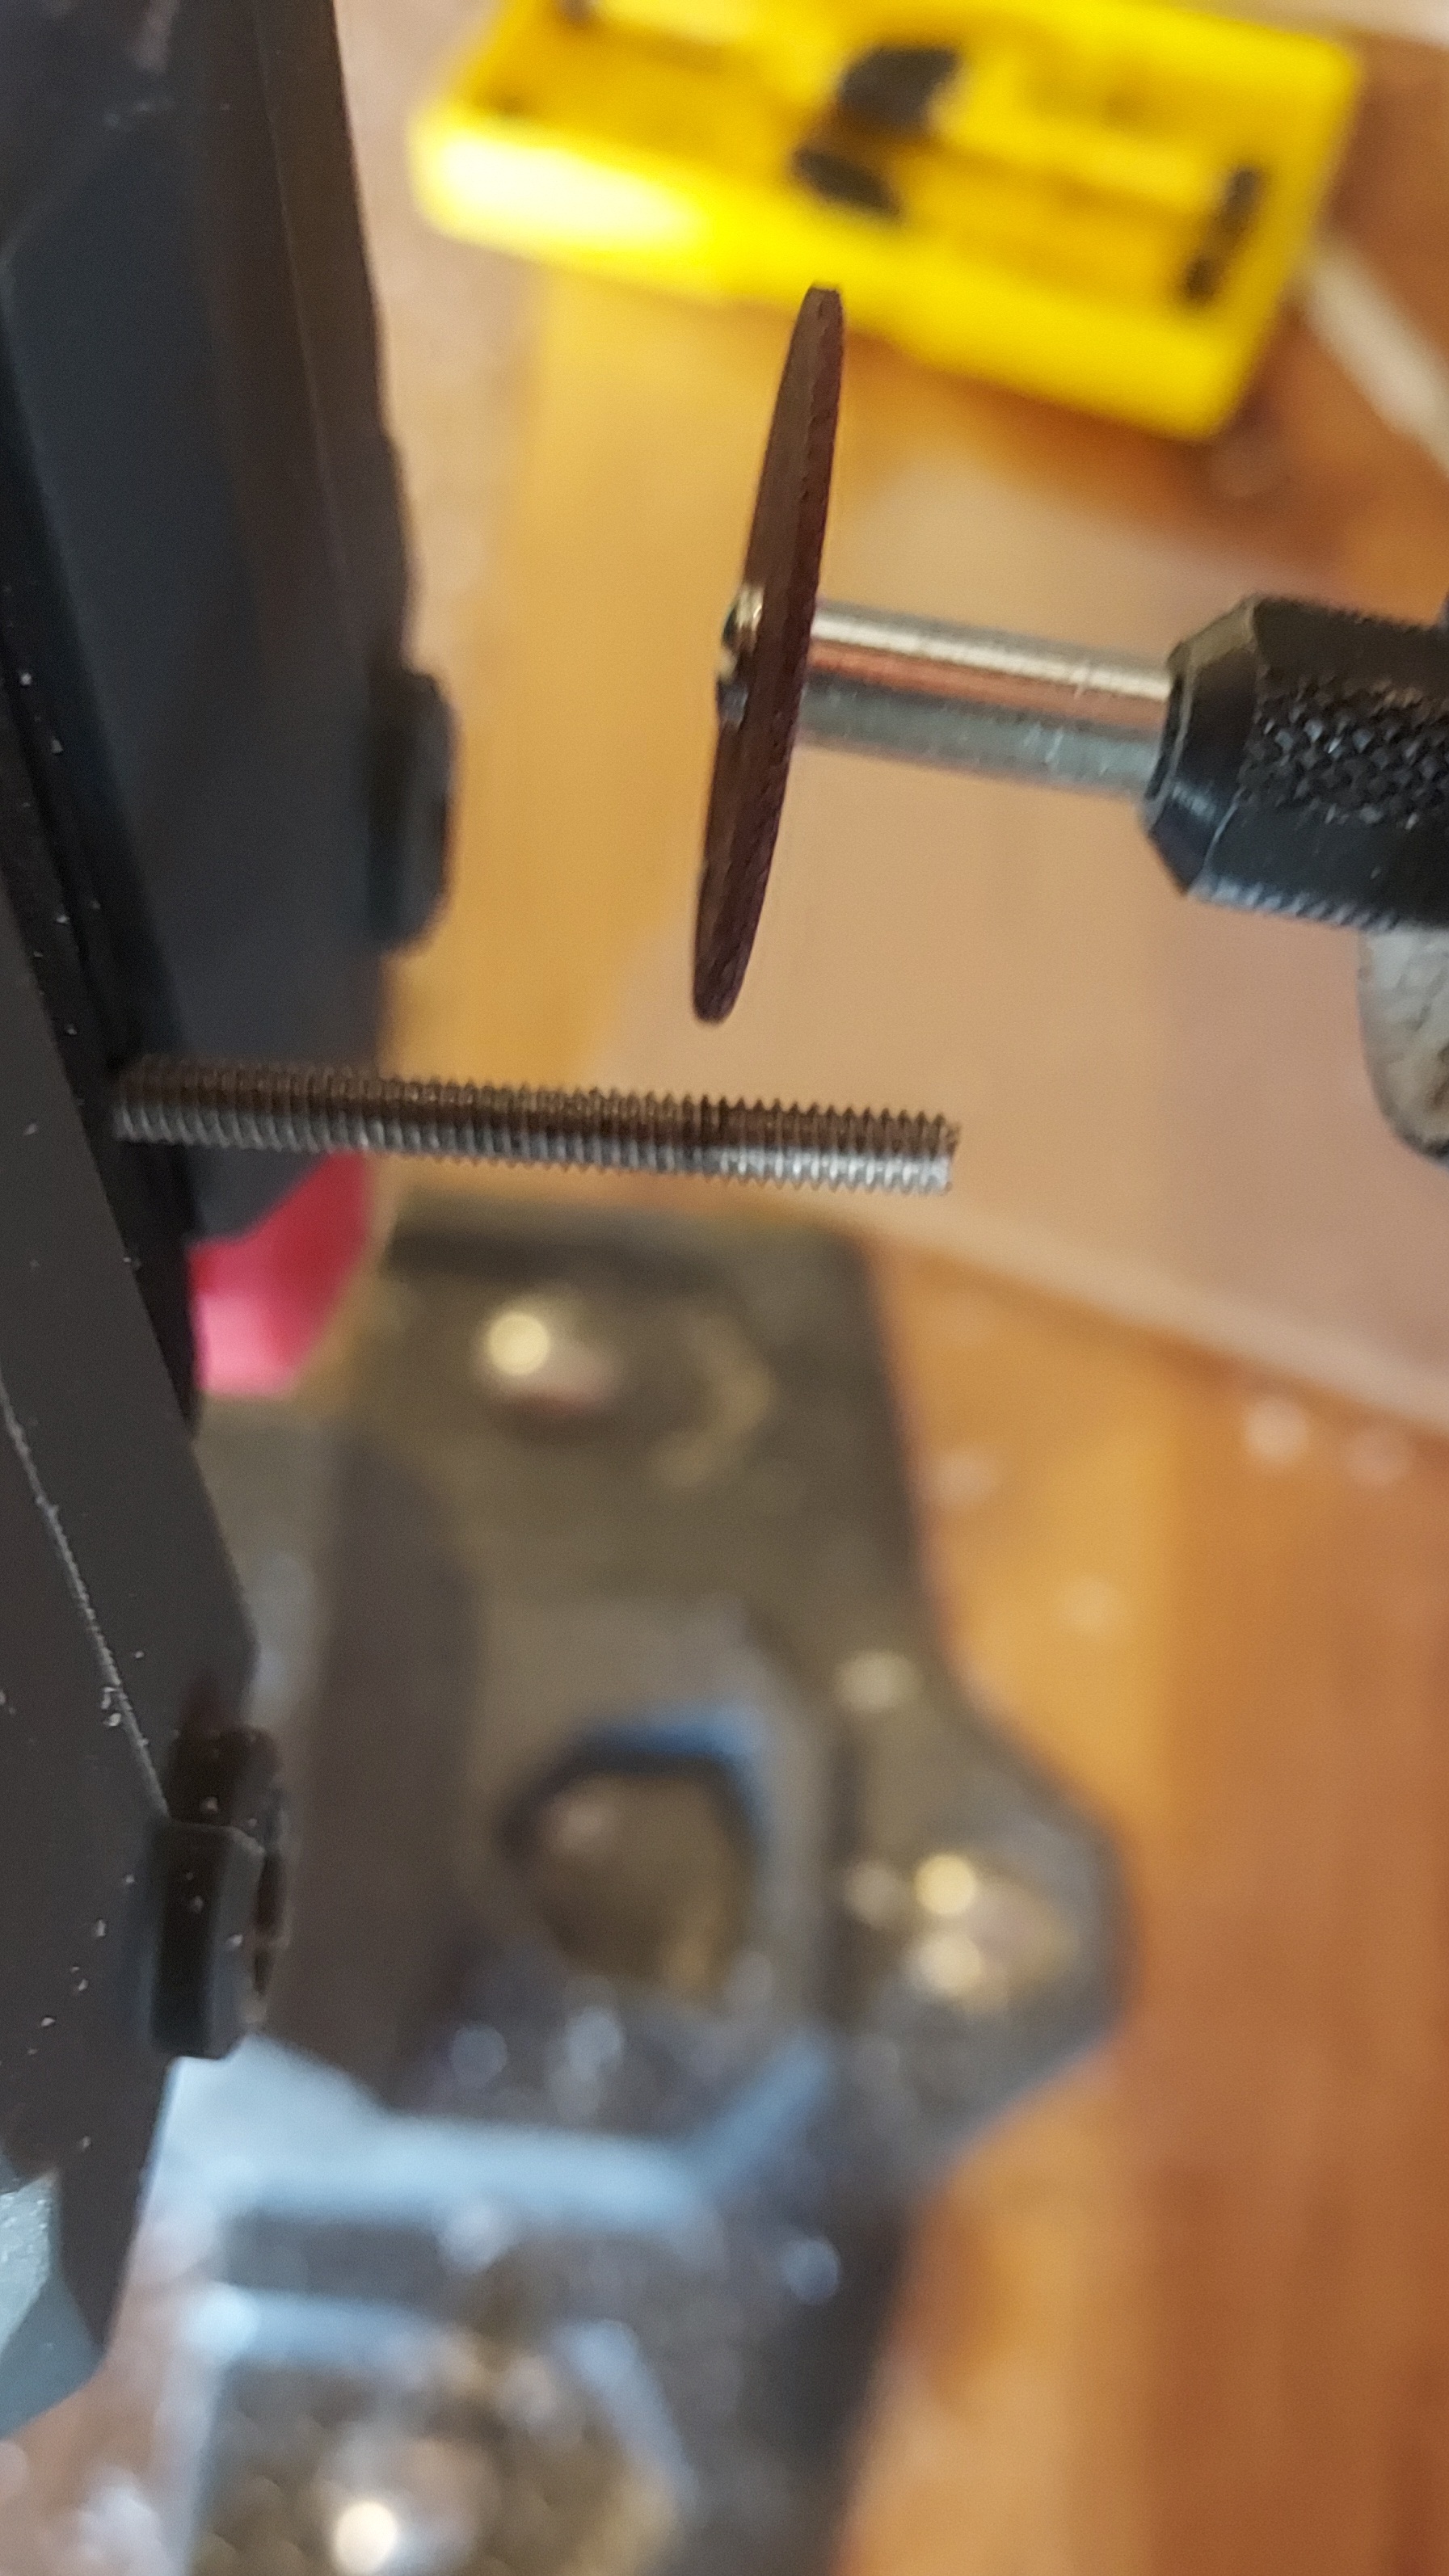
Clean up any burrs by hand with the hand file, making sure the threads aren't fucked. For an easy time, just file the tip of the screw down a little bit and then round the end slightly. if the screw has been cooled off and the filing is done, test fit the screw again. It shouldn't stick out at all. If it still sticks out, file it a little more.

Now that everything is the right shape, it's time to sand it smooth. Start with the 120 grit, give it a good once over, then move up to 220, then 400, then 600, and finally 1000. 1000 grit might be overkill, but it helps make everything smooth and will help keep your plexiglass looking seethrough when we are all done. Remember to not sand the inside. If you do, then it's not a huge deal but it will be extra work.
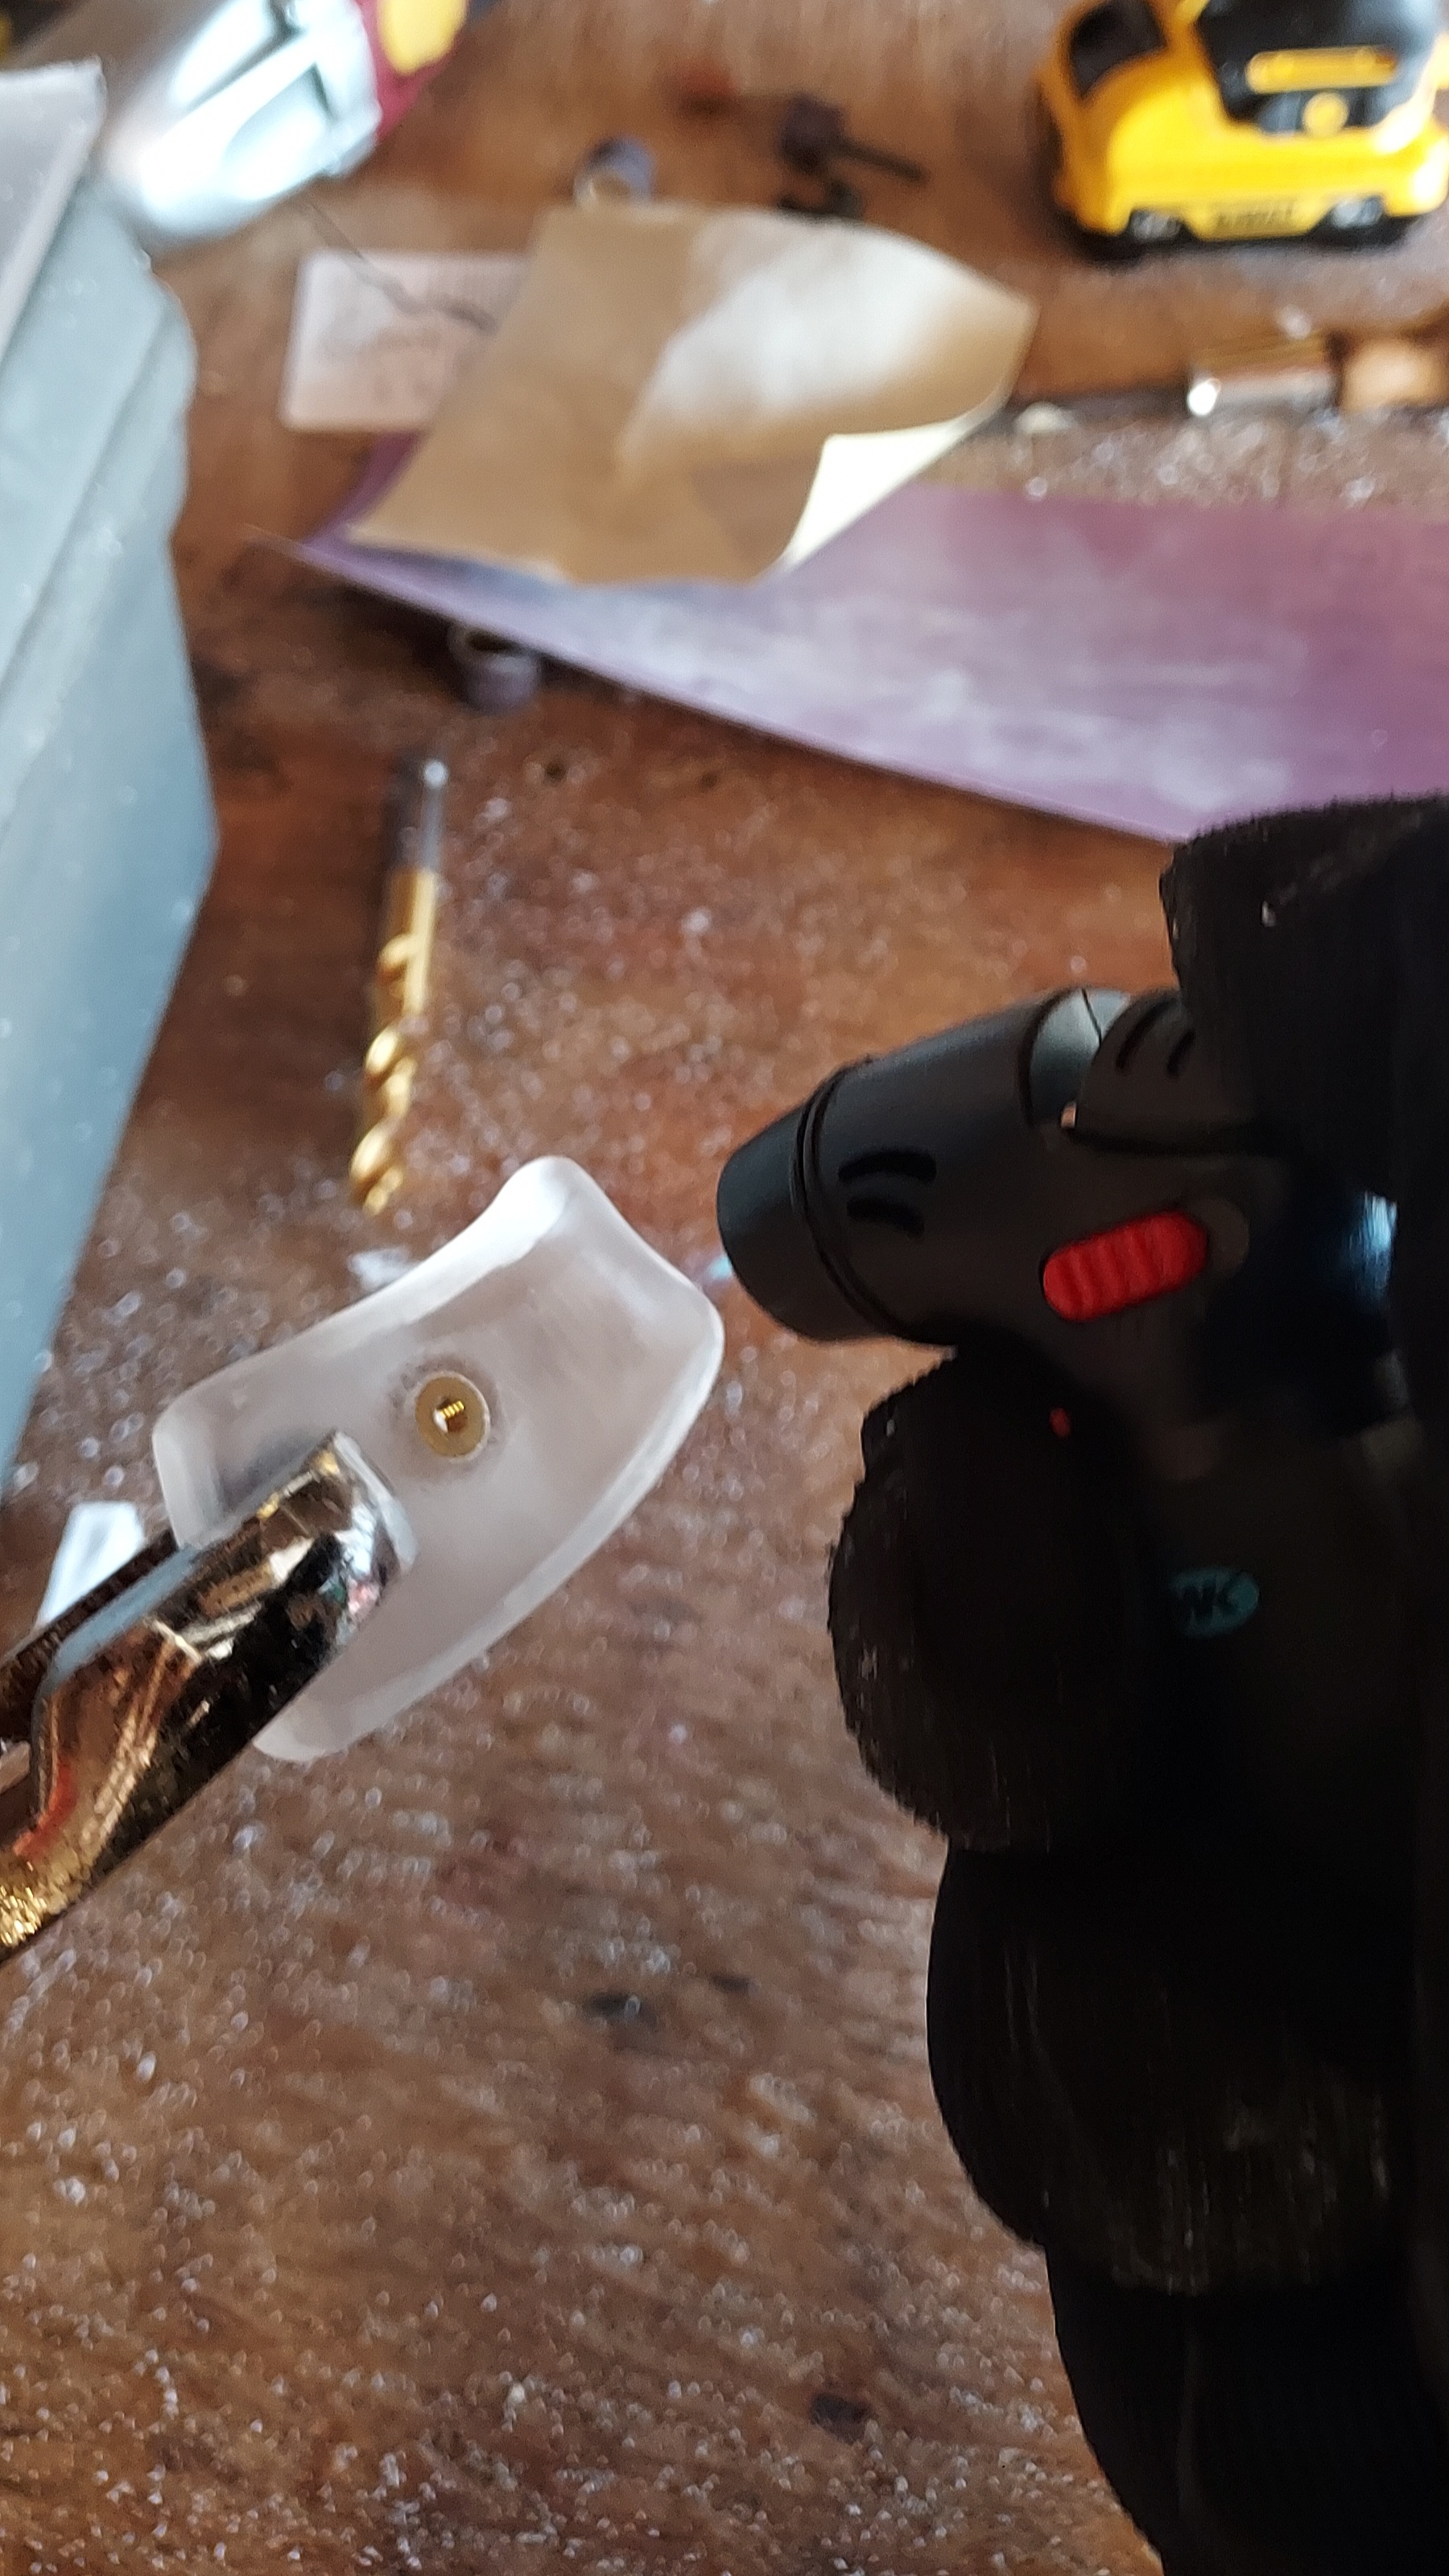
With everything sanded smooth, we come to the last step of making the grip, which is the flame polish step. Flame polishing plexiglass will result in a smooth and glossy finish with excellent clarity. What it does is melt the outer layer slightly, which will pool into the small grooves from the sandpaper and thus will smooth everything right out. I would highly recommend practicing on a piece of scrap plexiglass before you try it on the grip. Hold the panel with something like a pair of pliers or visegrip and wear protective gloves with this step so you don't burn yourself.
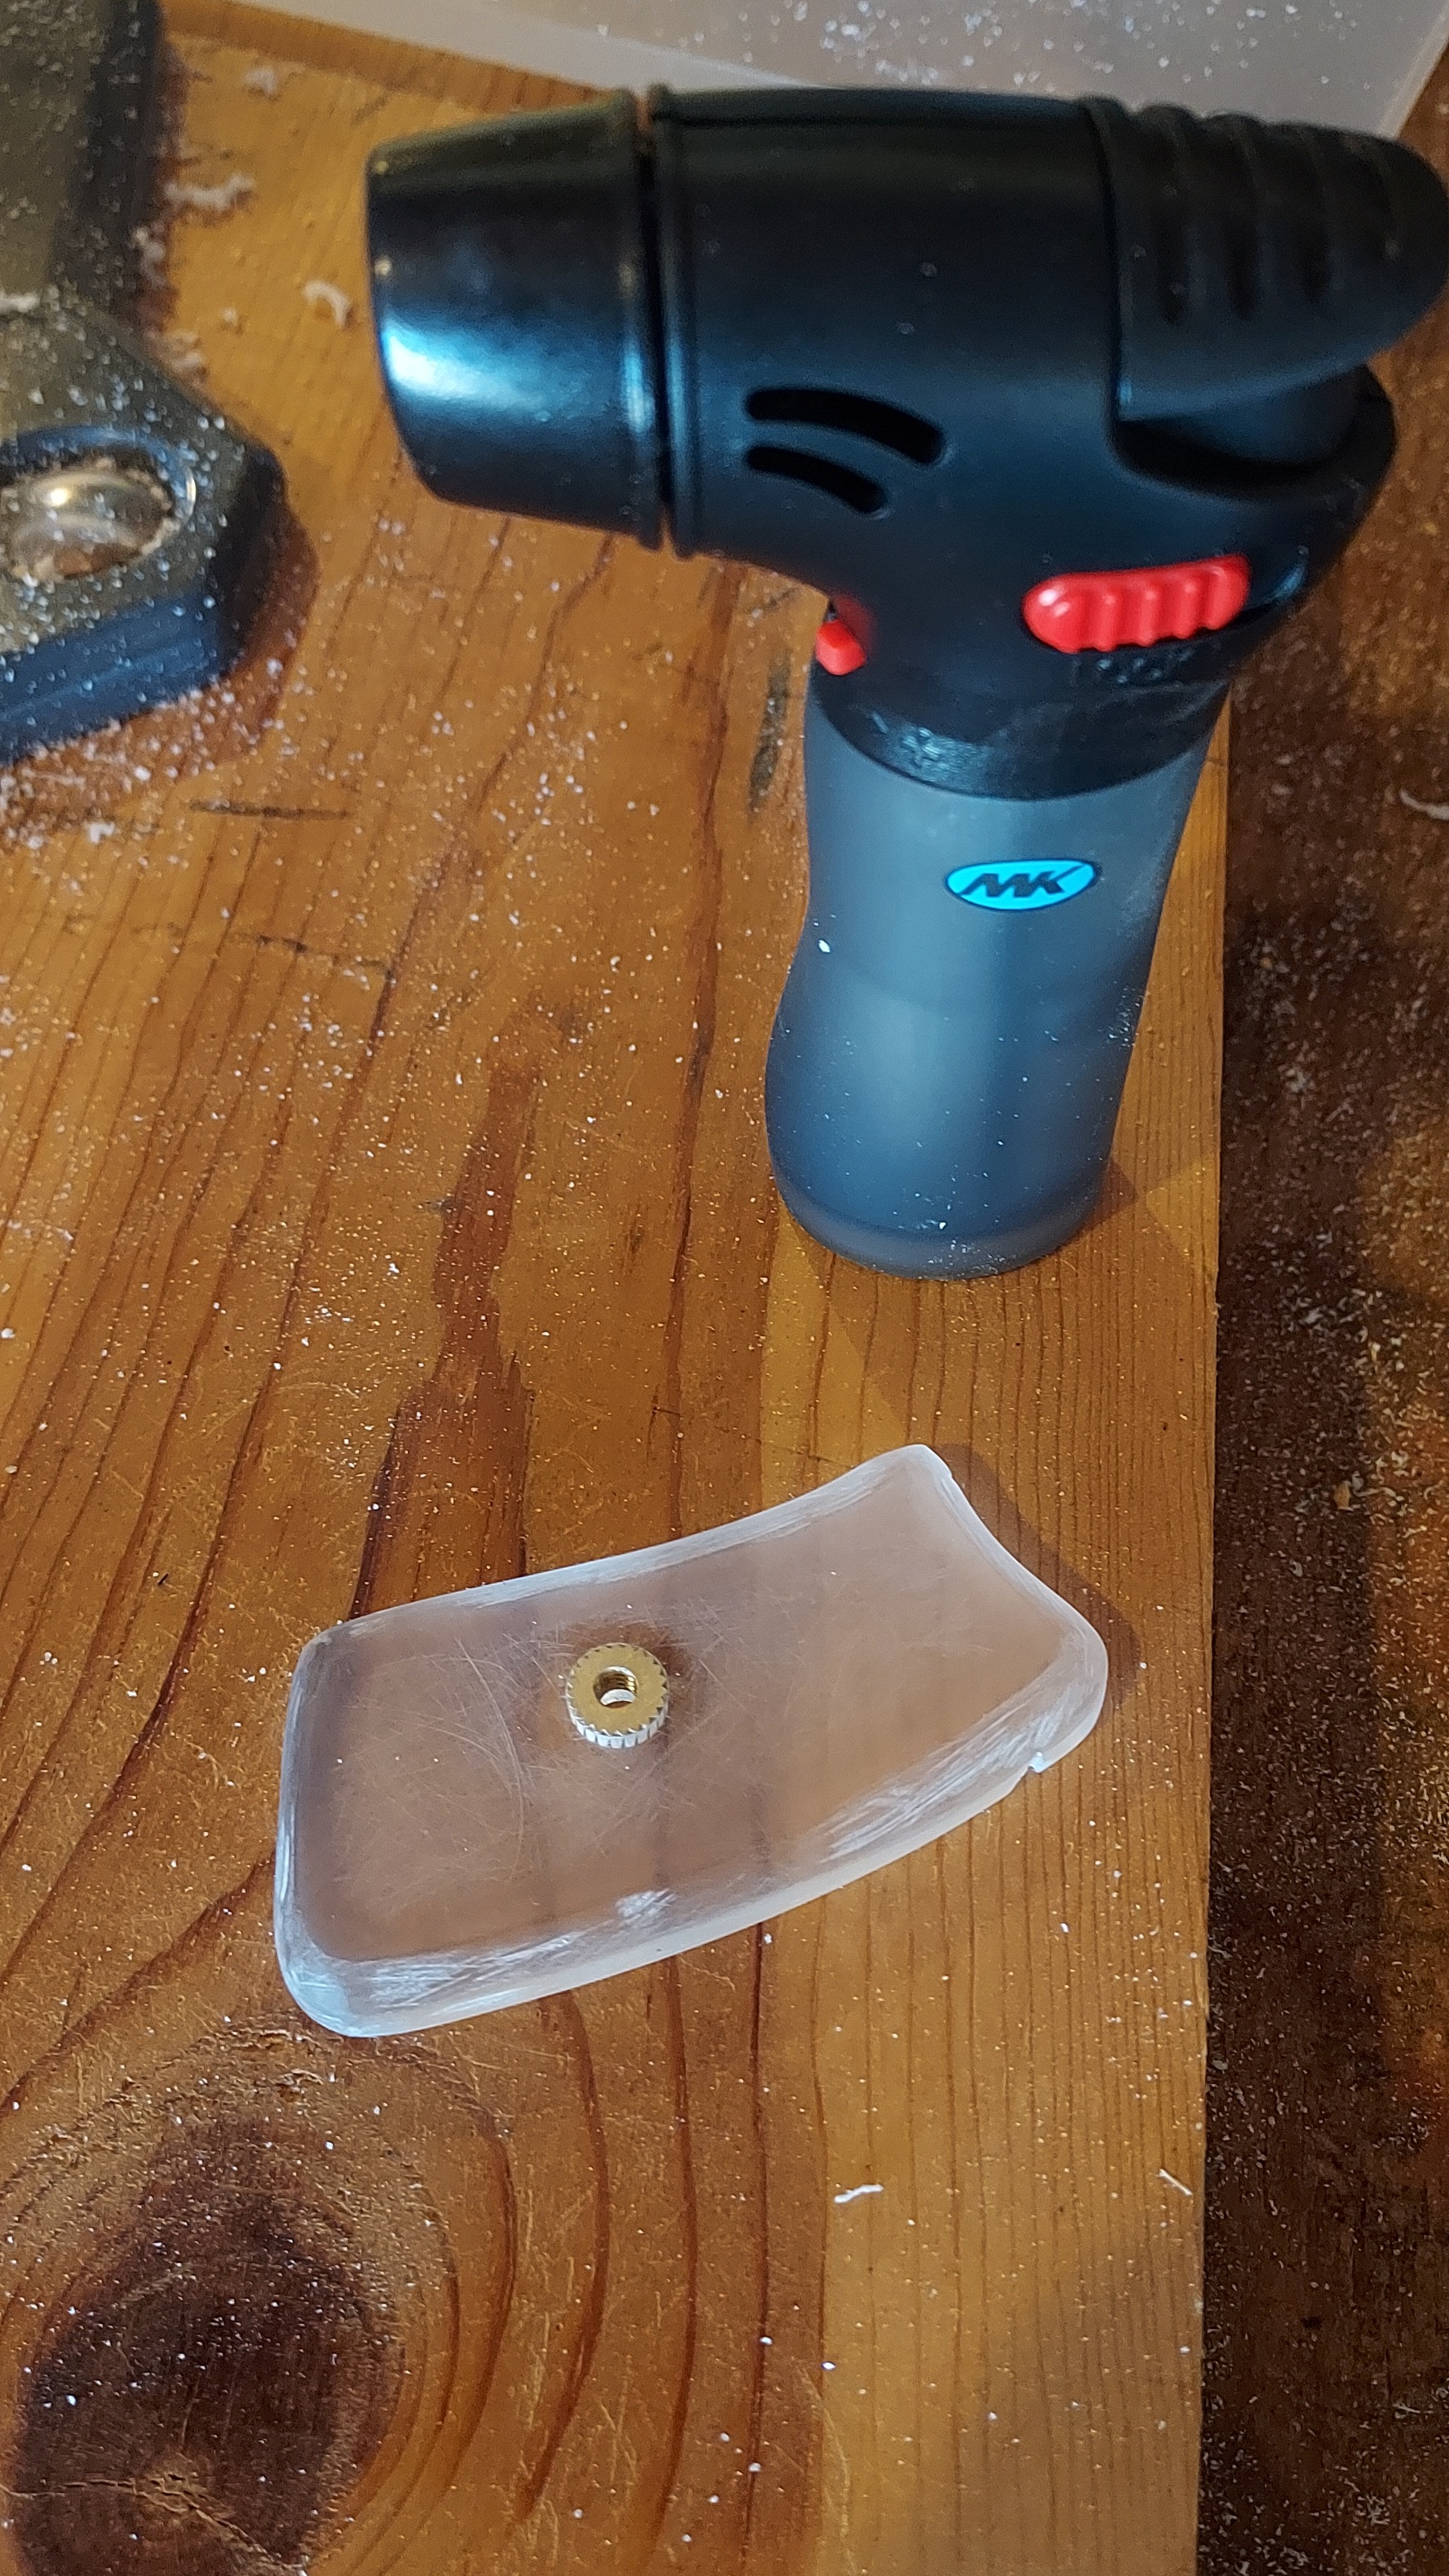
The trick to getting a good flame polish is to do smooth and relatively quick passes. Hold the grip panel up to the light at an angle the light makes the whole panel look opaque. If you have a good source of light, you can see when the outer layer melts and smooths when holding the flame on it. I used a simple butane torch lighter, but something with a higher amount of heat will work faster. Regardless, be careful not to hold the flame on one section too long. If you start to melt the whole piece of plexiglass, bubbles will form and they will disrupt the clarity. Bubbles will be basically impossible to fix and it's so late into the process that you're gonna hate yourself if you get a bunch. Also if you melt the panel, you'll have to straighten it out again. Clamping it to a flat surface works. Another thing to be careful about here is the escutcheon. Since it's brass, it will hold heat differently to the surrounding plexiglass. Be very careful with it.
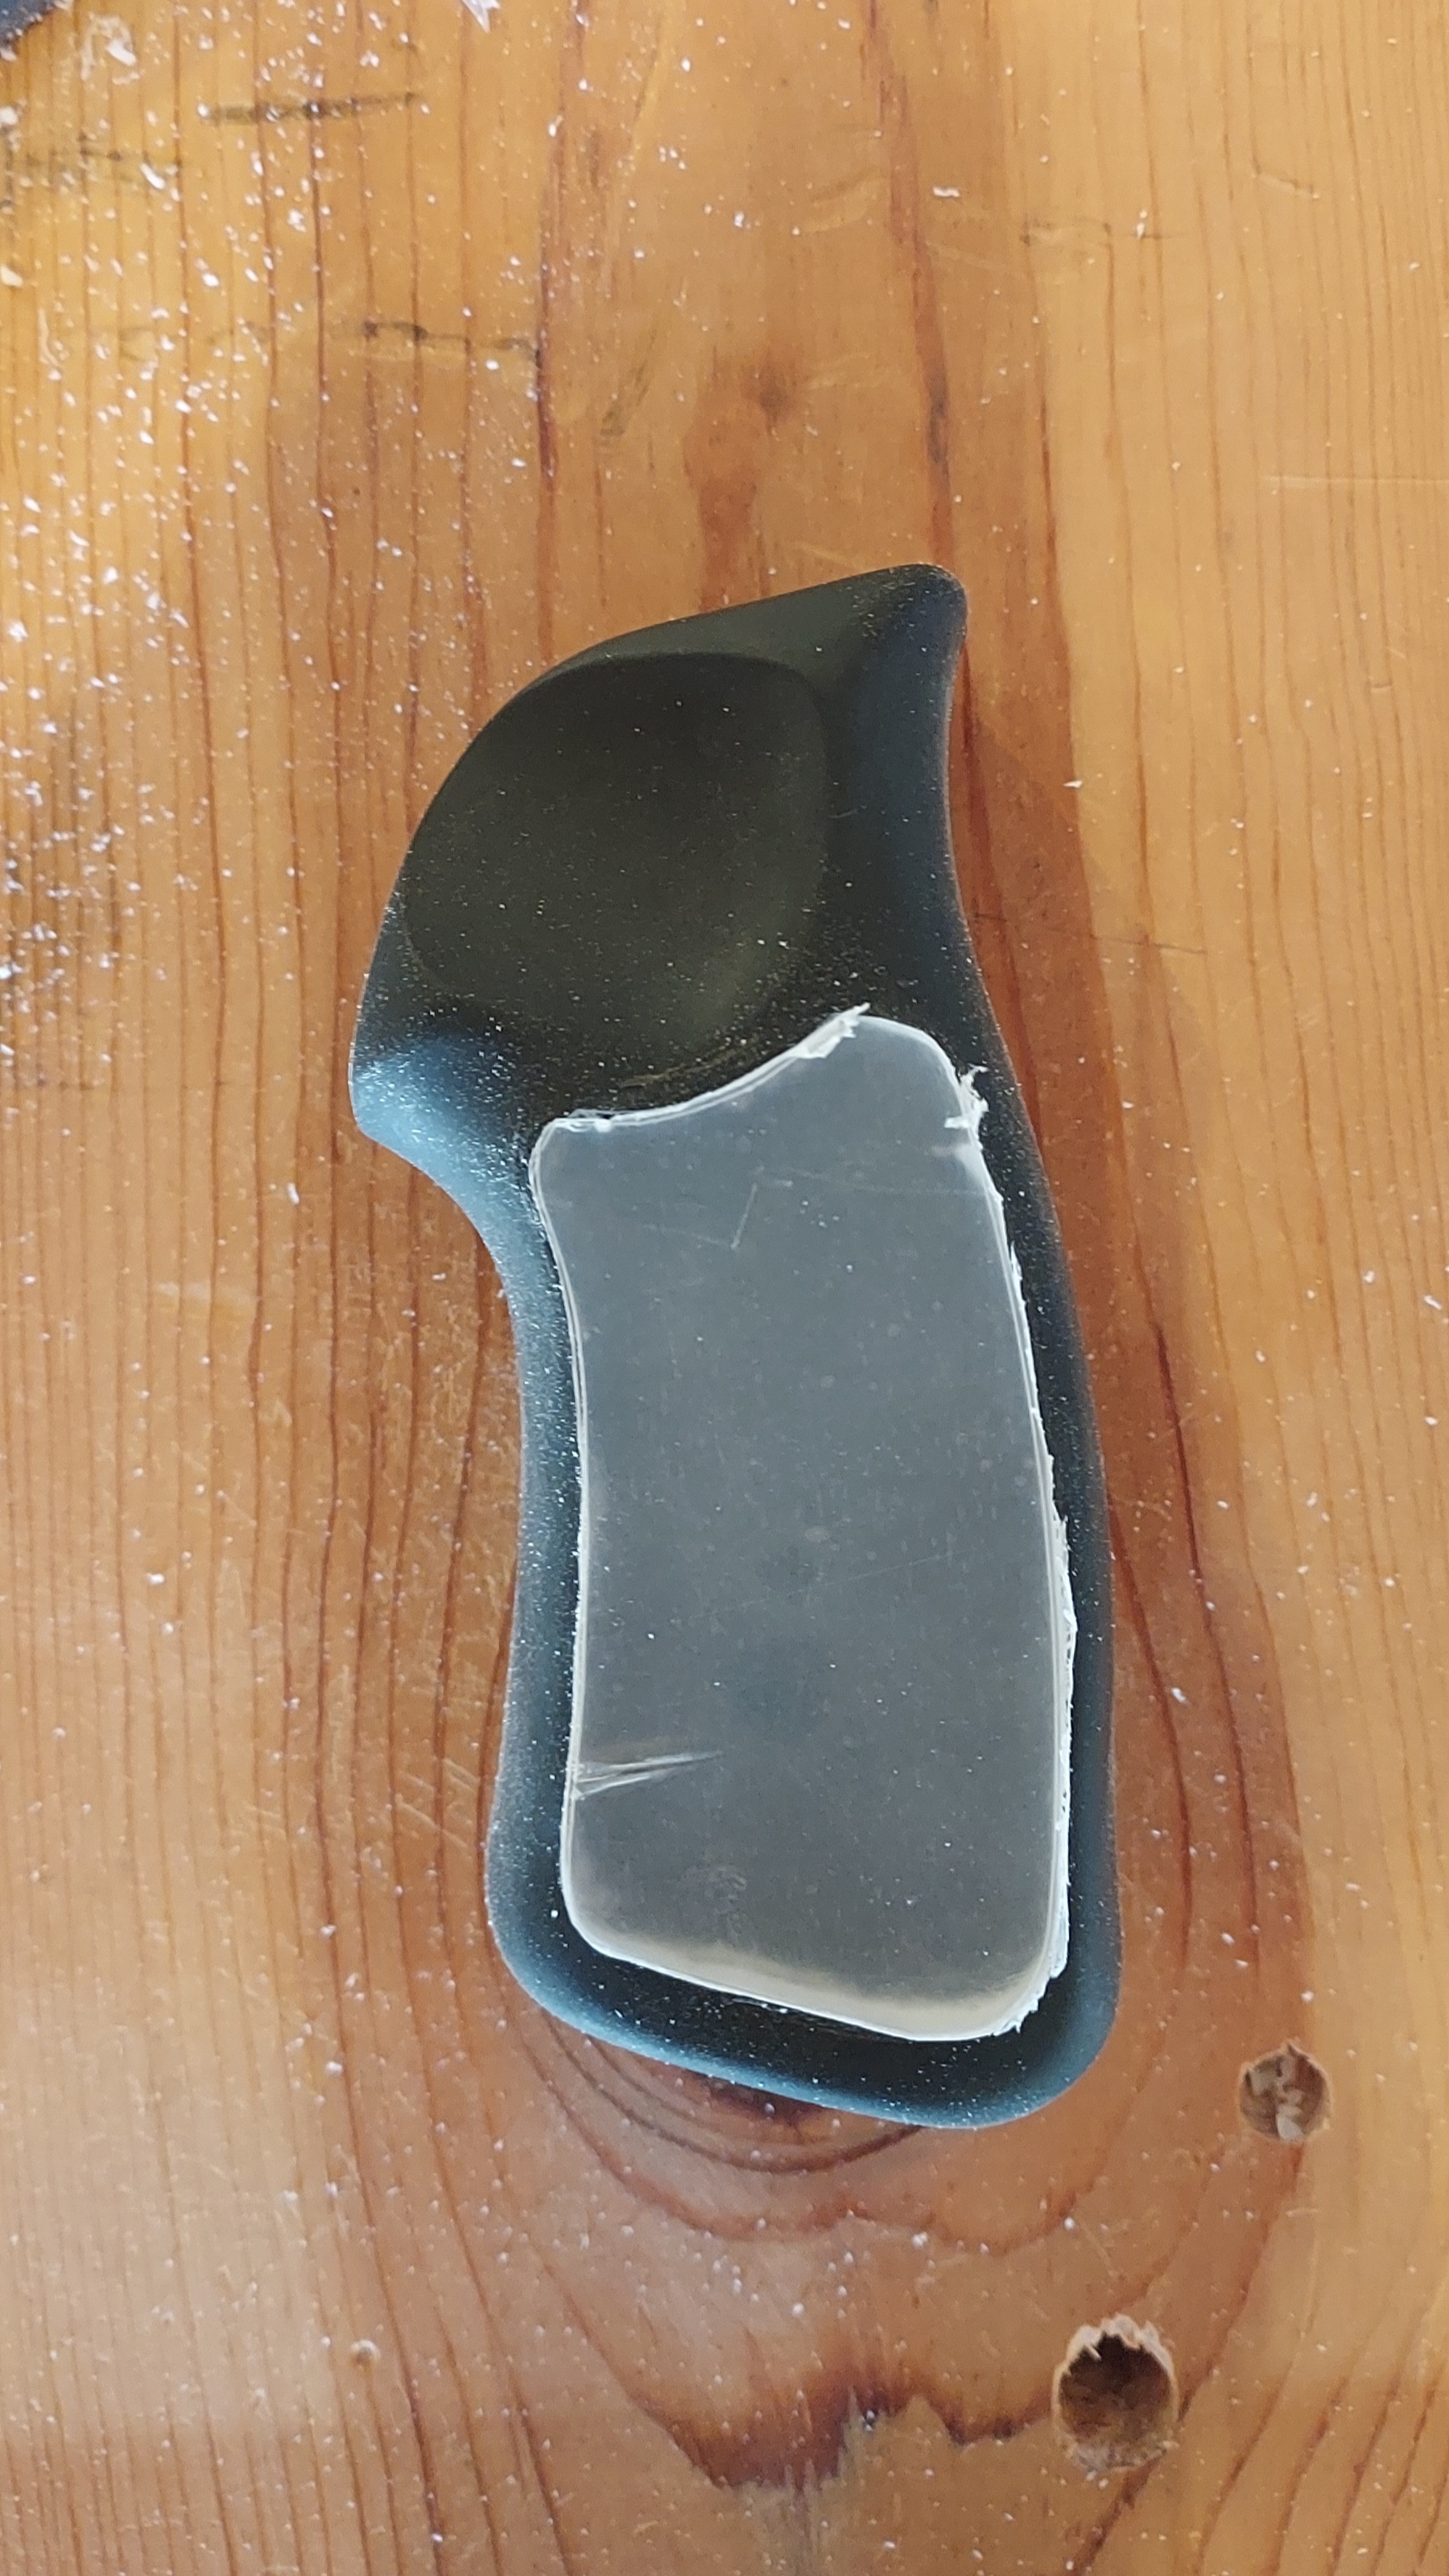
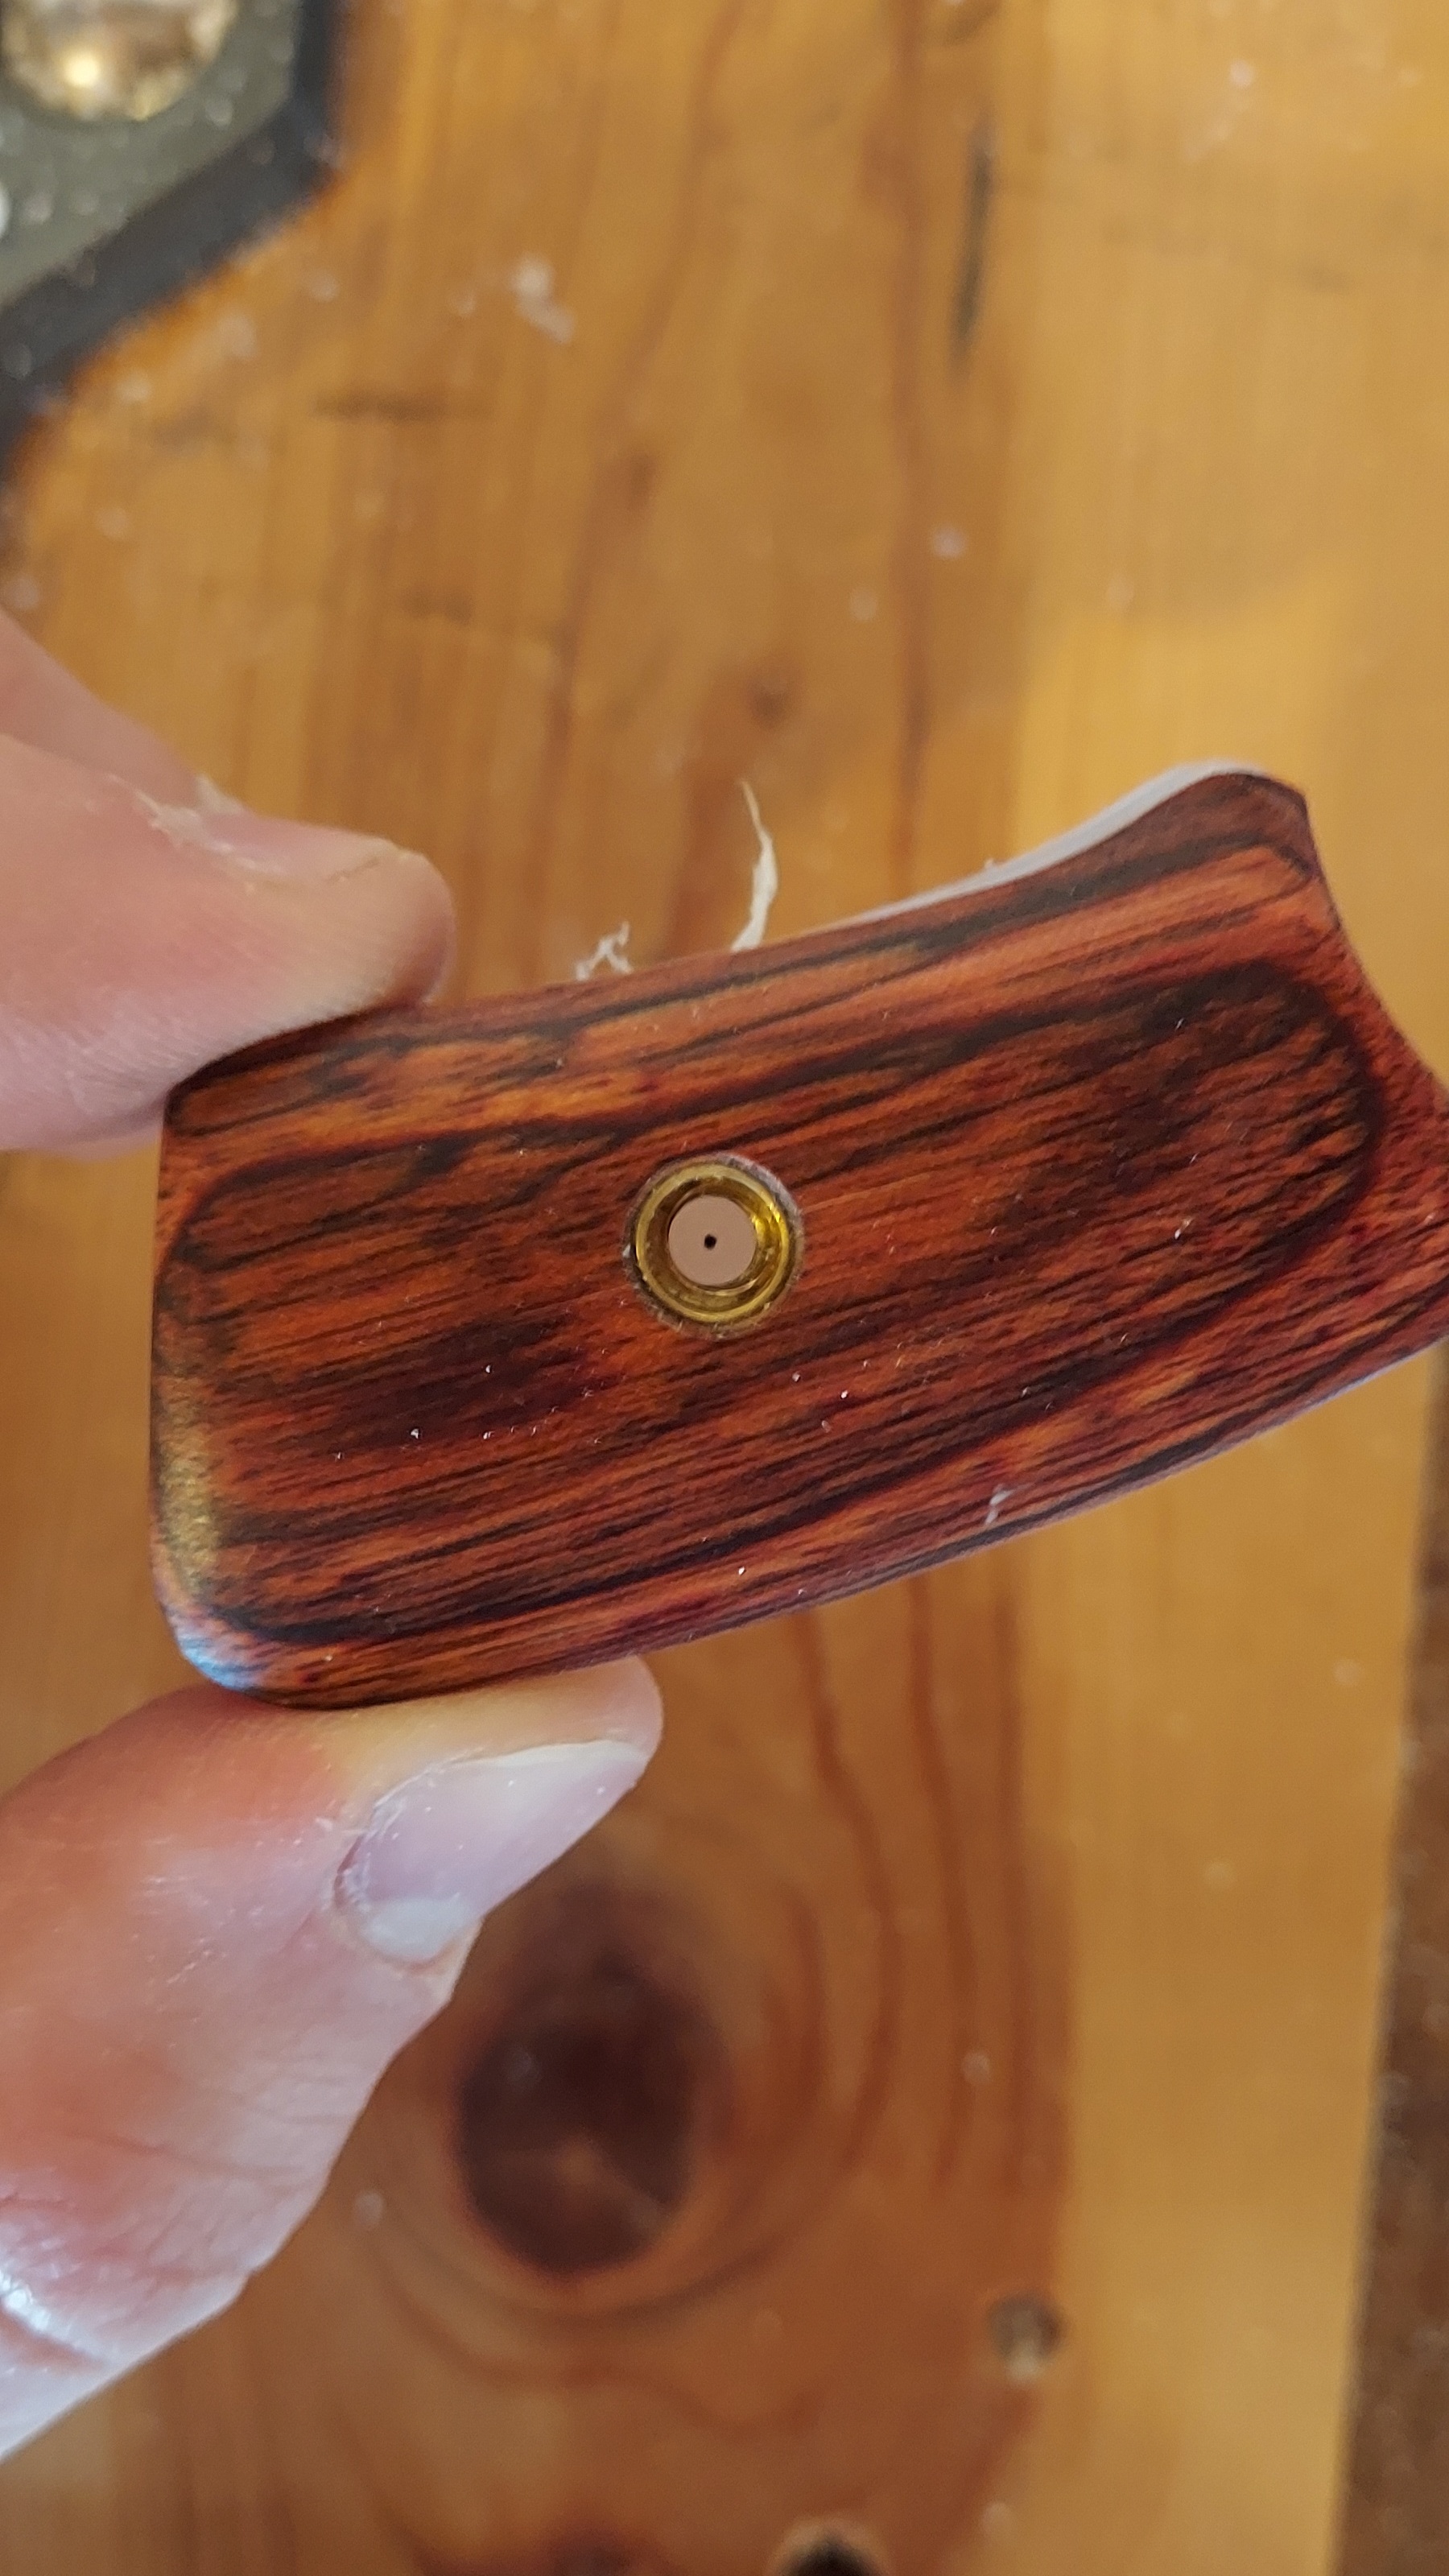
If you have flame polished well, then your grip panel should be nice and clear with few to no bubbles. This one turned out pretty good but I did get a couple bubbles in it. The other panel I did first has a bunch of bubbles because I didn't practice enough on scrap plexiglass. LET THIS BE LESSON TO YOU!! Also, somehow I got a small hairline scratch on this panel's underside. I could fix it with some light sanding and flame polishing, but I am choosing to forgo that because I think it won't be noticeable once I have the picture under it.
Now that the grip panel is done, I will show you how to put your picture under it.
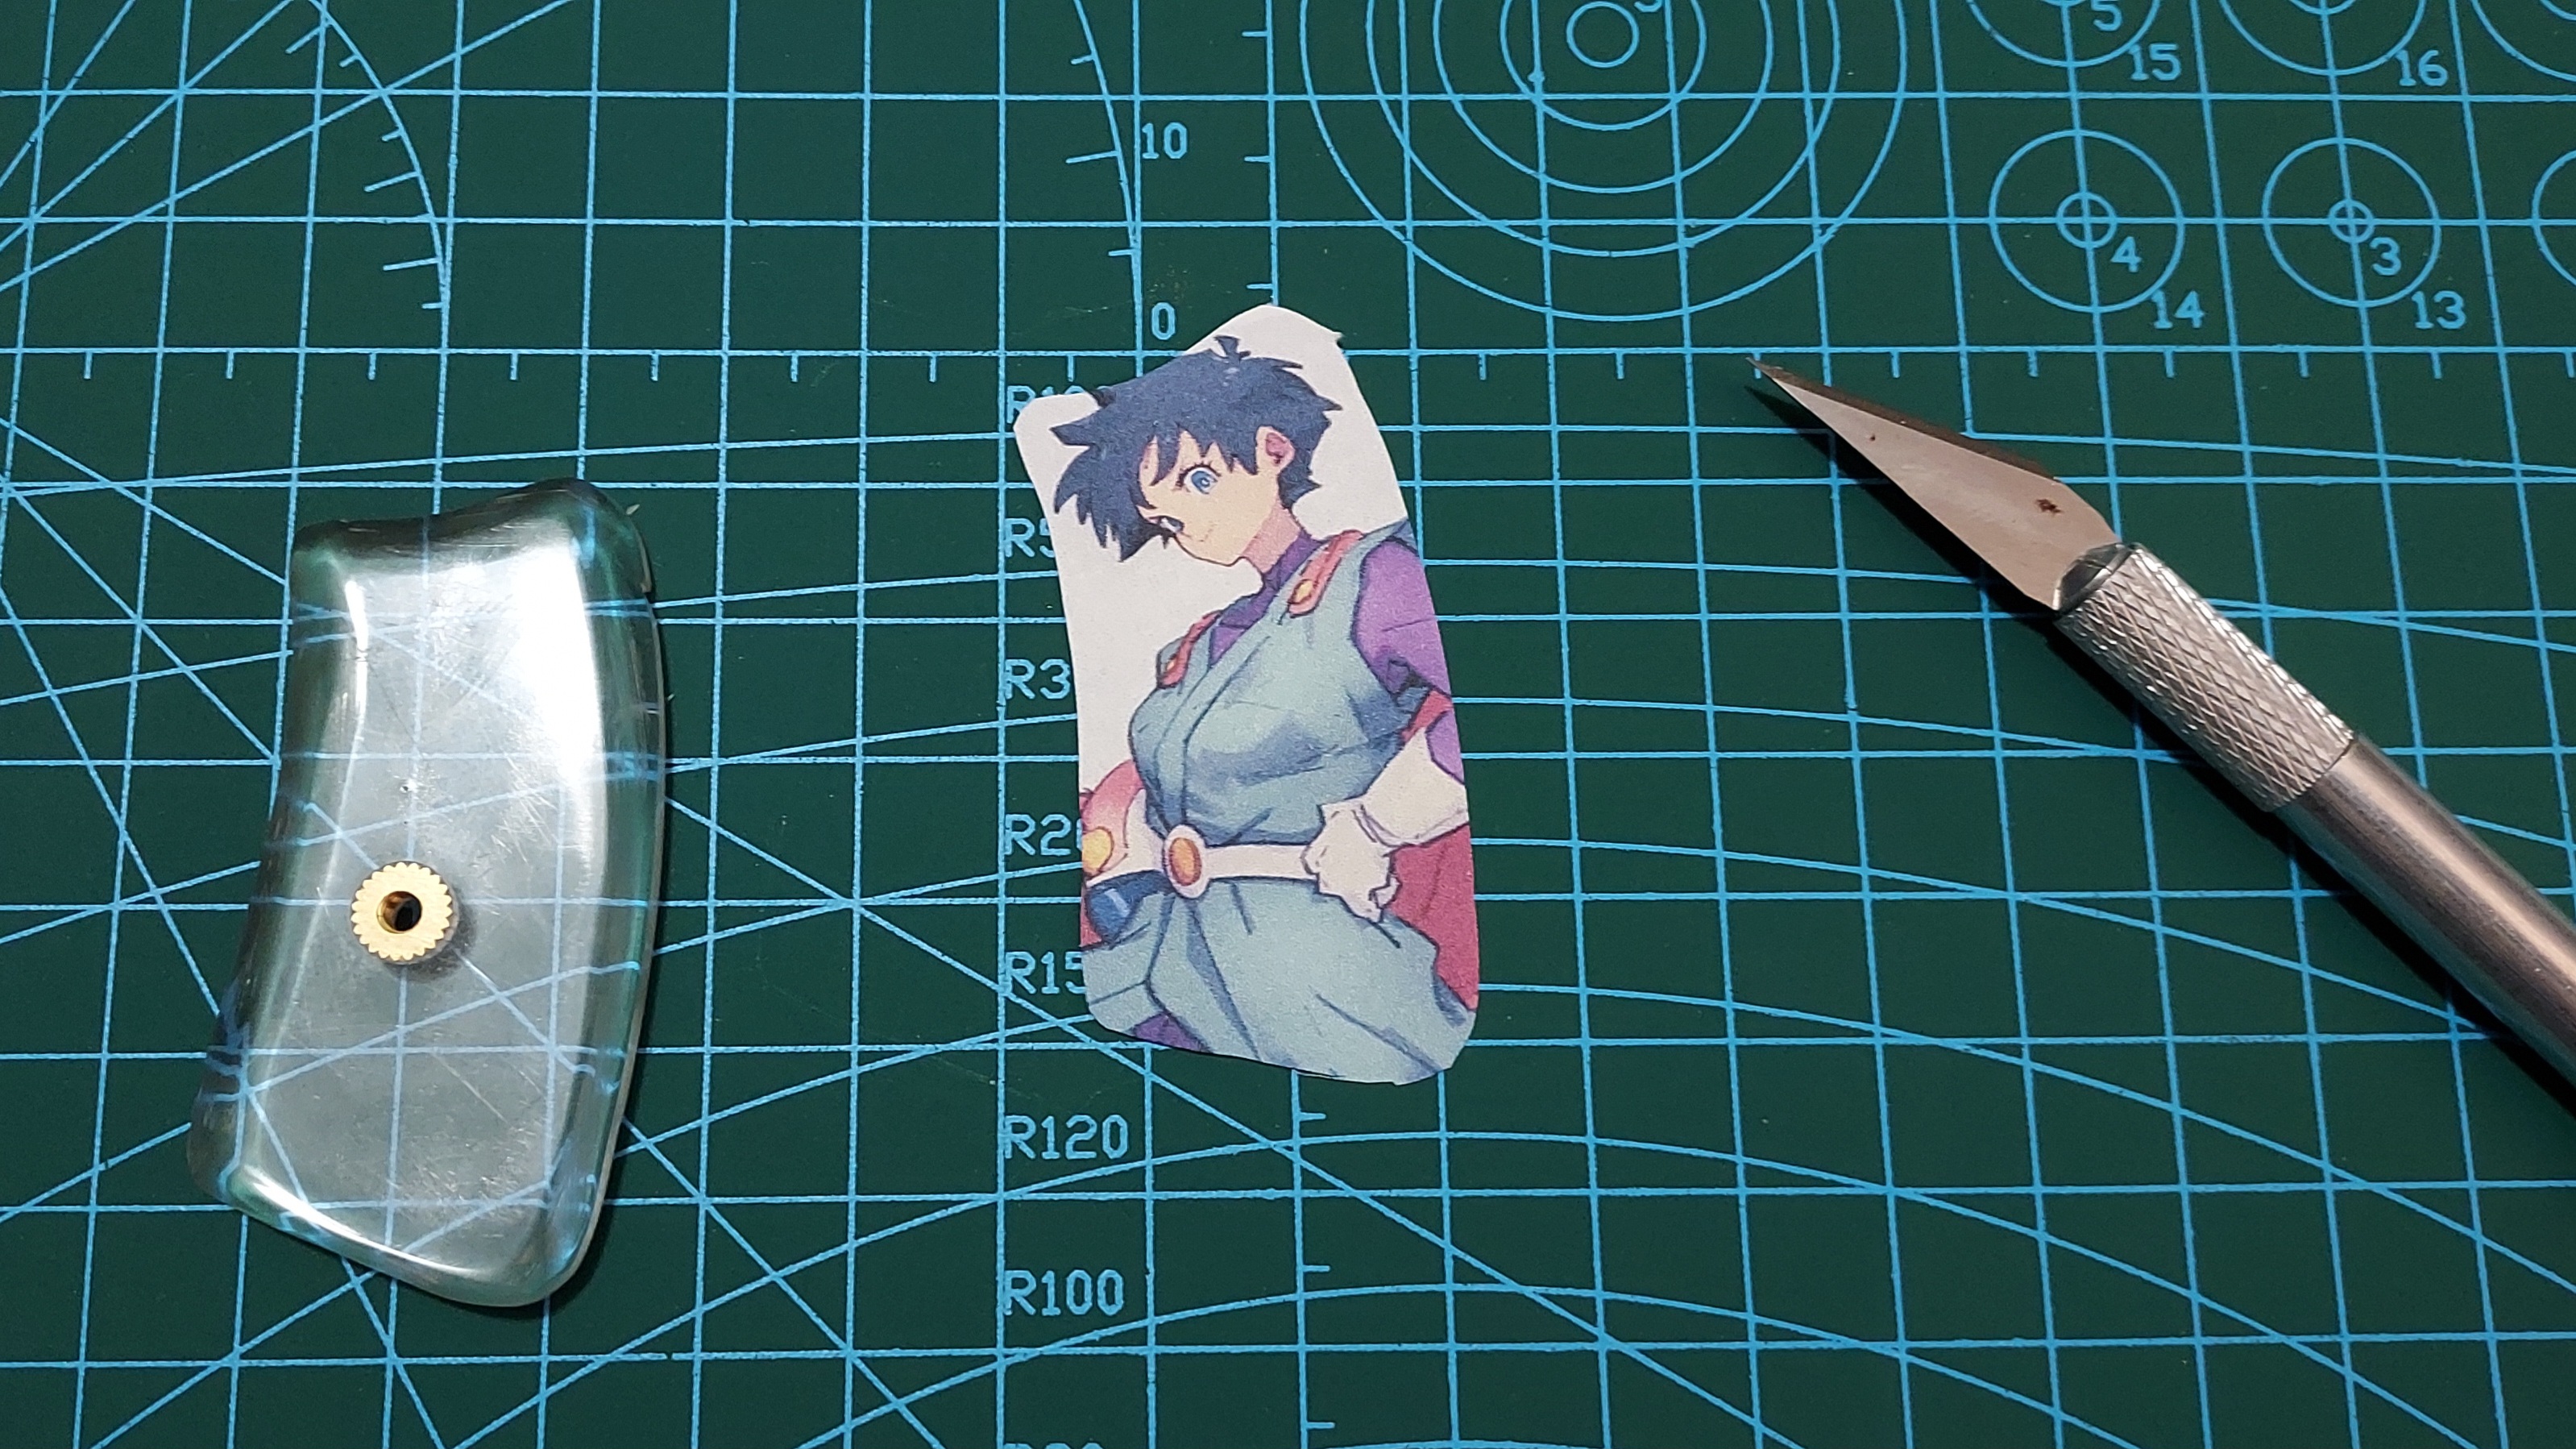
Select your picture. Generally you will want something skinny, the width of the panel is about 1 inch and the height is about 2.1 inches, so something with close to a 2/1 ratio is a good choice. Print your picture out with a high DPI printer and with a height of about 2.2 inches so there won't be white space showing in the panel. I printed this picture using my basic home color printer and basic copy paper, but you will probably get better quality using photo paper or something stiffer like card stock. For this grip, I am going with Videl from Dragon Ball. If you don't like Videl, then fuck you.
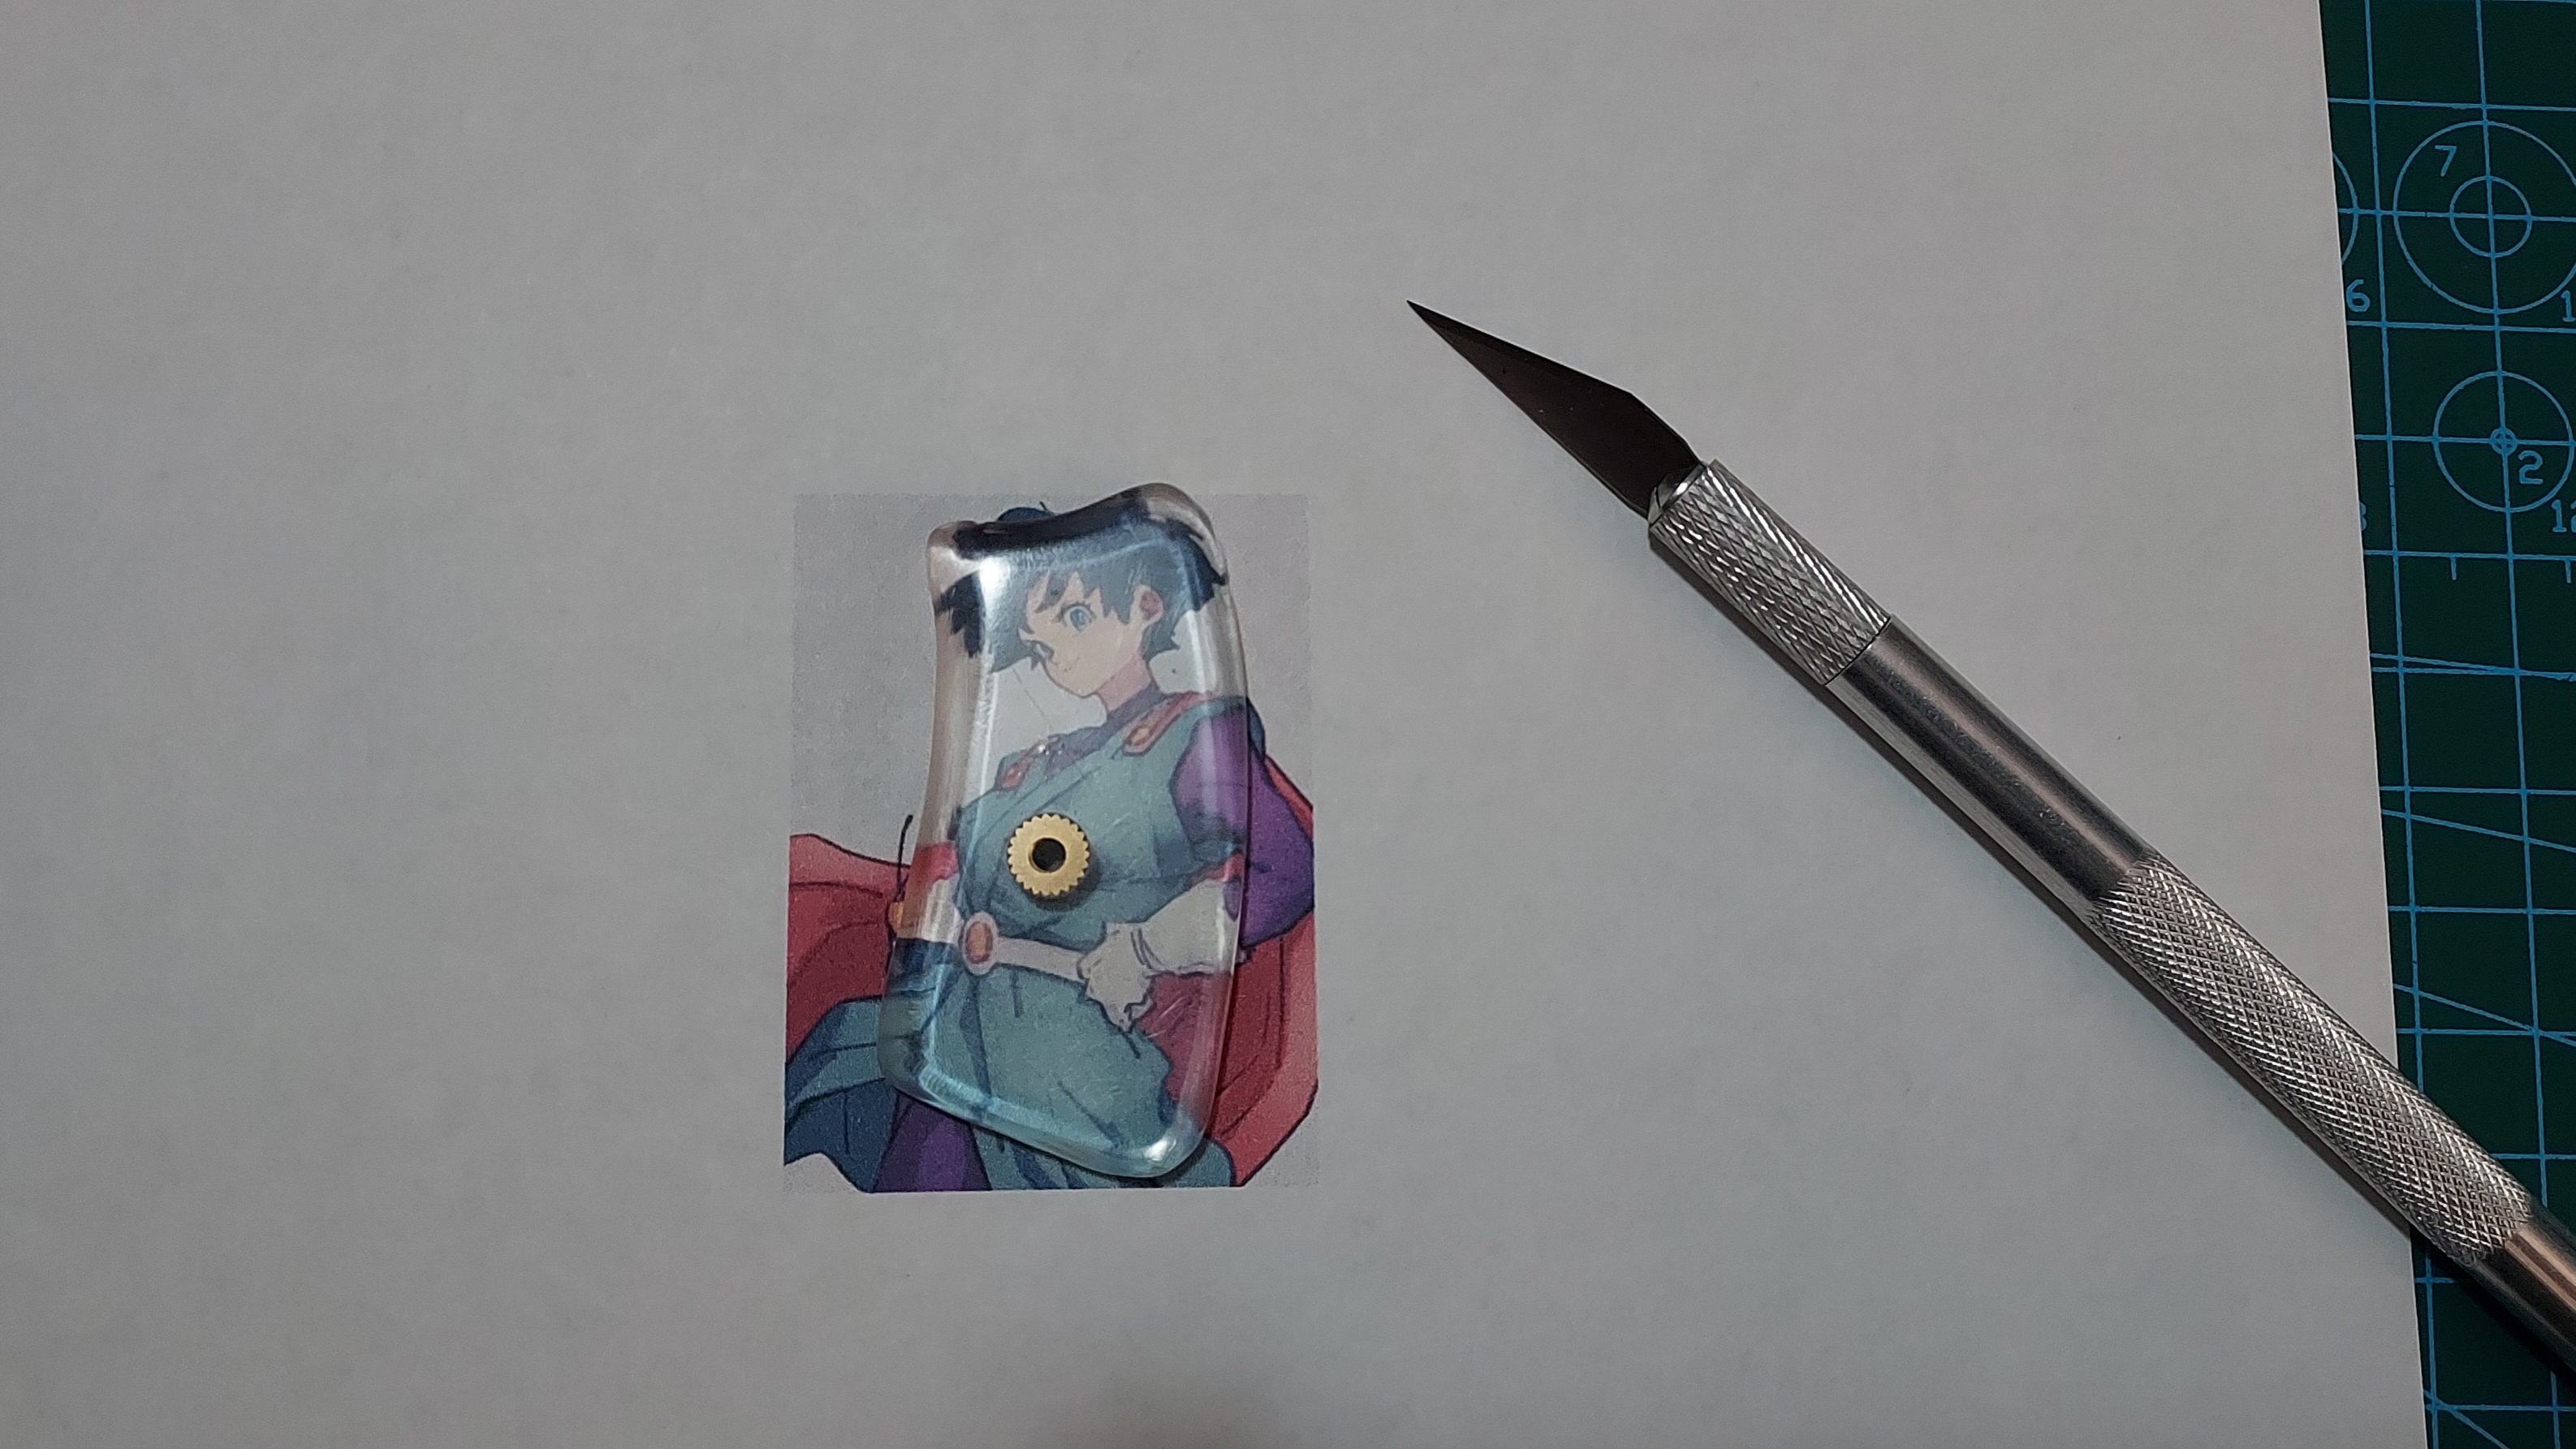
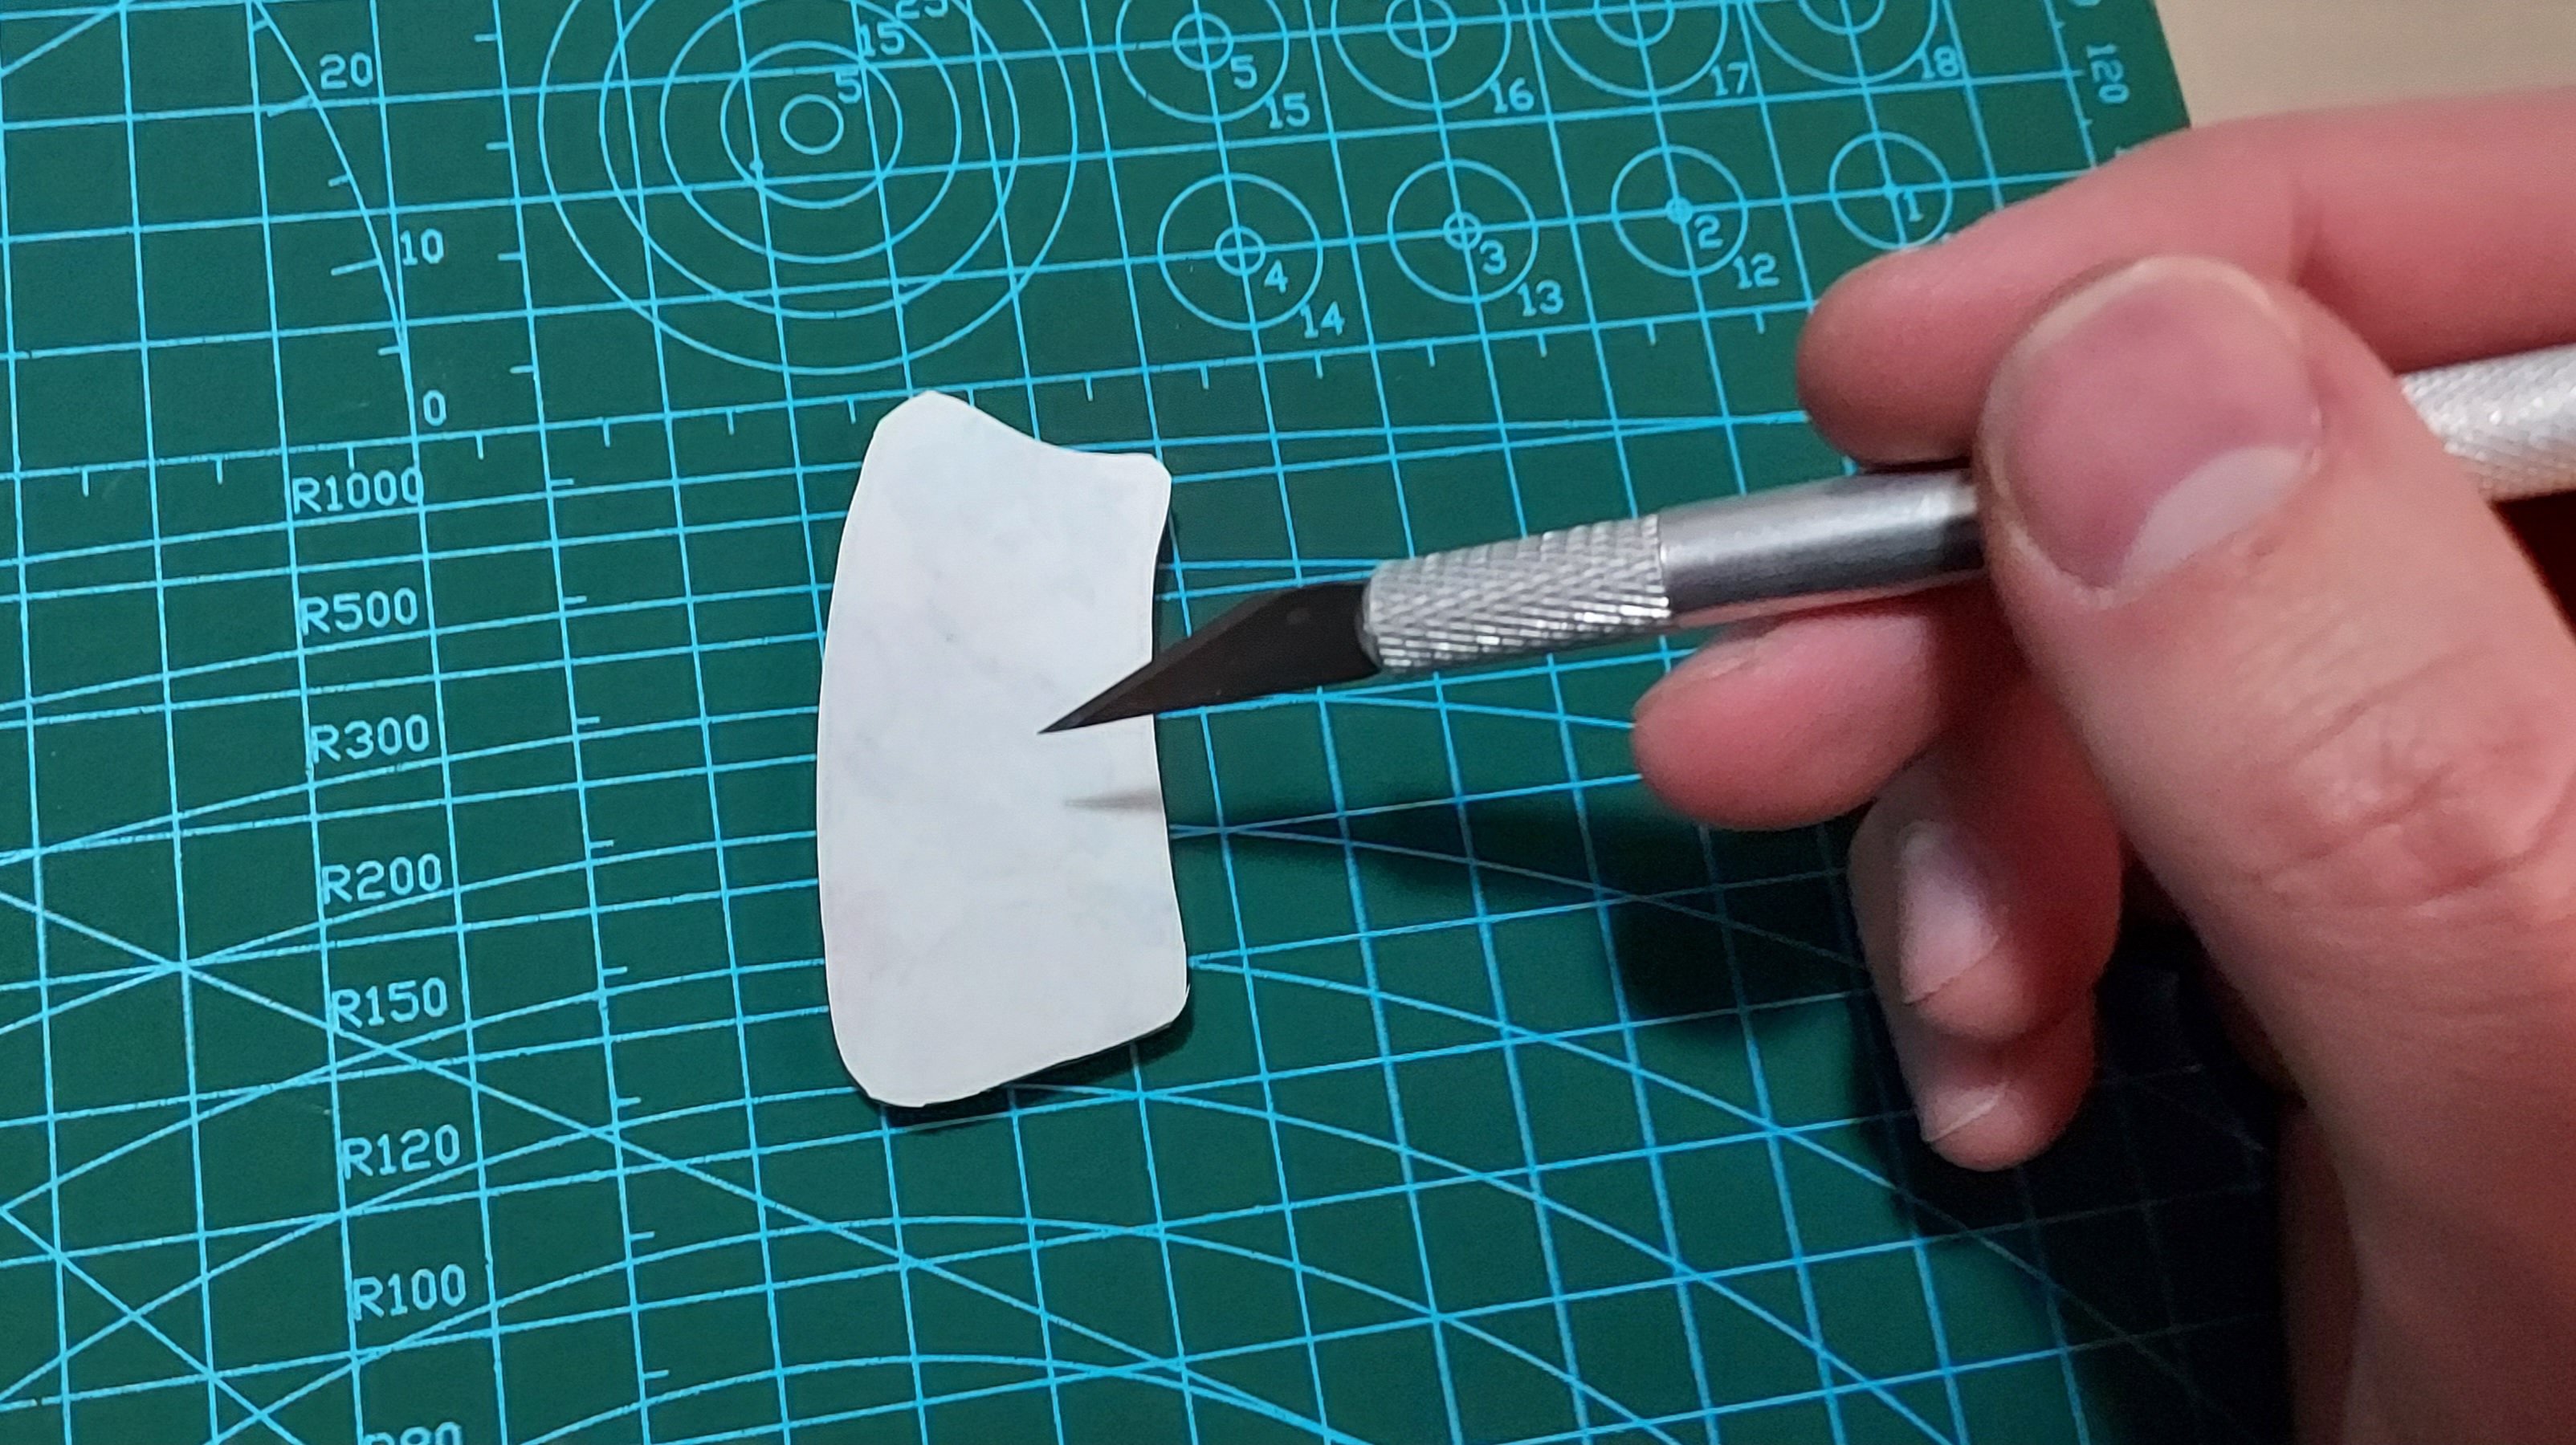
Find the orientation you like, press down on the grip with one hand, and use the exacto knife to trace around the panel. You may need to clean up the edges slightly, but the picture should be just about perfect if you didn't let the grip slide around. Layer your picture on the inside of the grip and poke an X shape where the grip screw will come through. Now stick the screw through the back and give it a little twist to clear the hole. If you are slightly off, it won't matter as this will be covered up by the escutcheon.
Now put the grips on, and there you have it! I hope yours turned out well, unless you are putting gay shit under your panels, in which case I hope it turned out badly. If this was helpful, please comment and let me know, and please share it with others. Thanks for reading, and stay epic!